Managing Categories and Tags
Organize your courses with categories and tags for better discoverability.
-
Access category management
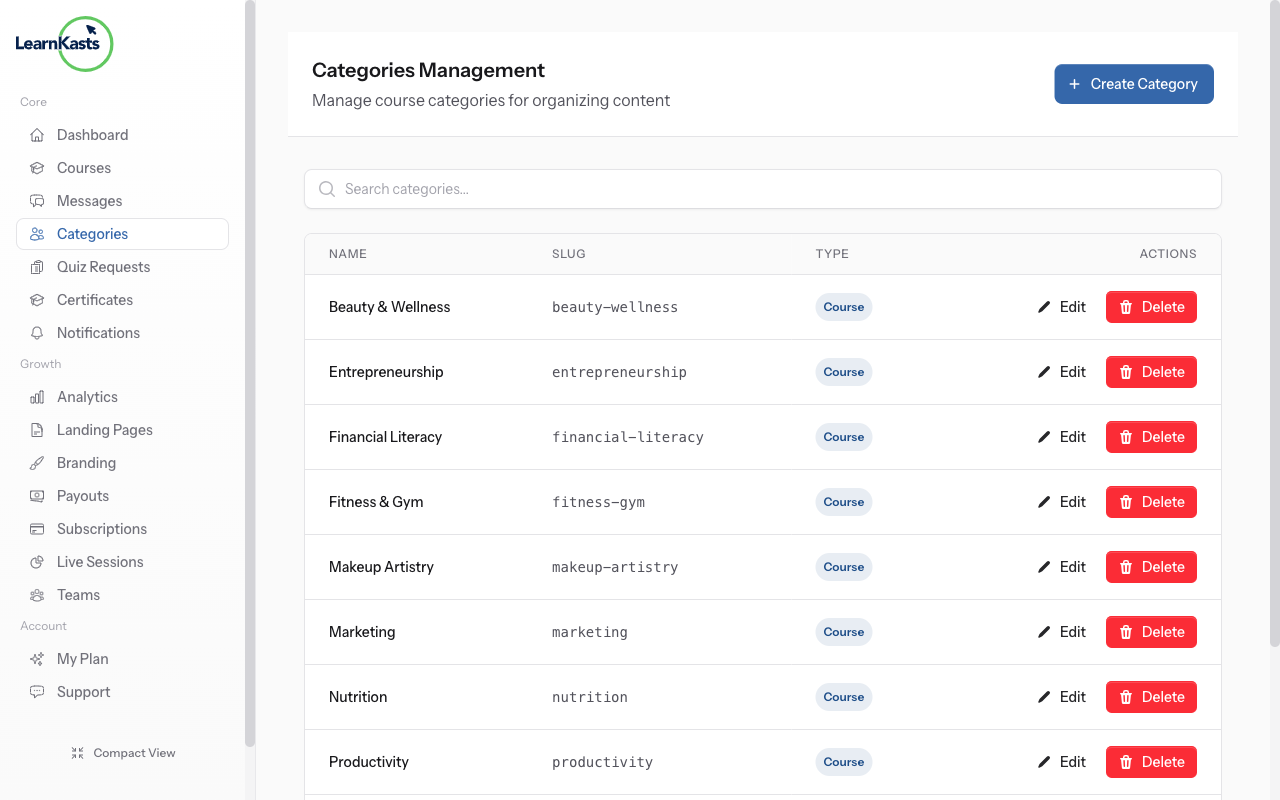
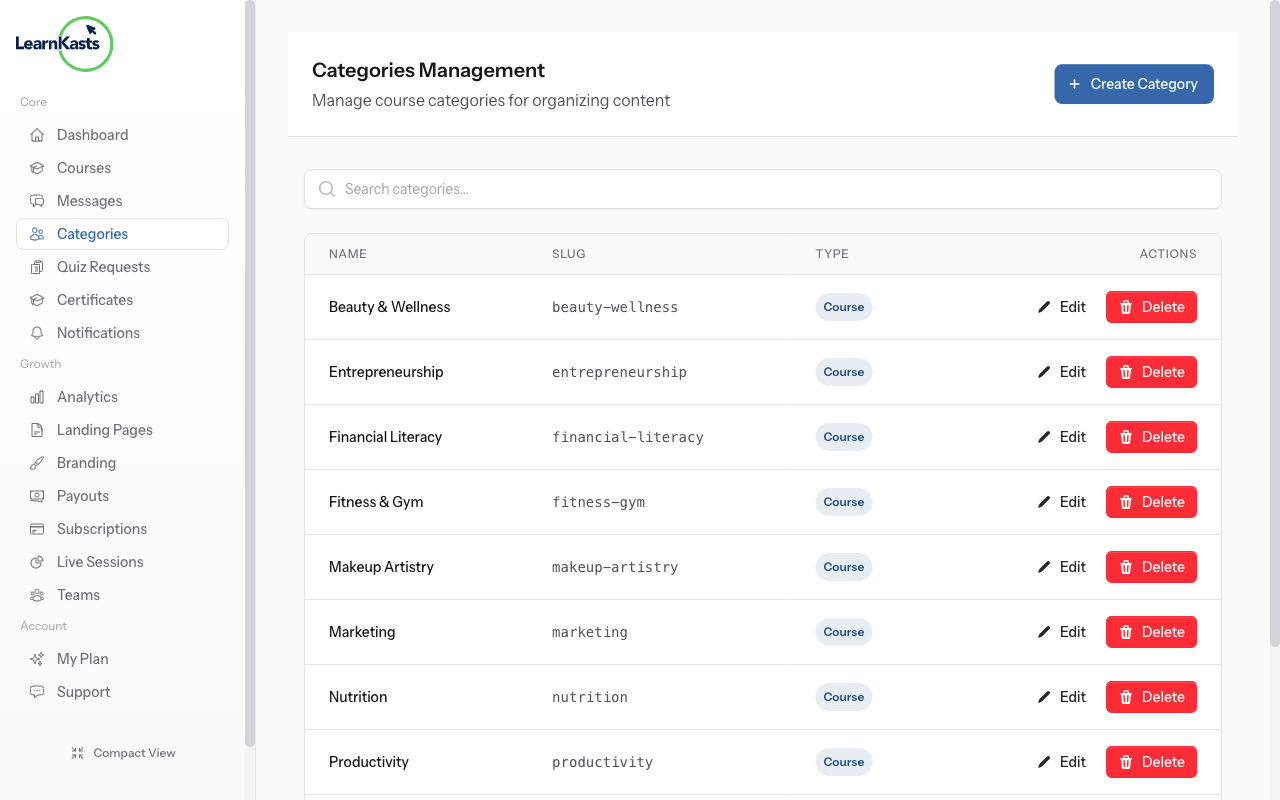
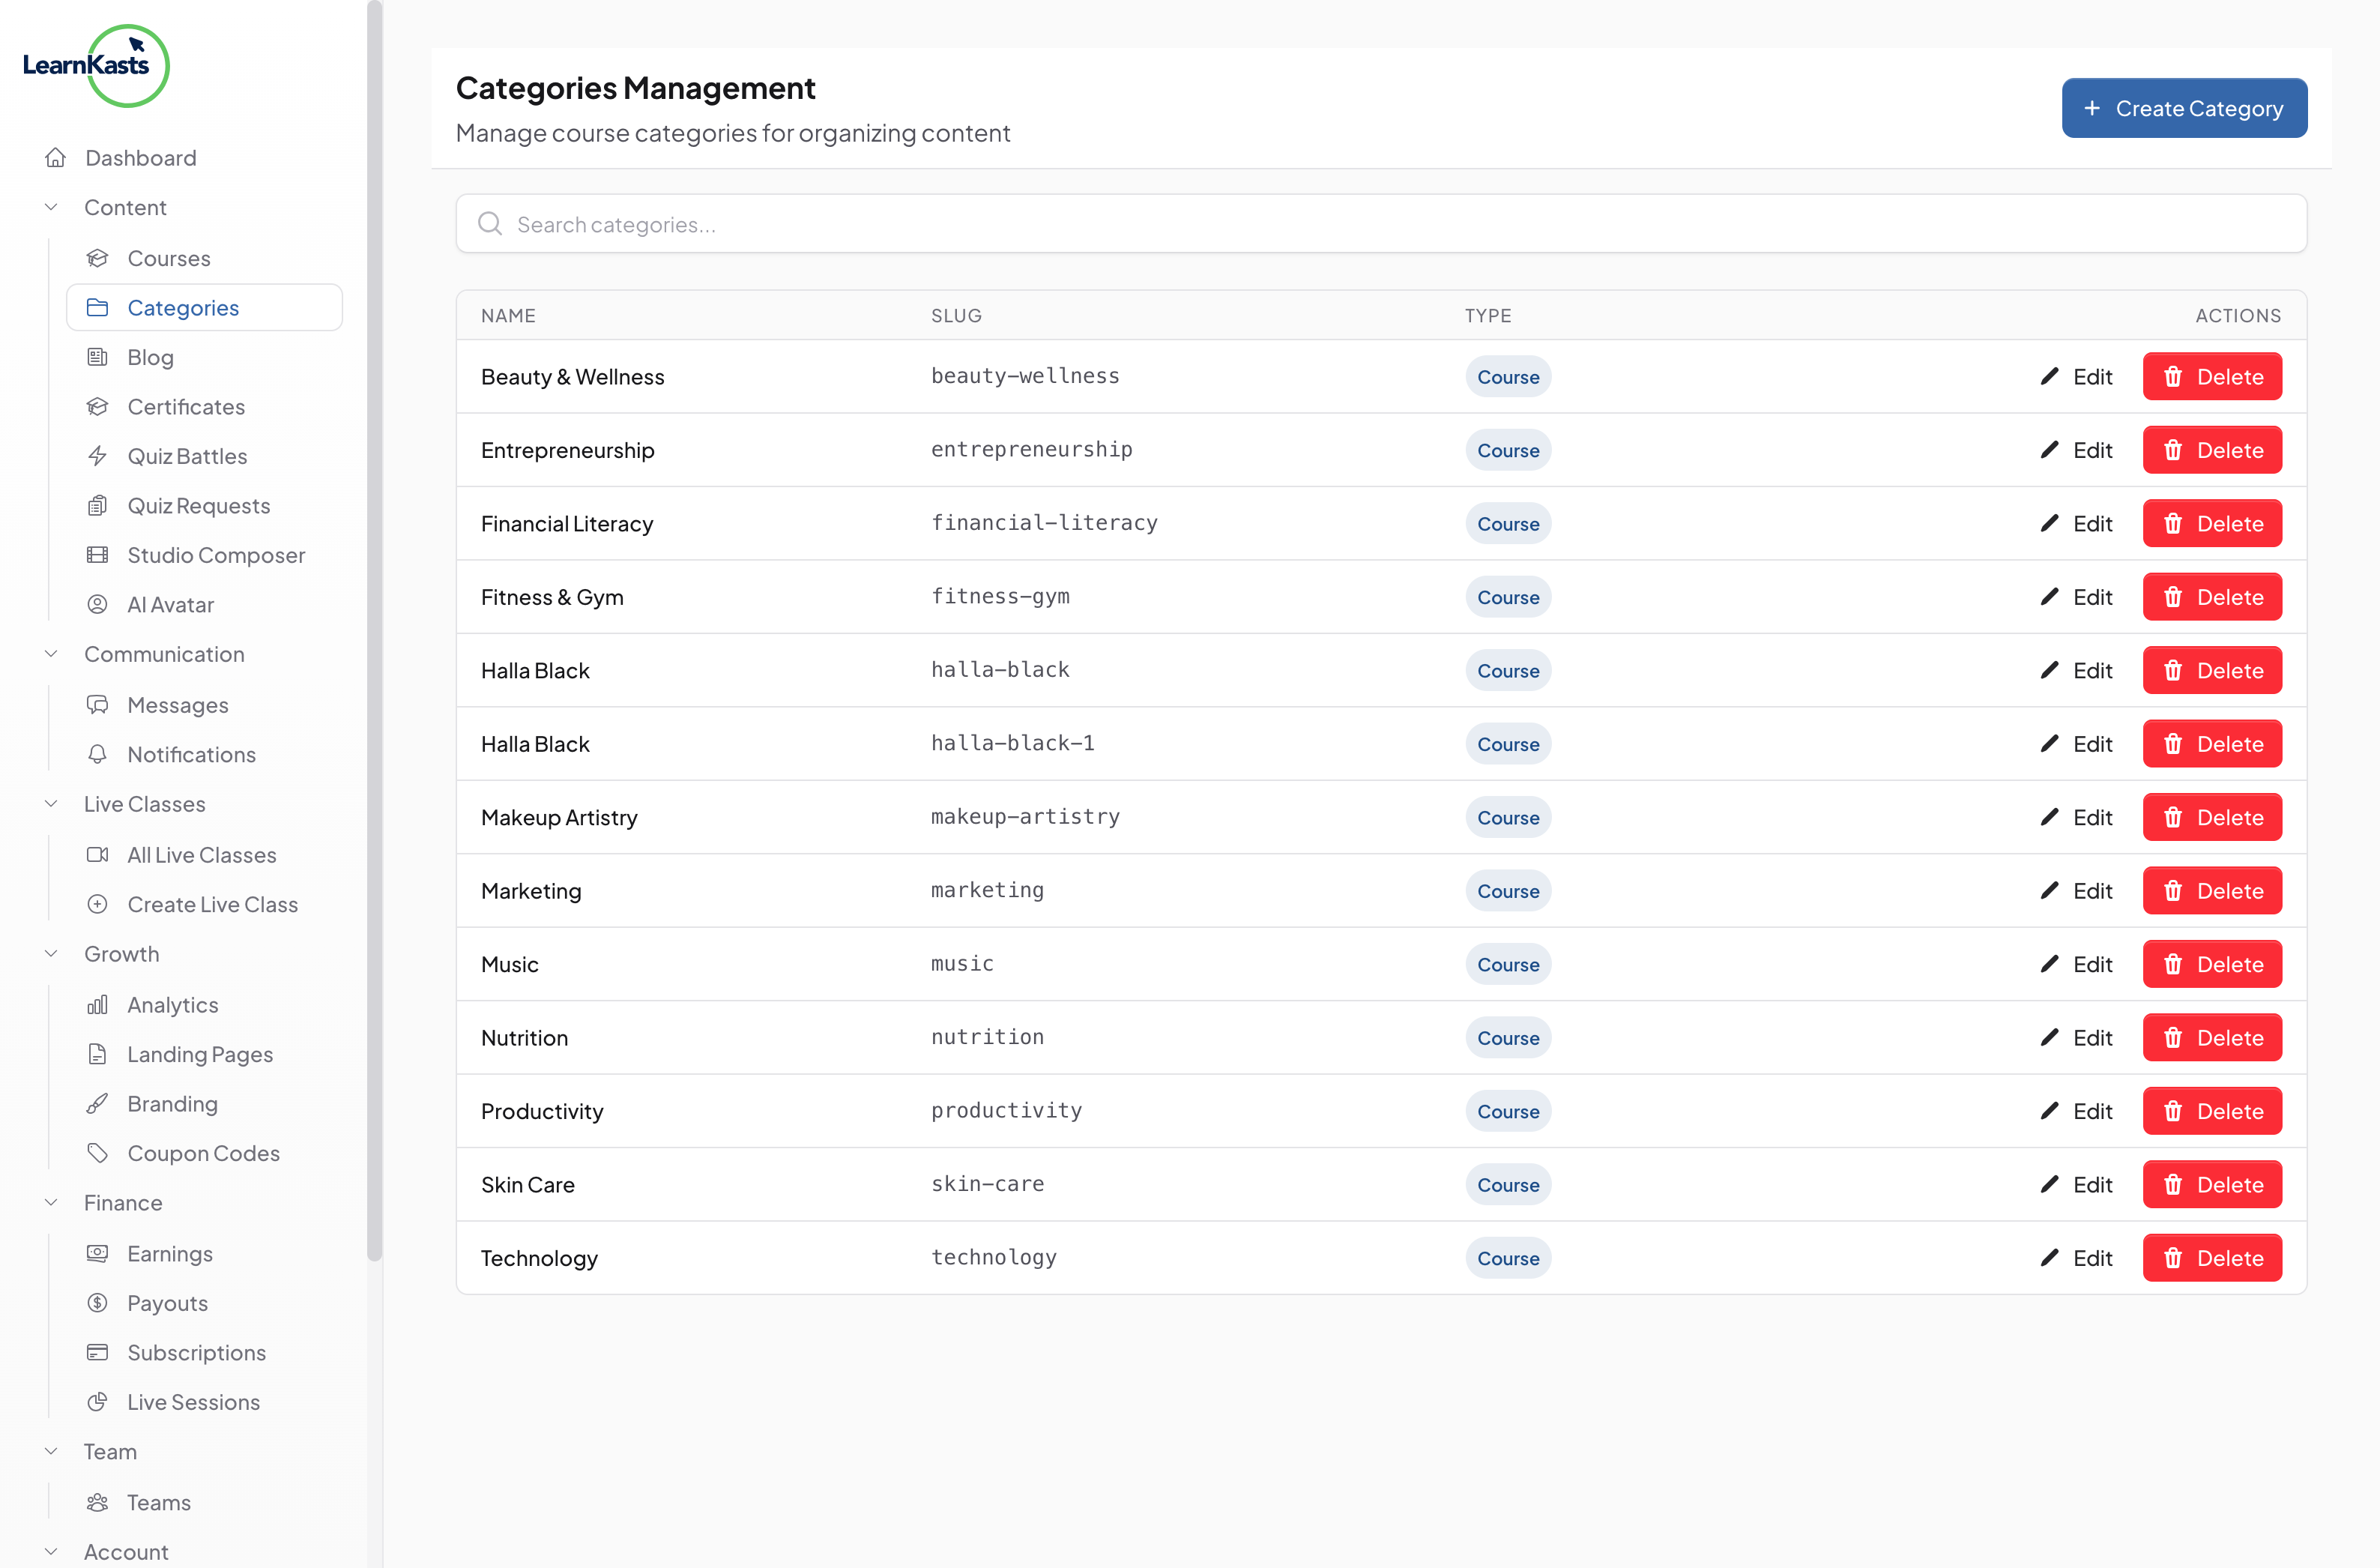
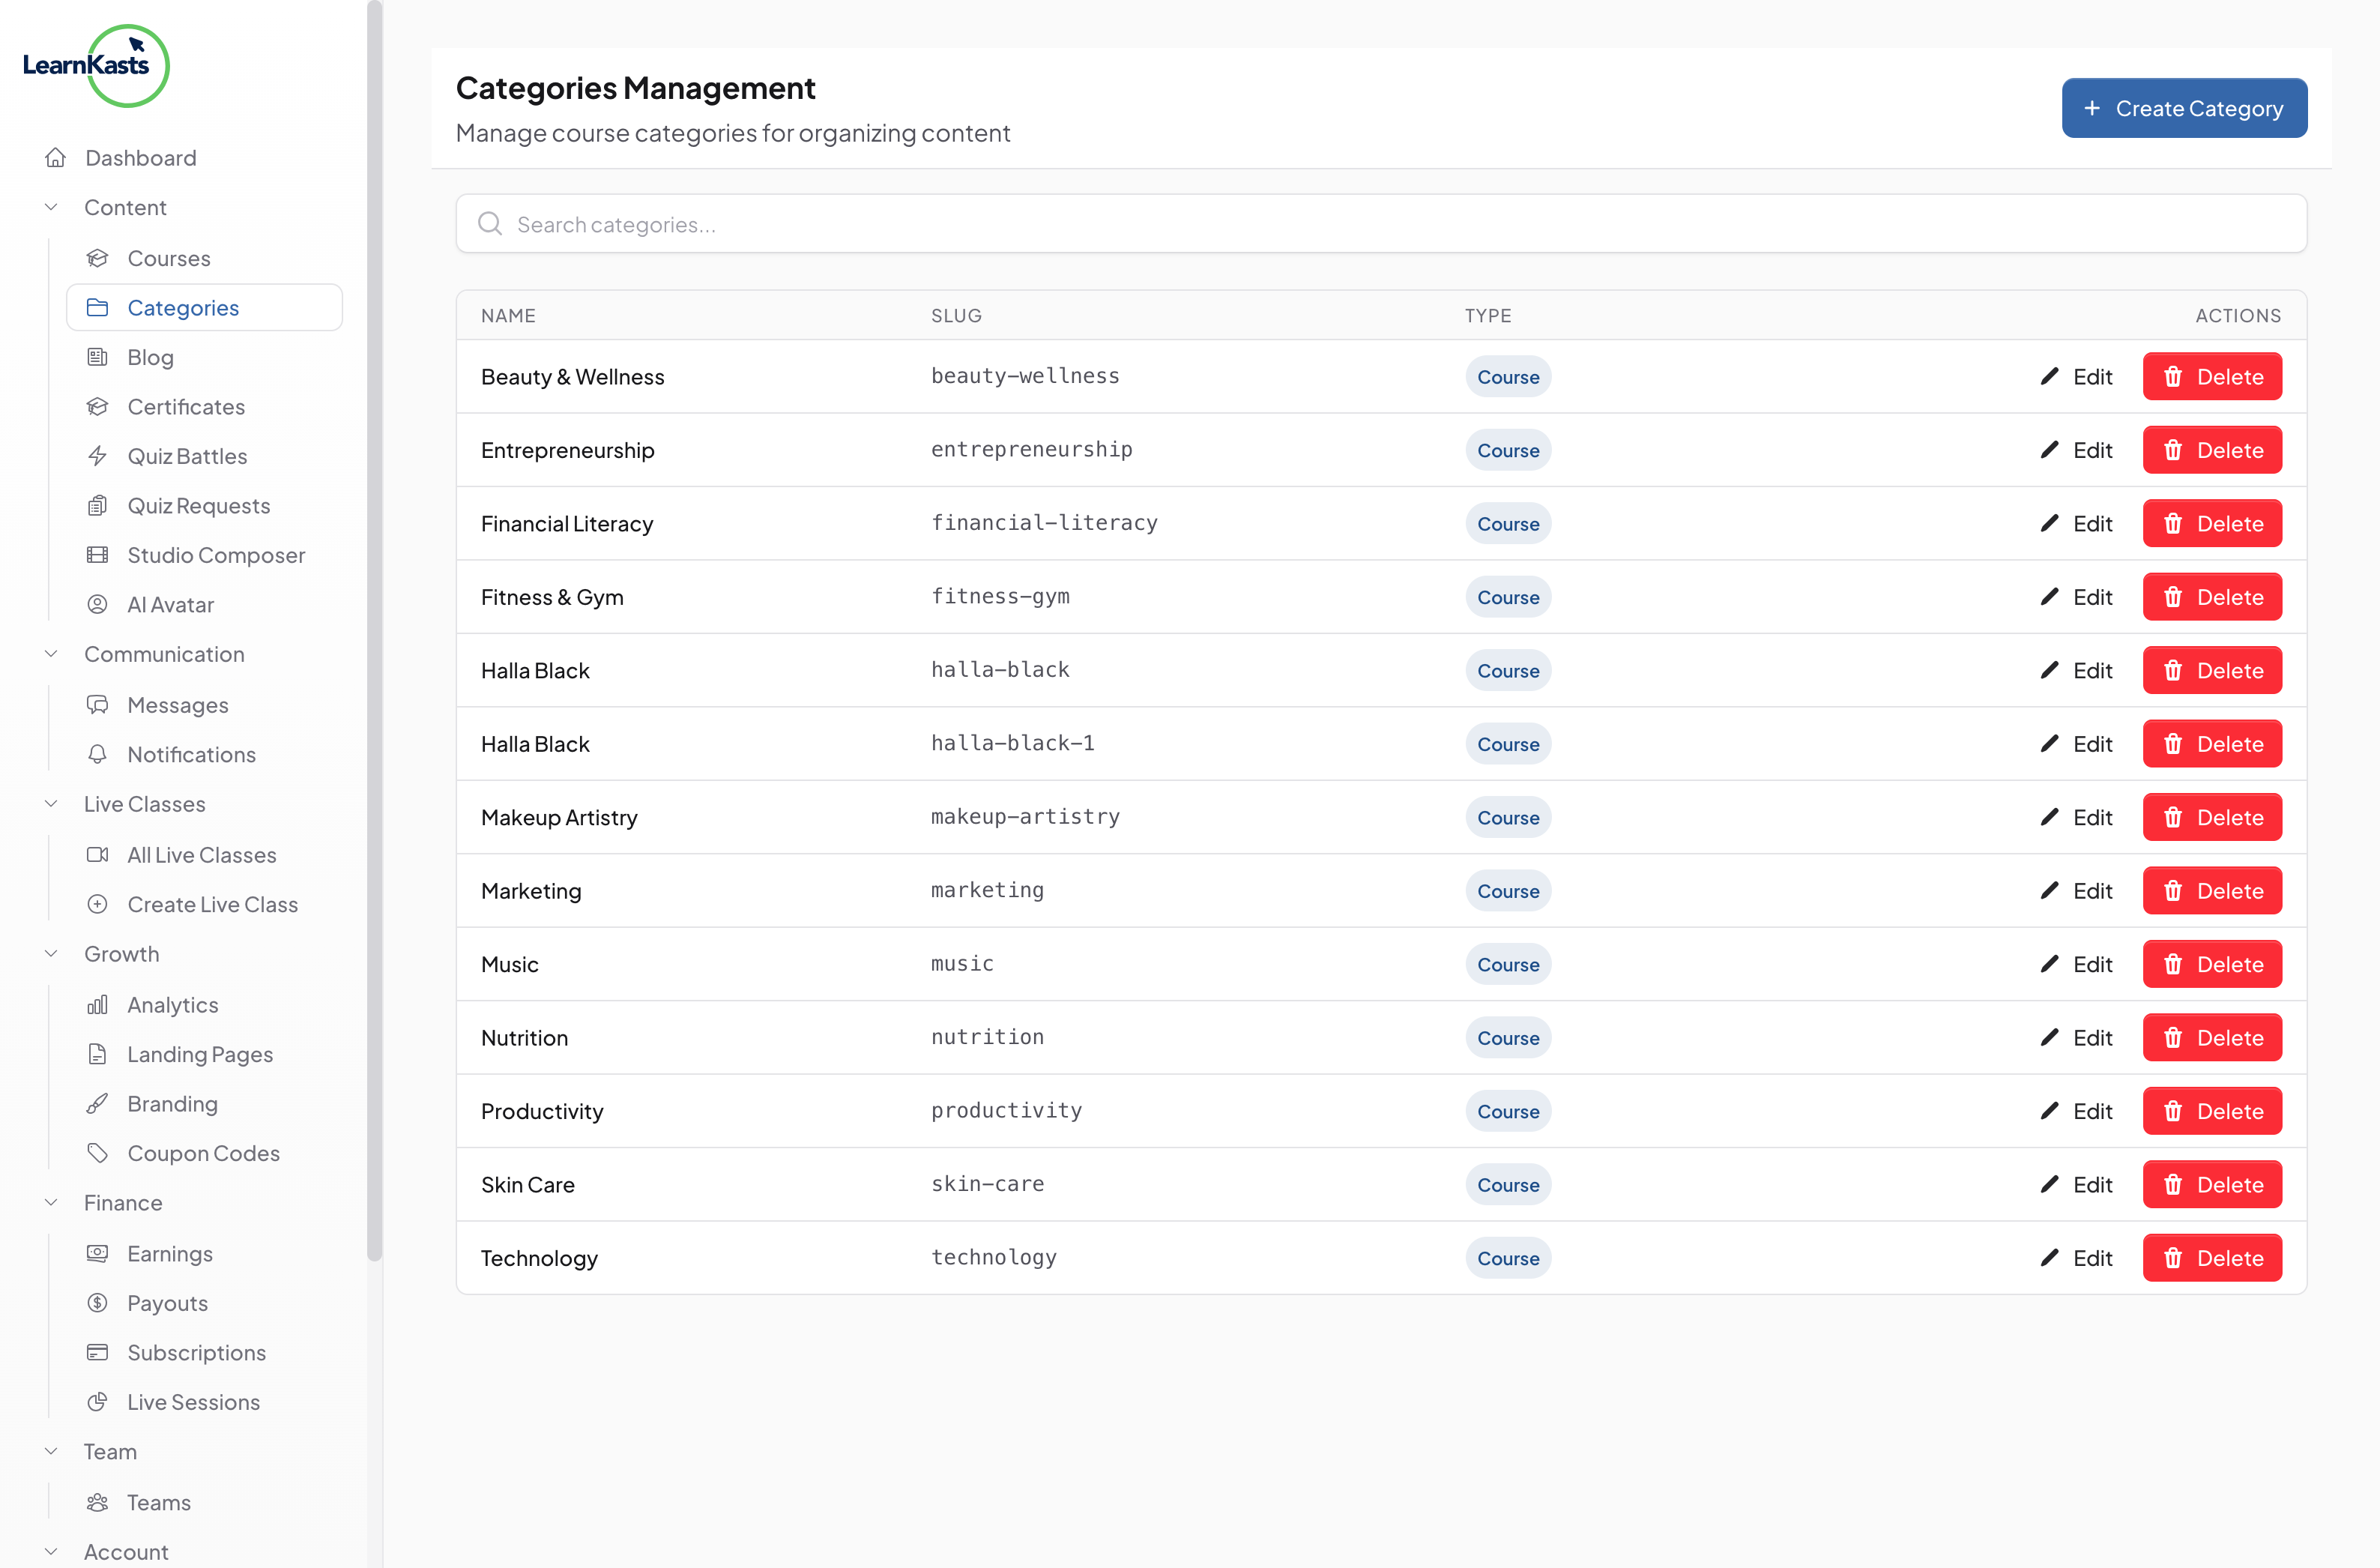
Go to Educator Dashboard → Click "Categories" in the sidebar (or Settings → Categories). You'll see the list of available categories you can use for your courses.
-
Create a new category
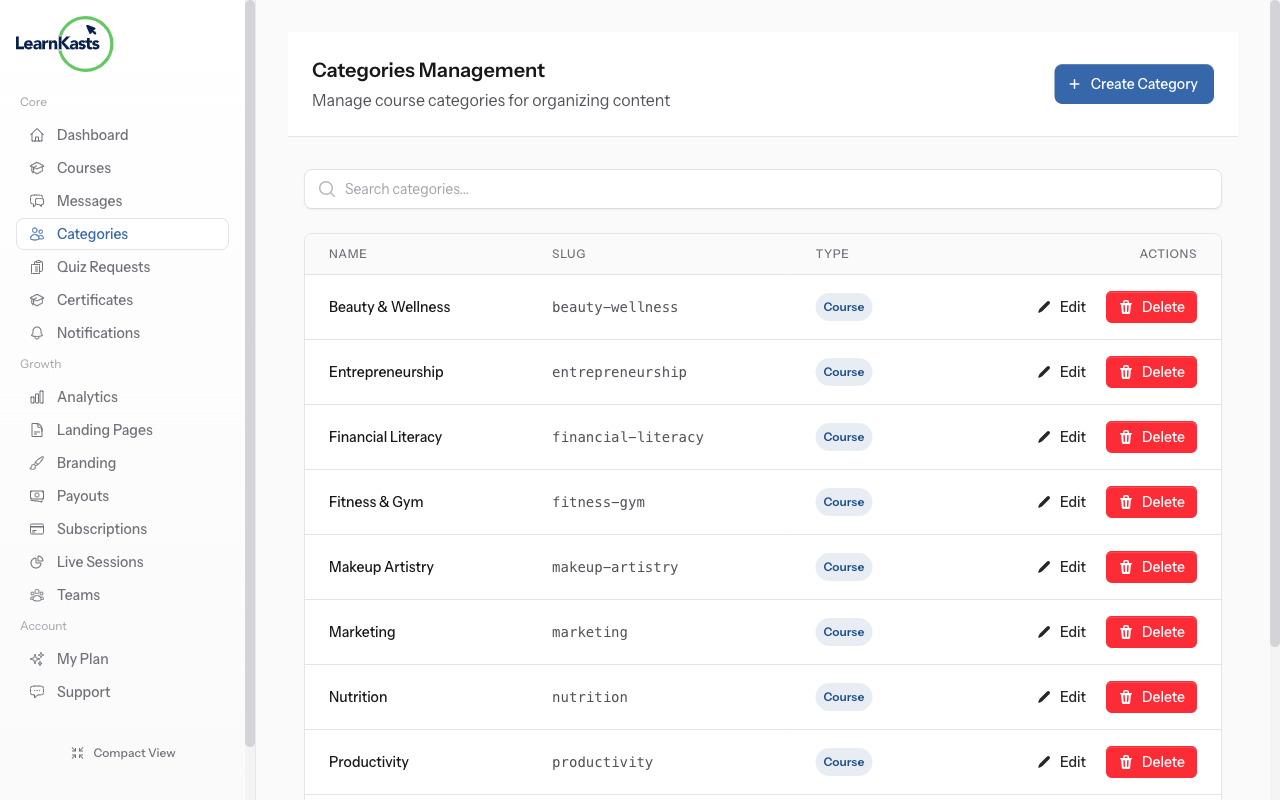
Click "Add Category" or "+ New Category". Enter category name (e.g., "Makeup Artistry", "Business Skills"). Add a description explaining what courses fit this category. Click "Create".
-
Assign categories to courses
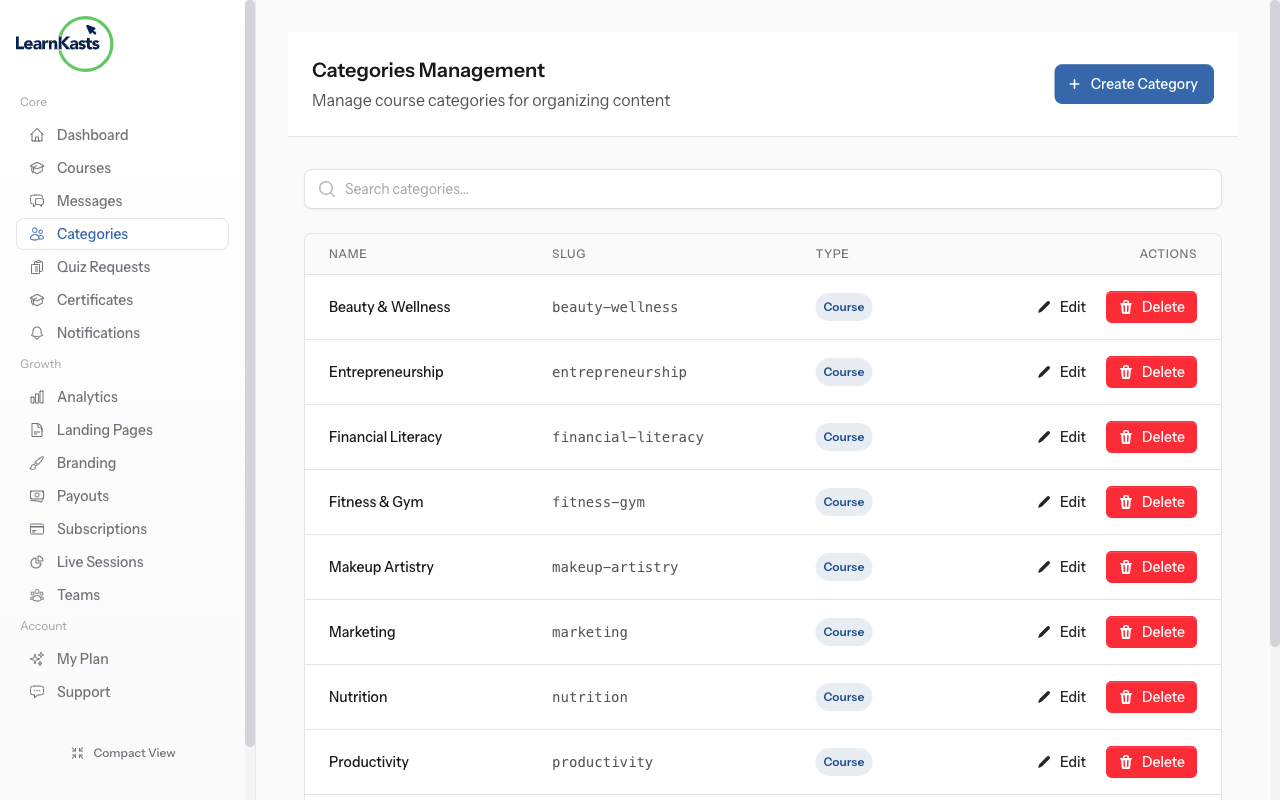
Click the edit icon next to any category to change its name or description. This updates it for all courses using this category. Be careful - changes affect all courses in this category.
-
Add tags to your courses
When creating or editing a course, use the Category dropdown to select the most relevant category. Each course can have one primary category. Choose the best fit to help students find your course.
-
Remove categories (admin only)
Tags are keywords describing your course (e.g., "beginner", "advanced", "certification", "hands-on"). Unlike categories, courses can have multiple tags. Tags improve search and filtering.
-
Add tags to your courses
When editing a course, find the Tags field. Type a tag and press Enter to add it. Add 3-8 relevant tags. Use popular tags students search for. Tags are searchable and help course discovery.
-
View tag suggestions
As you type in the tags field, you'll see suggested tags based on what other educators use. Using popular tags increases your course visibility. You can also create new unique tags.
-
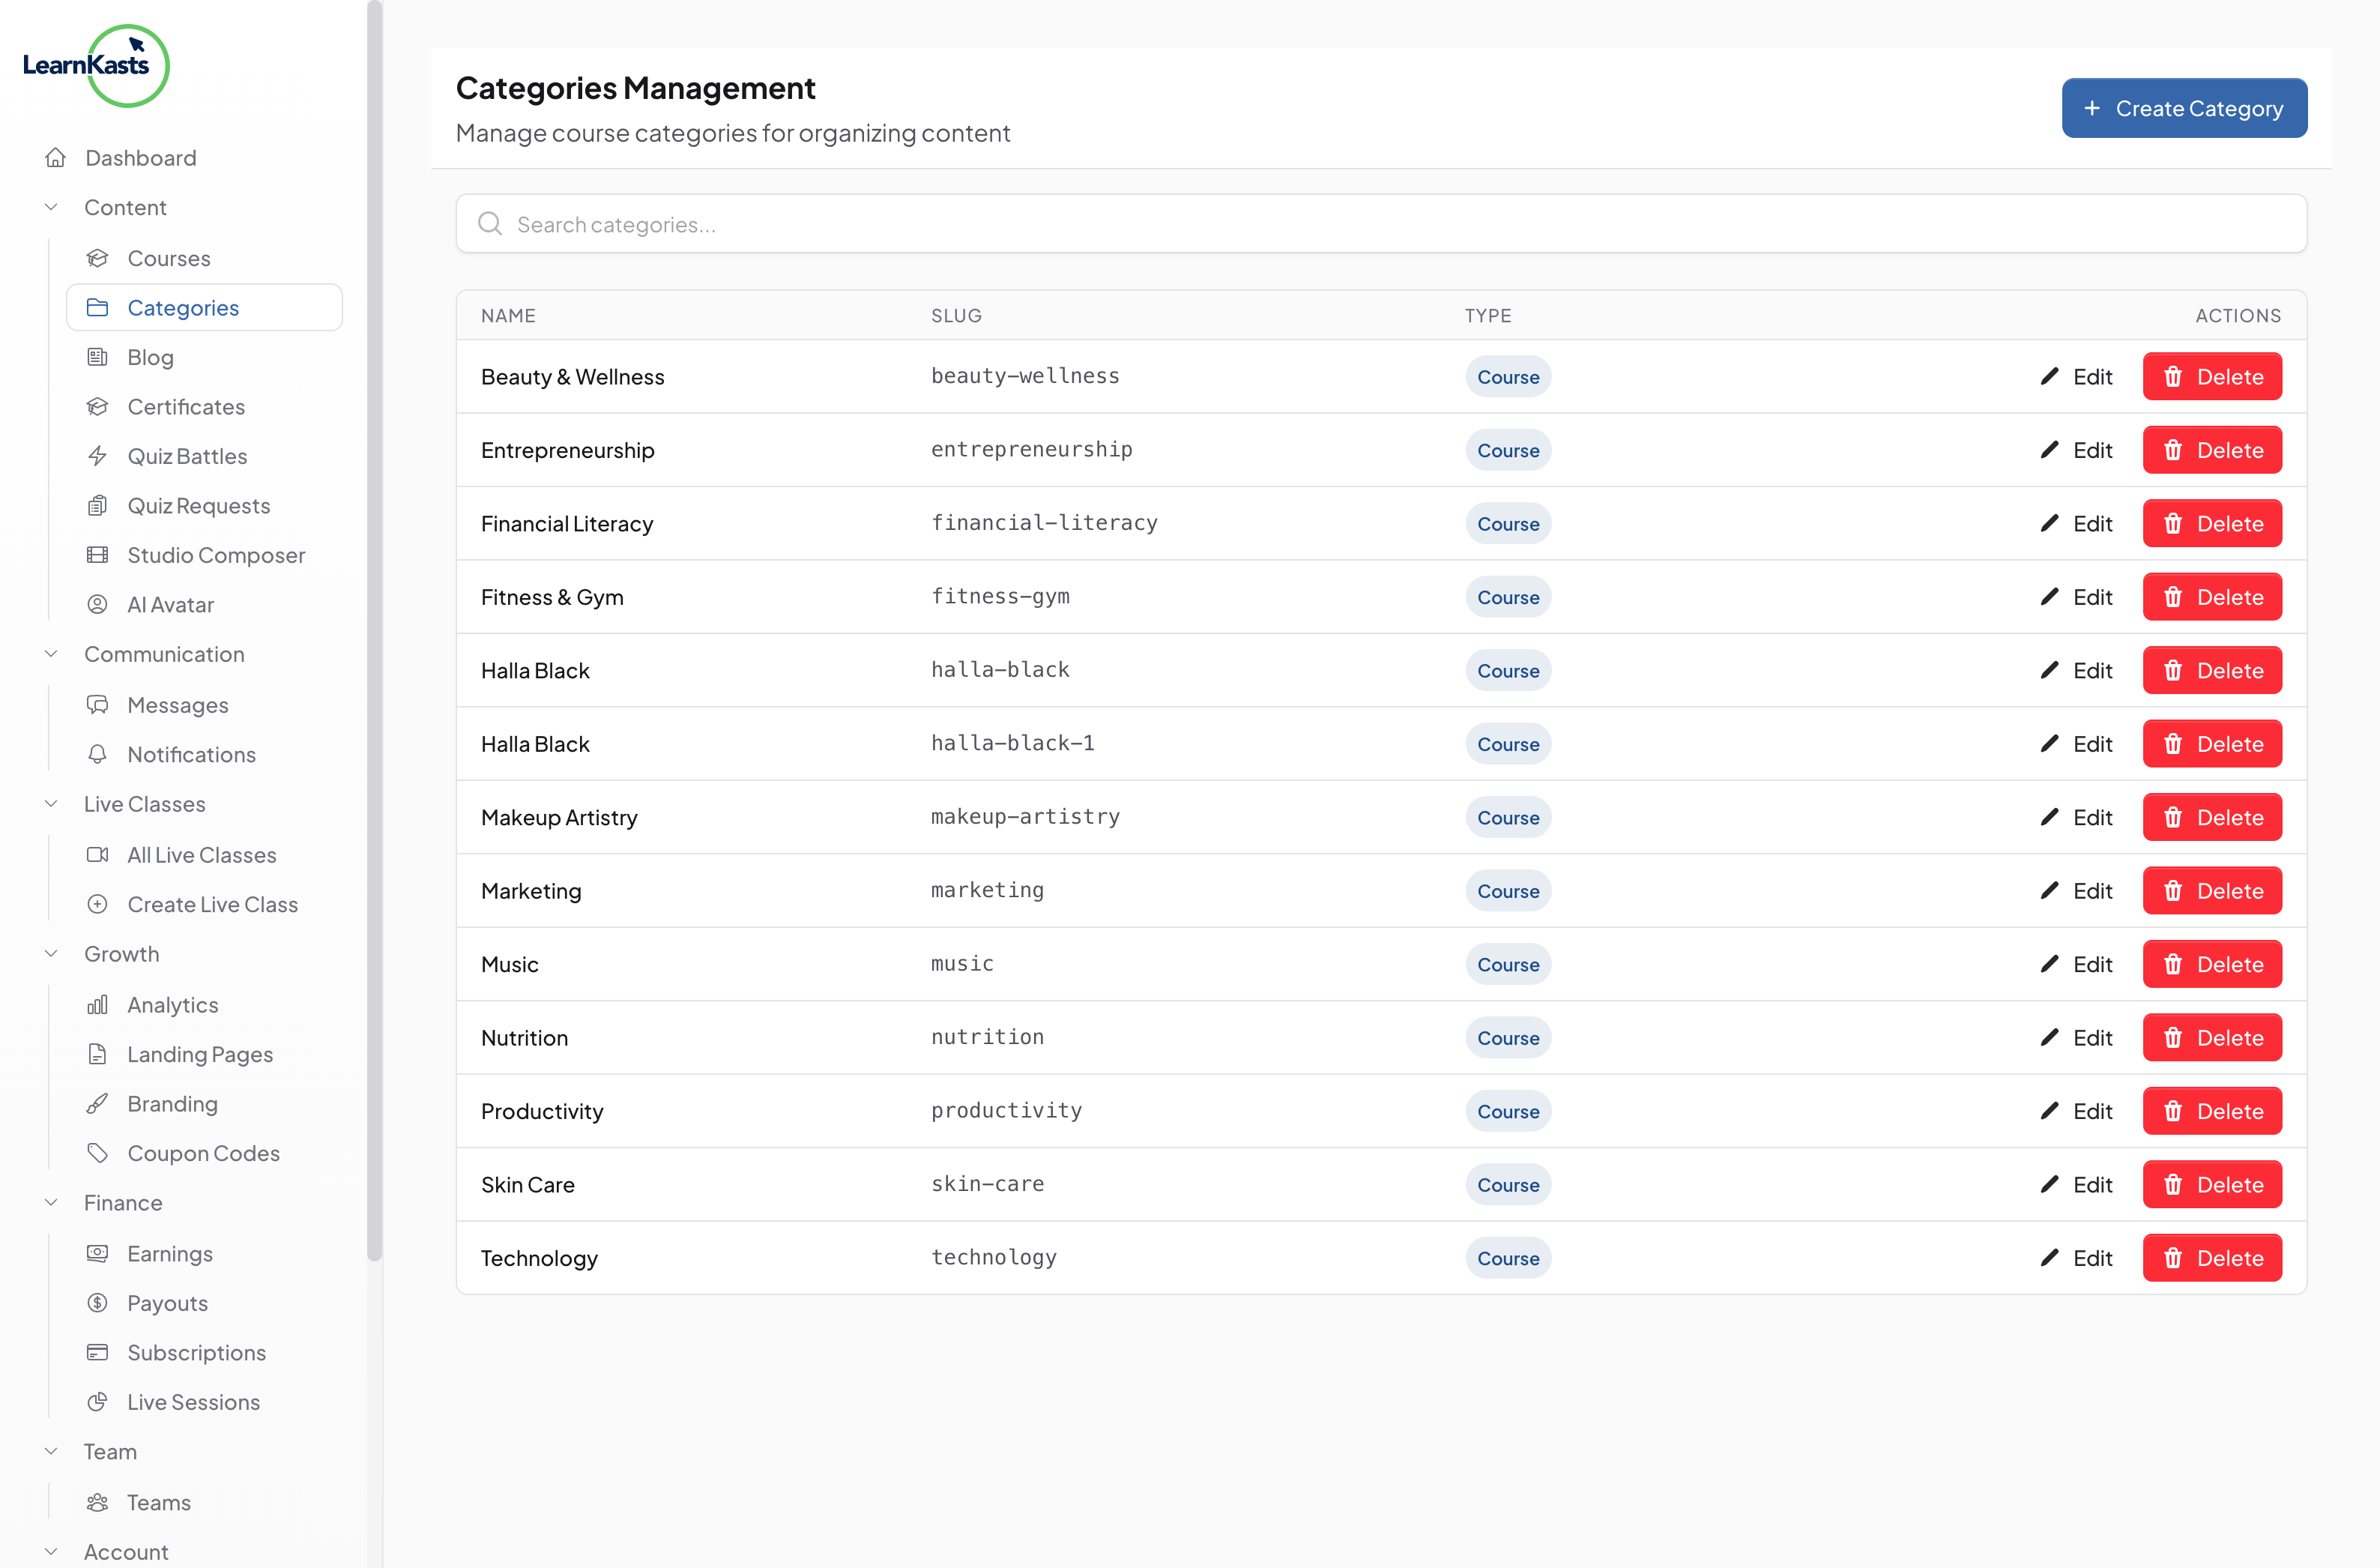
Remove categories (admin only)
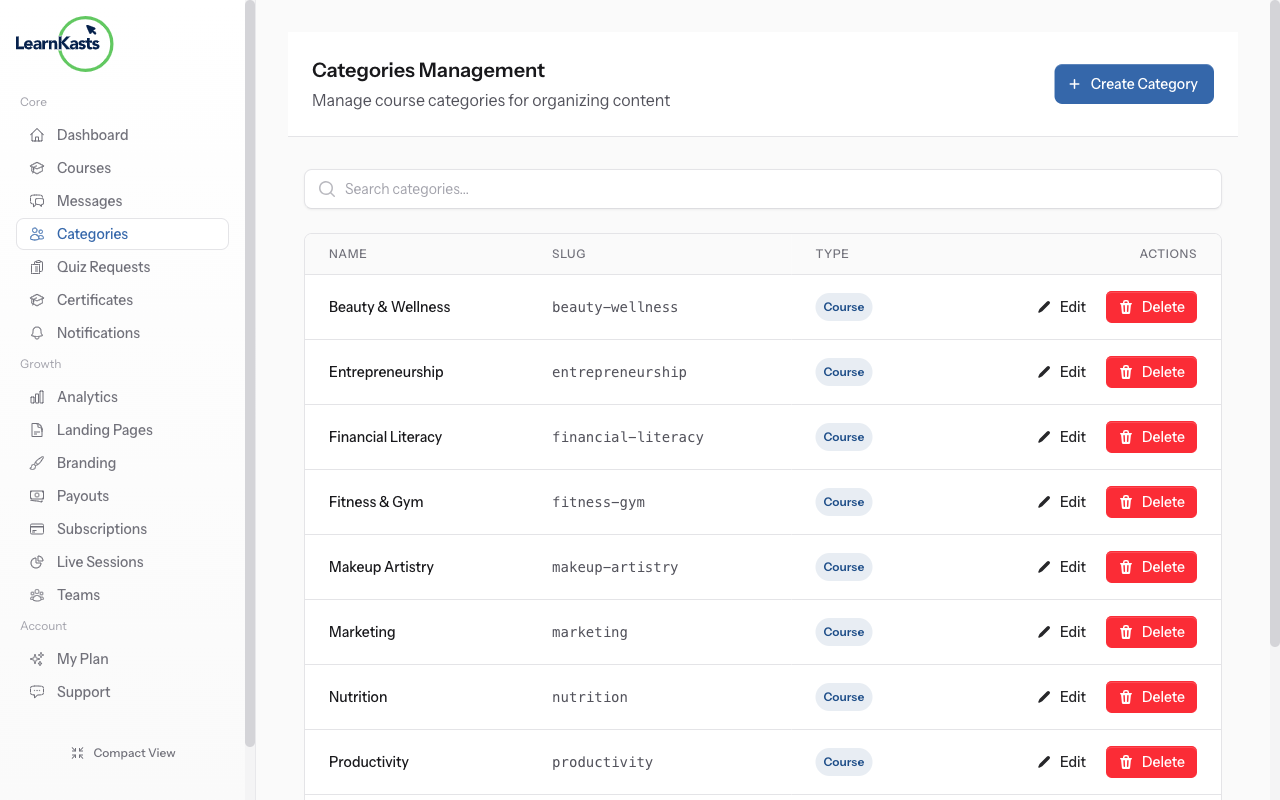
To delete a category, click the delete icon → Confirm. Warning: Courses using this category will lose it and need reassignment. Only delete truly unused categories.
More guides
Educator guides
Step-by-step guides for creating courses, hosting live sessions and growing your teaching business.
- Getting started as an educator
- Creating your first course
- Building course curriculum
- Uploading video lessons
- Using AI to generate quizzes
- Creating quizzes and assignments
- Assignments and grading queues
- Hosting live sessions
- Creating and managing webinars
- Managing course cohorts
- Adding students to cohorts
- Setting up subscriptions
- Course reviews and ratings
- Issuing certificates
- Understanding course analytics
- Live session usage and billing
- Setting up payout methods
- Viewing revenue and payouts
- Setting up your educator subdomain
- Creating landing pages
- Using the visual page editor
- Adding page sections
- Page styling and branding
- AI Studio Composer
- AI Voice Clone & Avatar
- Traffic sources & UTM attribution
Learner guides
Everything learners need to browse courses, join live sessions and track their progress.
- Creating an account
- Browsing and finding courses
- Enrolling in a course
- Watching video lessons
- Taking notes during lessons
- Submitting assignments
- Taking quizzes
- Joining live classes
- Attending webinars
- Managing your subscriptions
- Viewing your certificates
- Writing course reviews
- Managing your orders
- Updating your profile
Team & admin
Team management, permissions, billing and administrative tools for organisations.
Did this guide help?
If you need a real human, our support team replies in plain English within one working day. Faster on WhatsApp.