
-
01
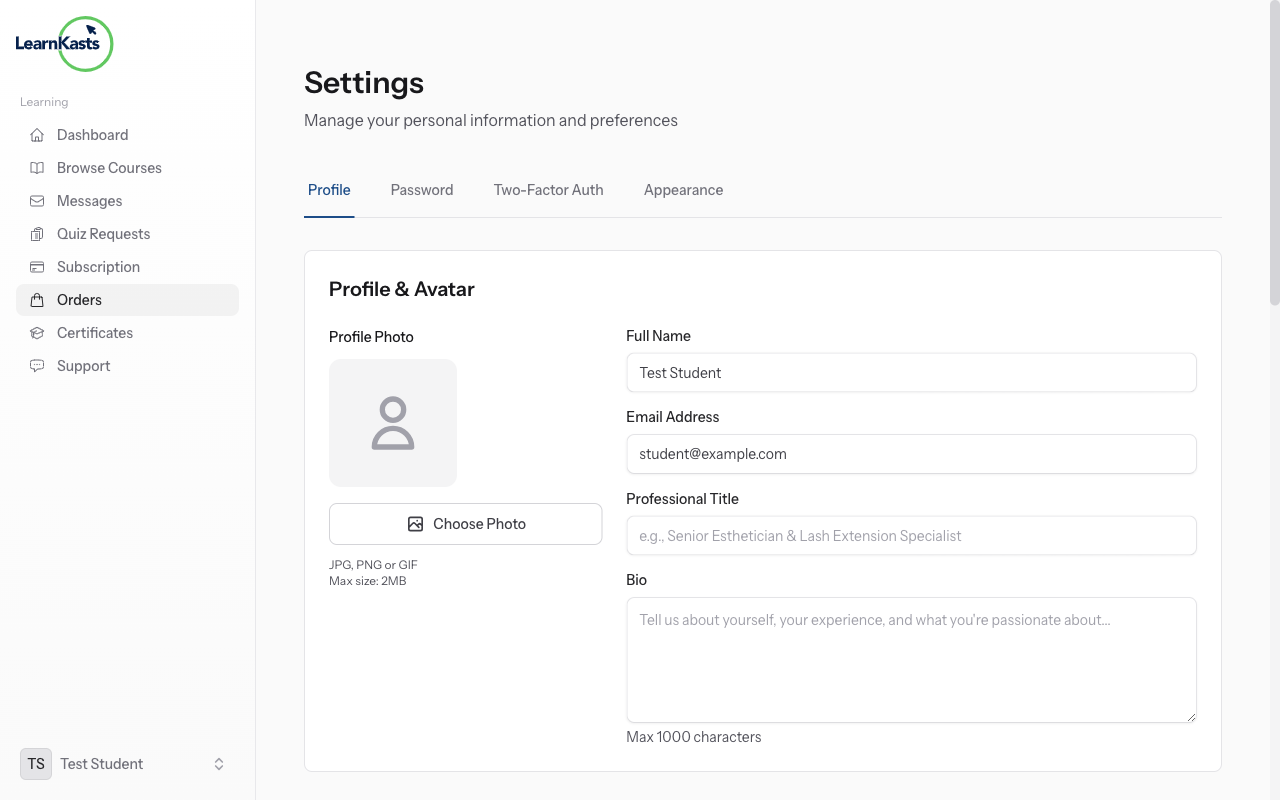
Access profile settings
Click your profile icon or avatar in the top right corner → Select "Profile" or "Settings". You'll see tabs for Personal Info, Password, Preferences, and Notifications.
-
02
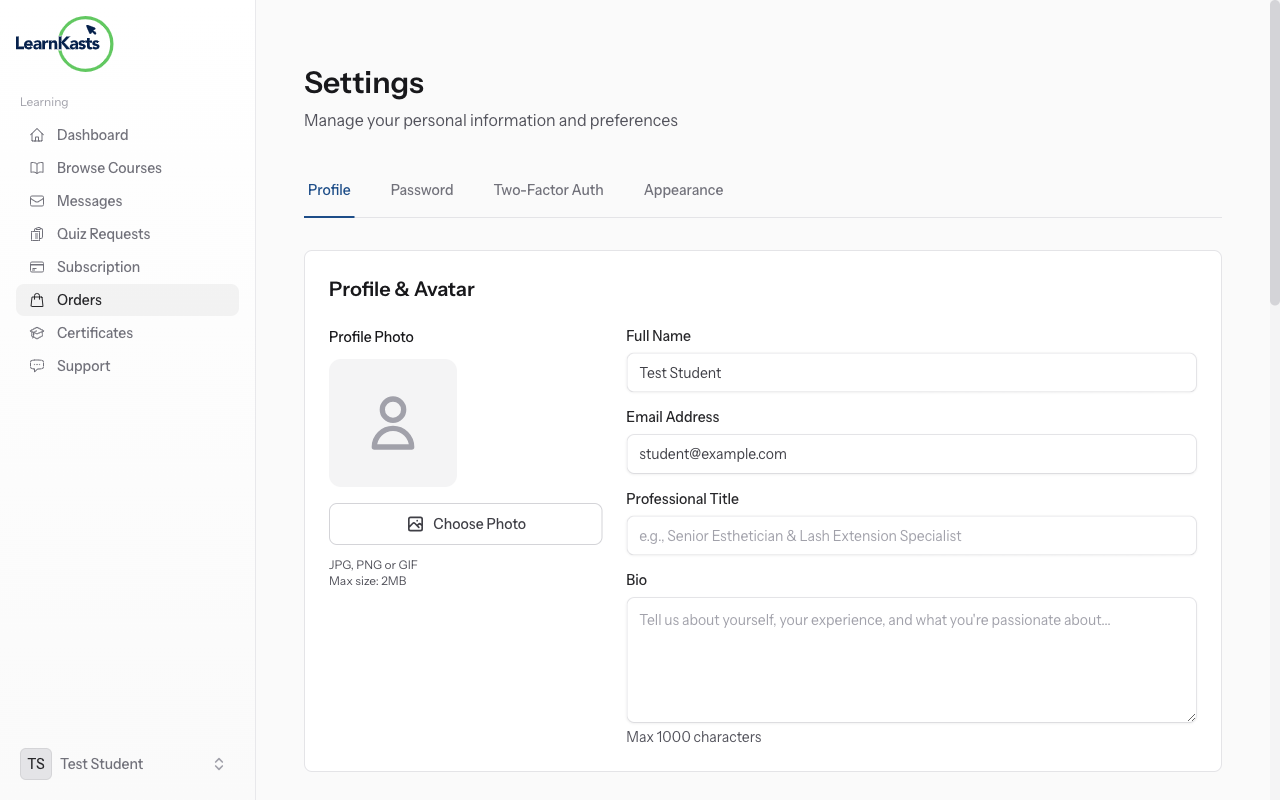
Update personal information
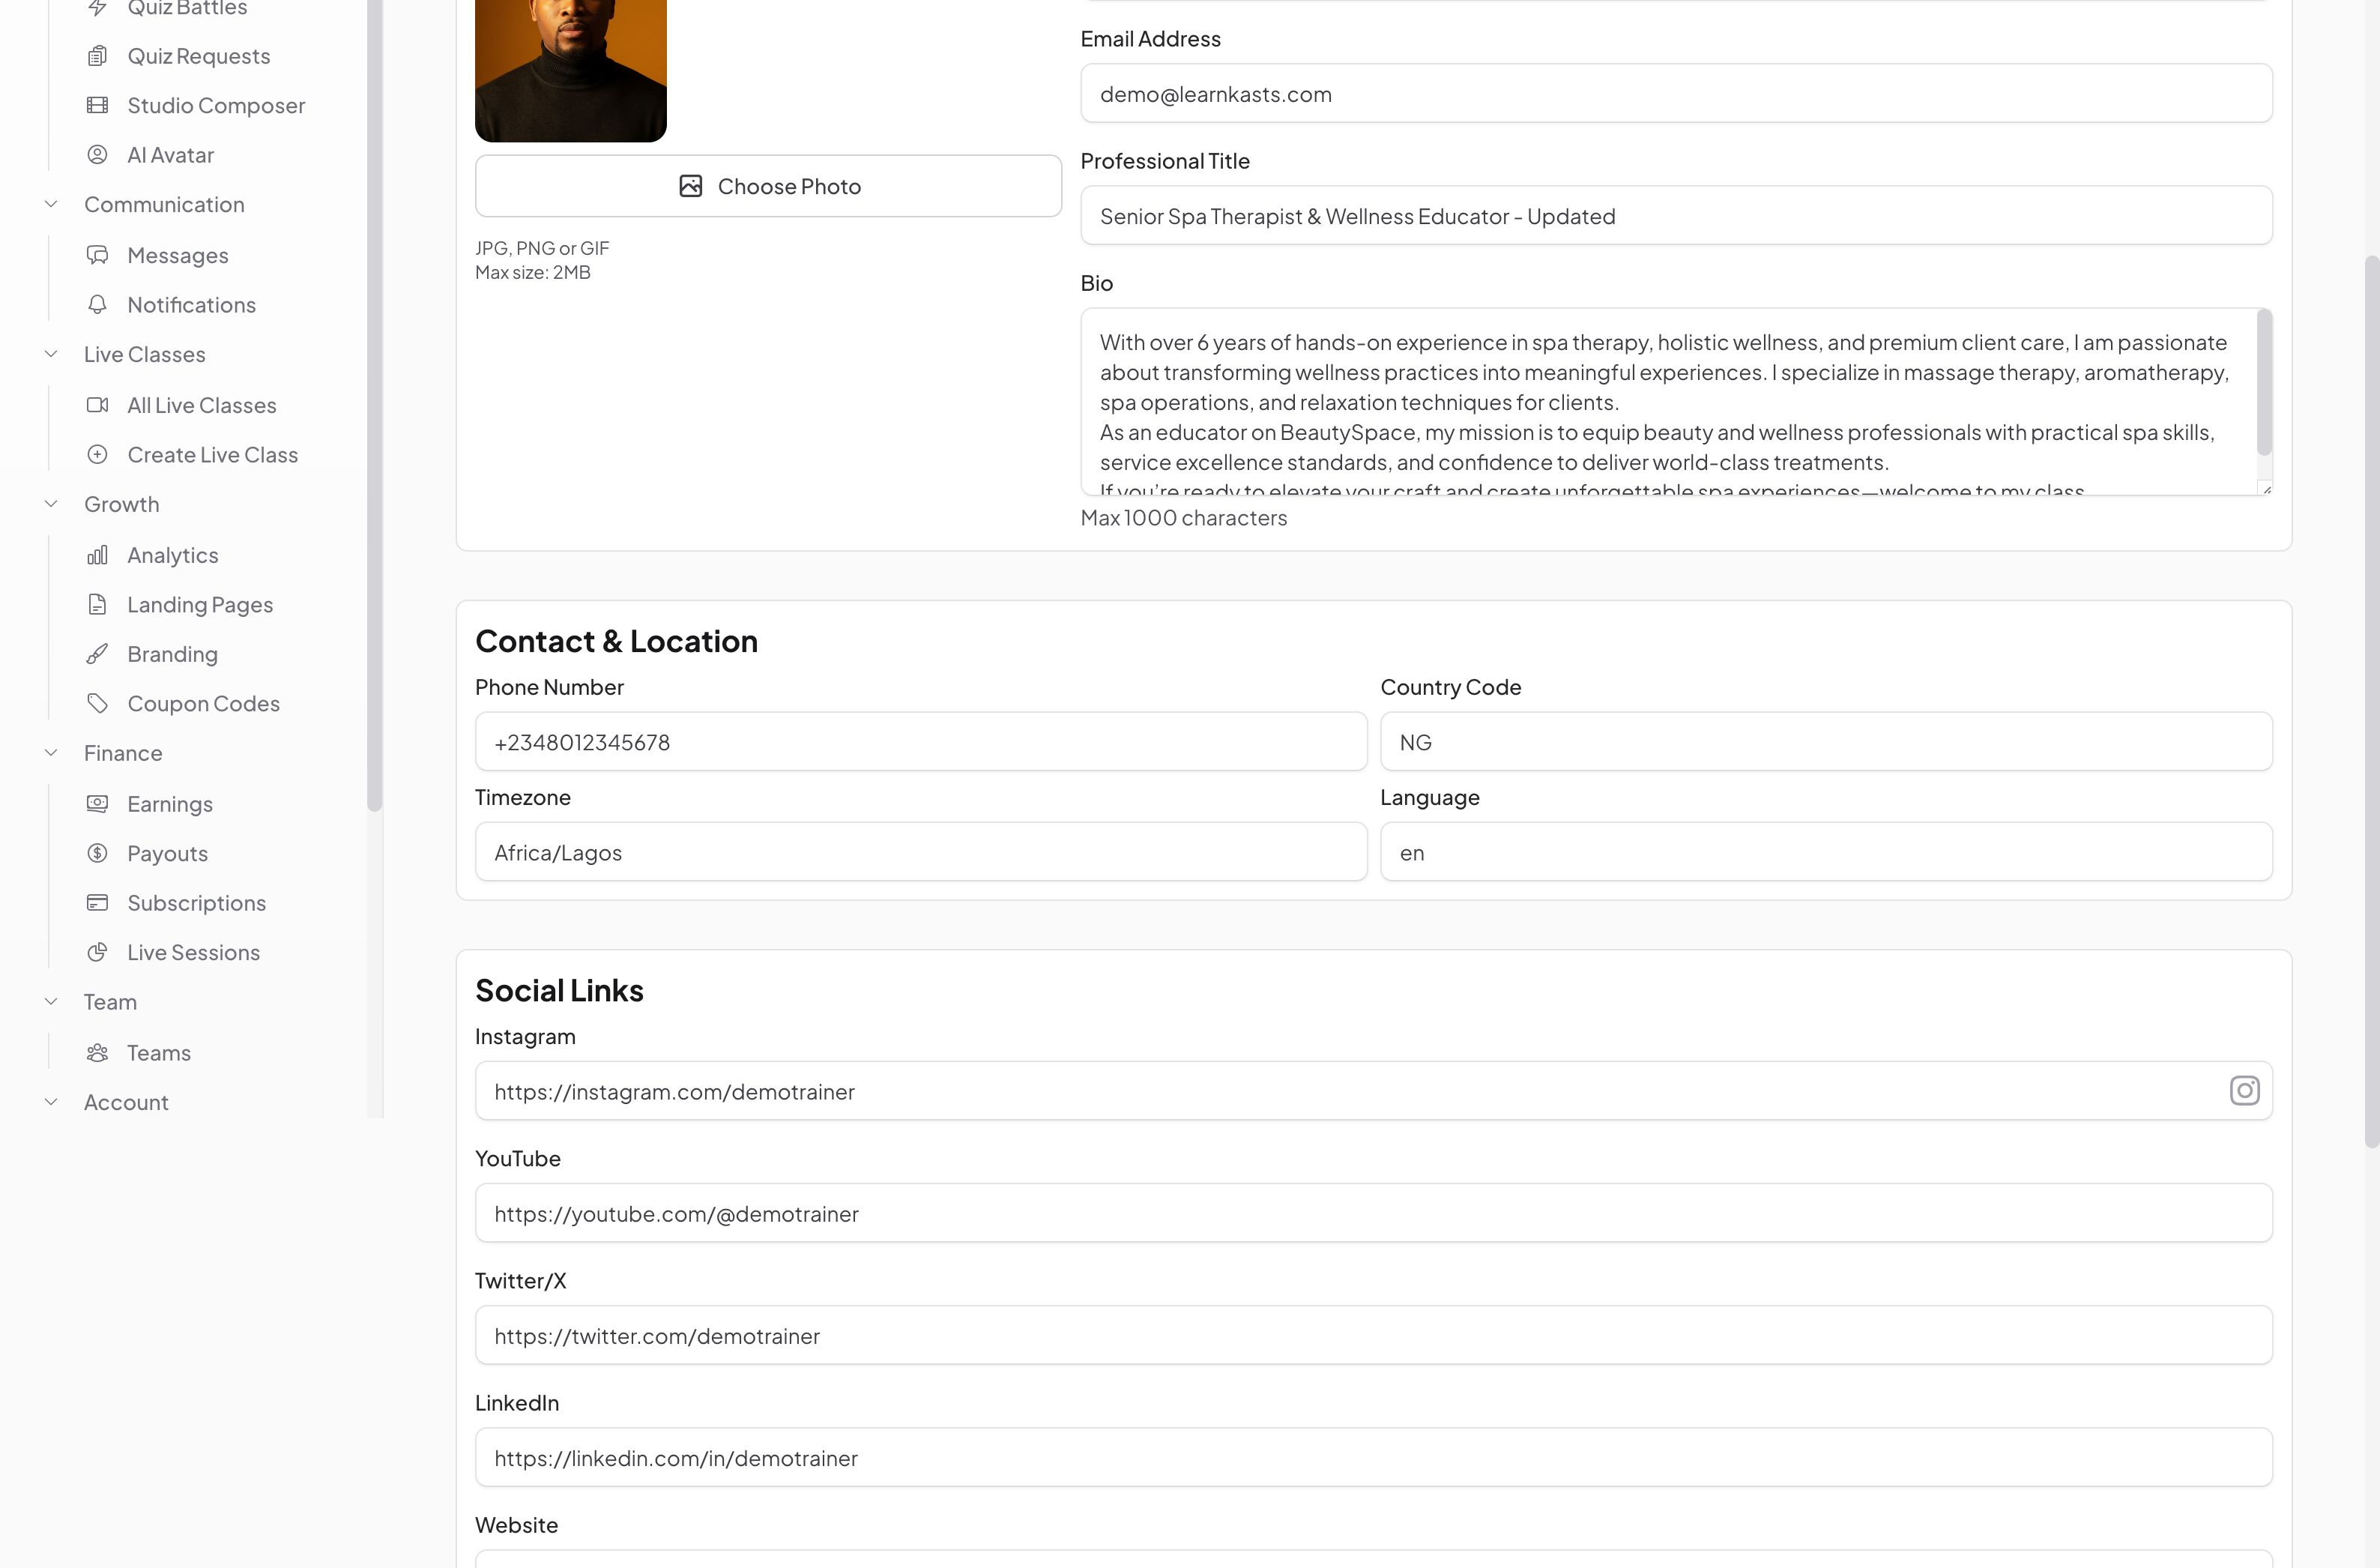
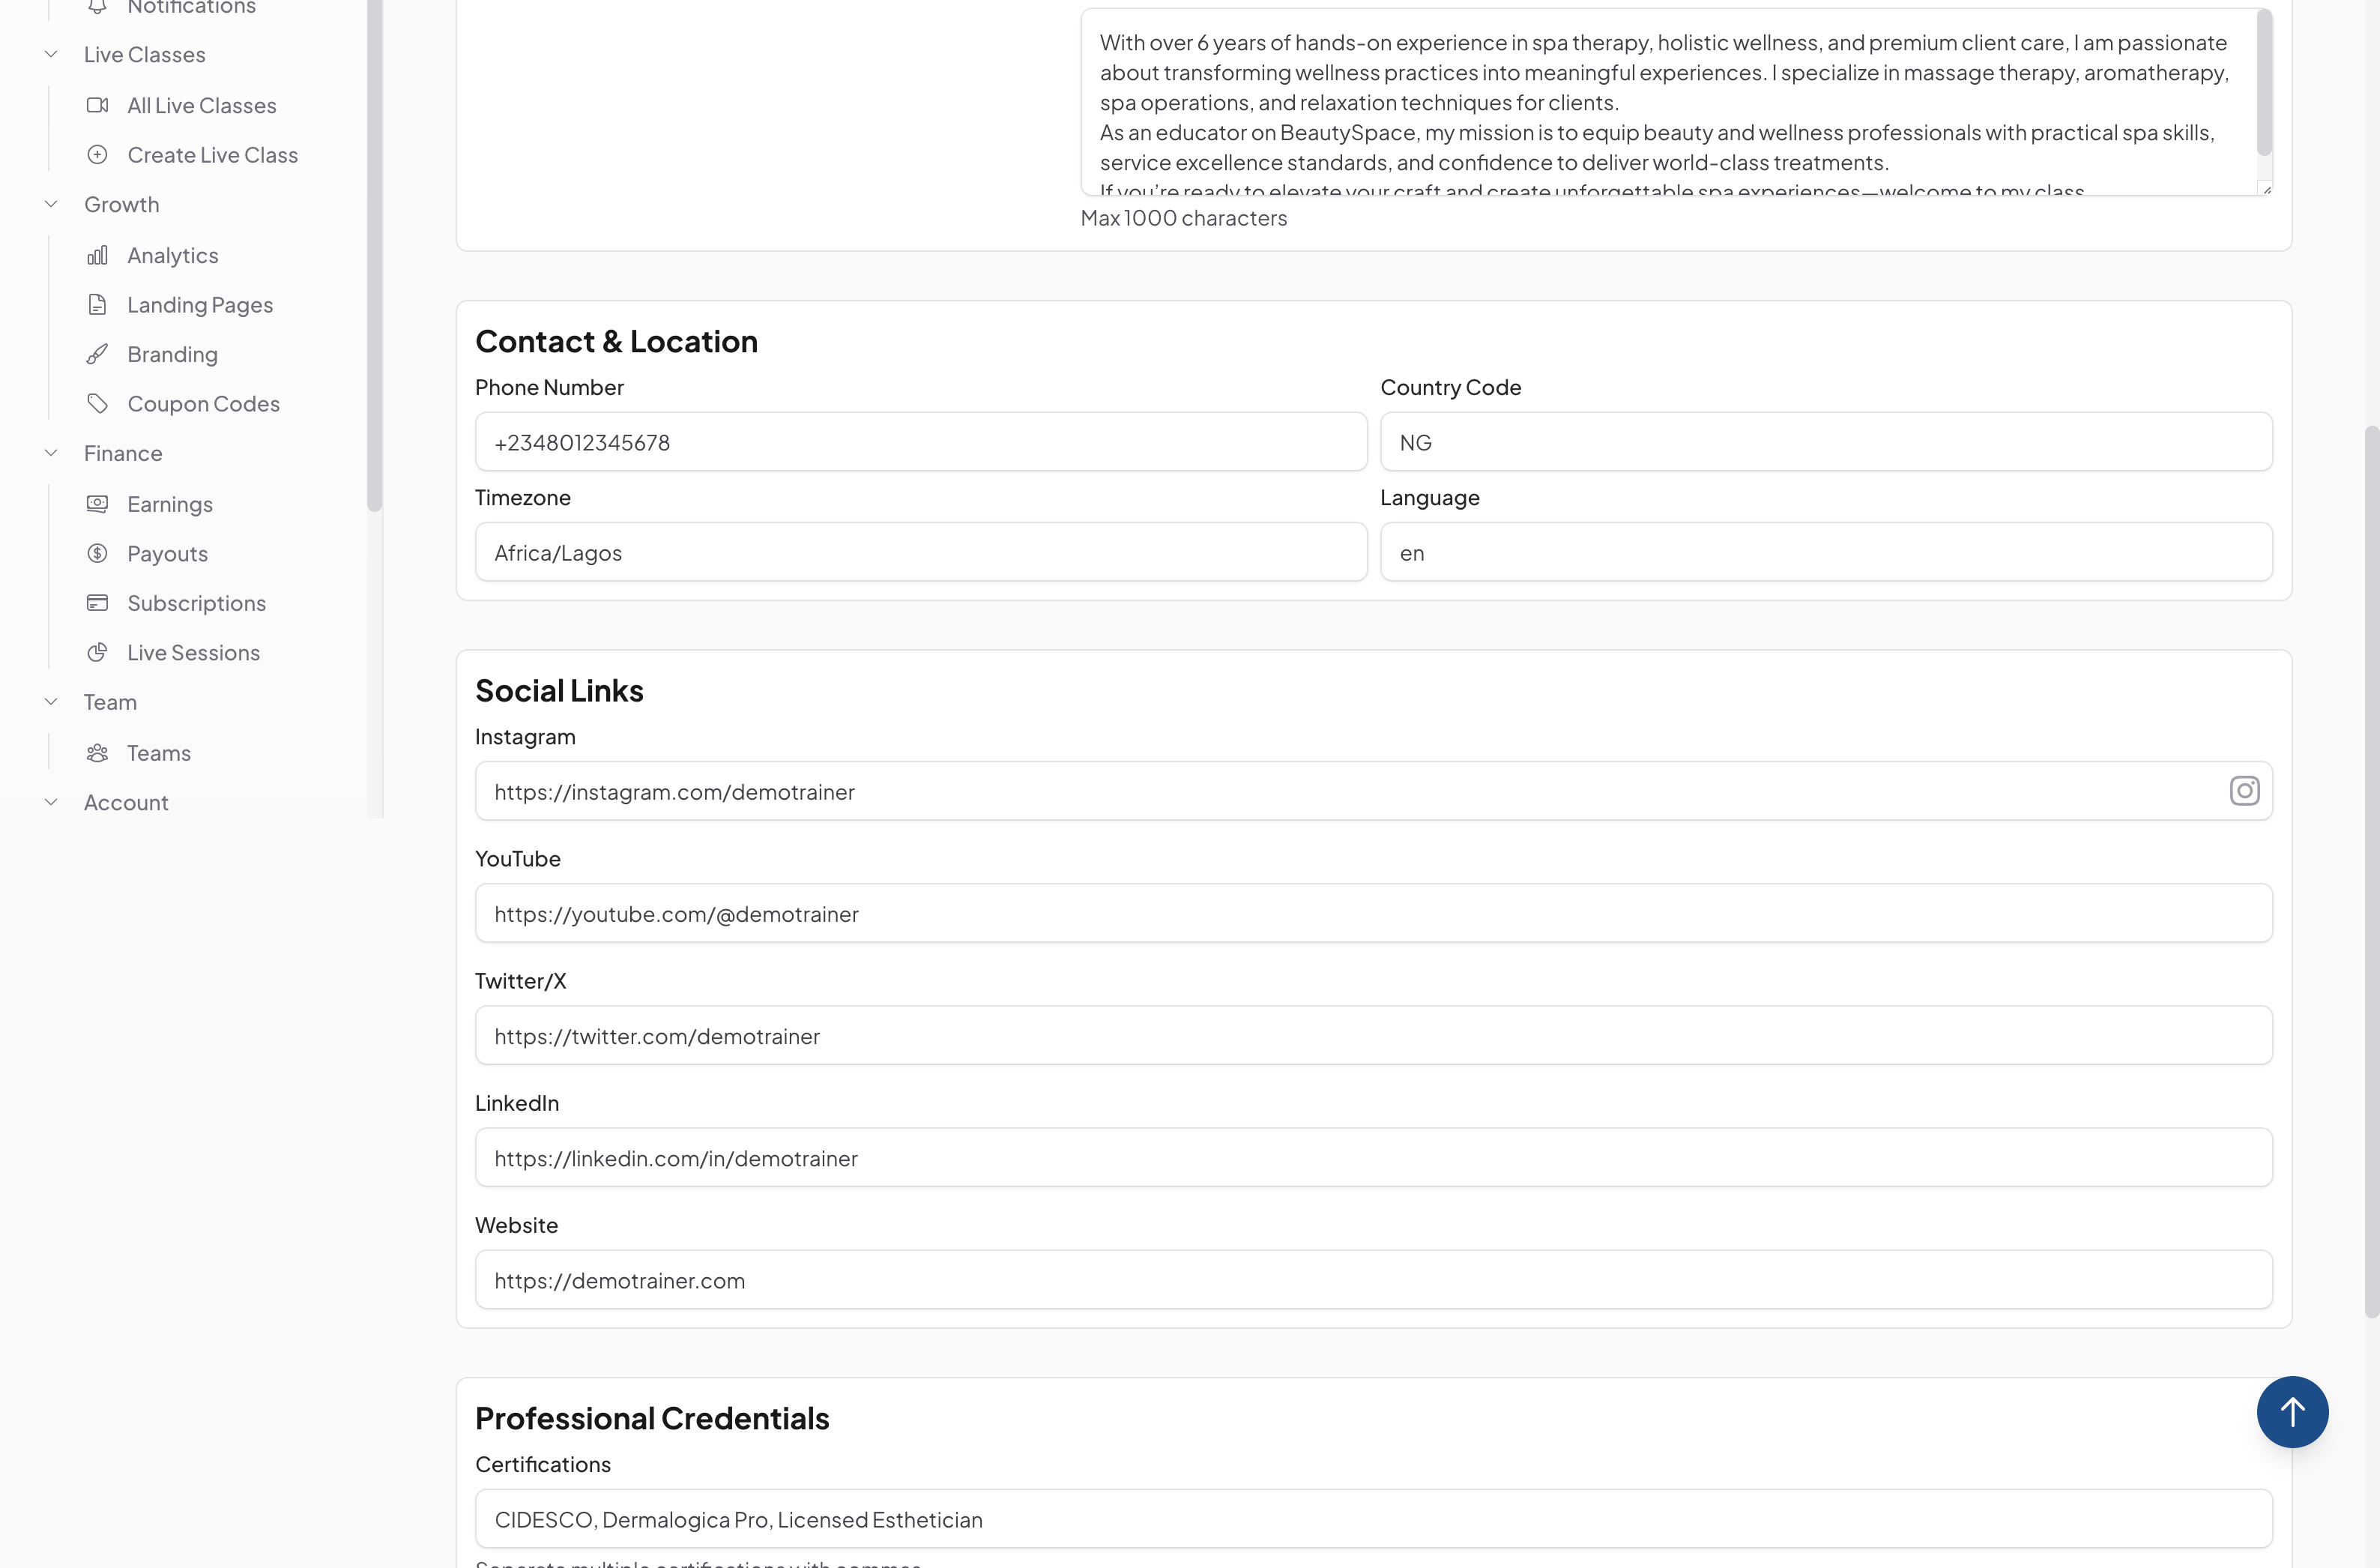
On the Personal Info tab, update your full name, email address, phone number, location (country/city), and timezone. Make sure your email is correct to receive course updates.
-
03
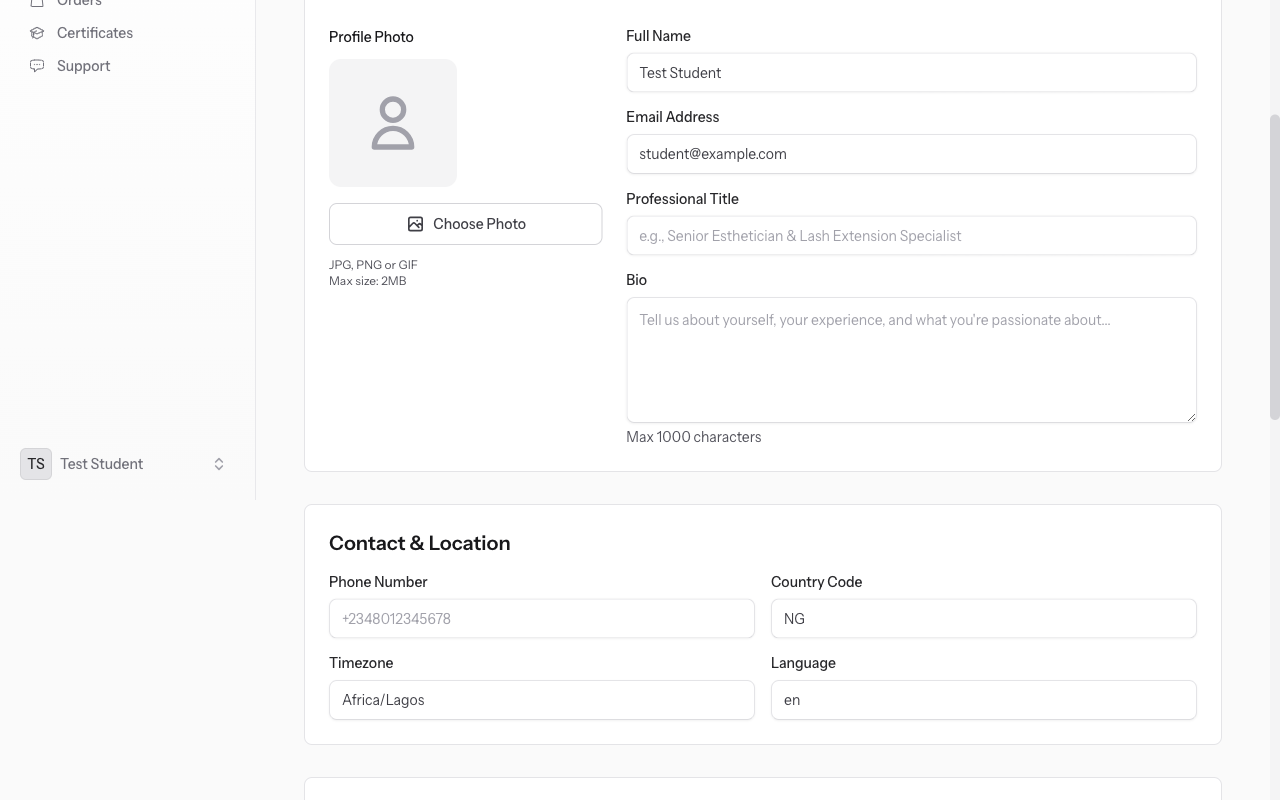
Write your bio (optional)
Click "Change Photo" or click on your current avatar. Upload a new photo (JPG, PNG, max 5MB). Crop if needed. Your photo appears on reviews and discussions. A clear photo builds credibility.
-
04
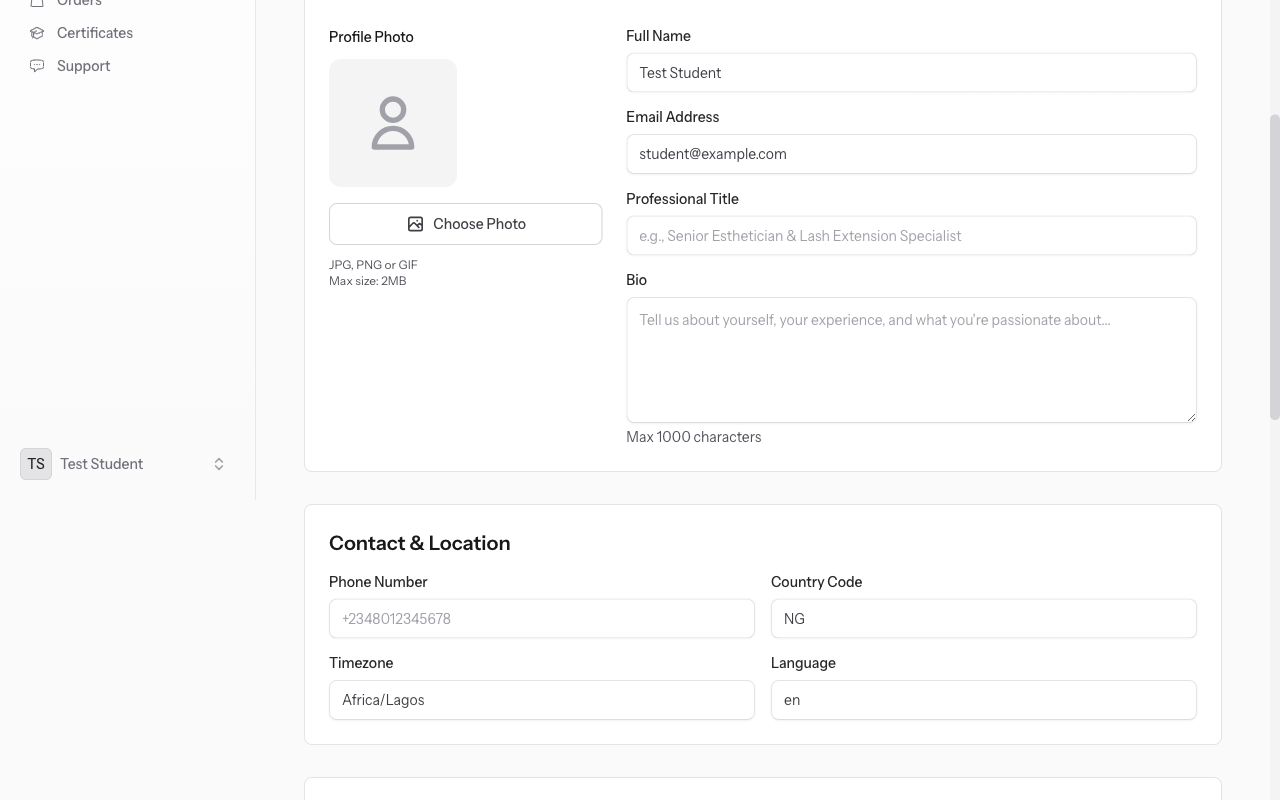
Set notification preferences
Add a short bio describing your learning goals, interests, or professional background. This appears on your public profile if you participate in course discussions or community features.
-
05
Save your changes
Click the "Password" tab. Enter your current password, then your new password twice. Use a strong password with mix of letters, numbers, and symbols. Click "Update Password" to save.
-
06
Set notification preferences
Go to Notifications tab. Choose which emails you want: course updates, new lessons, assignments due, promotions, weekly digest. Toggle each on/off. Save changes. Reduces email clutter while staying informed.
-
07
Update display preferences
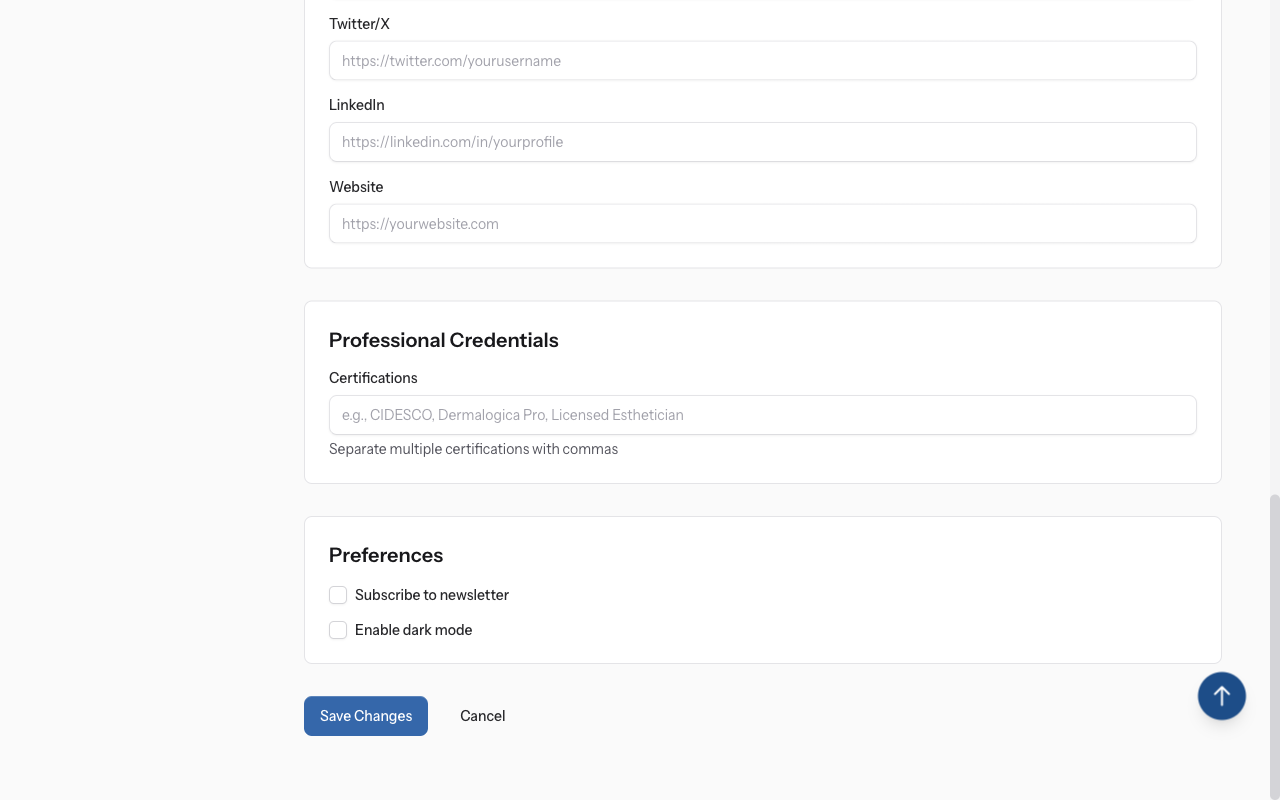
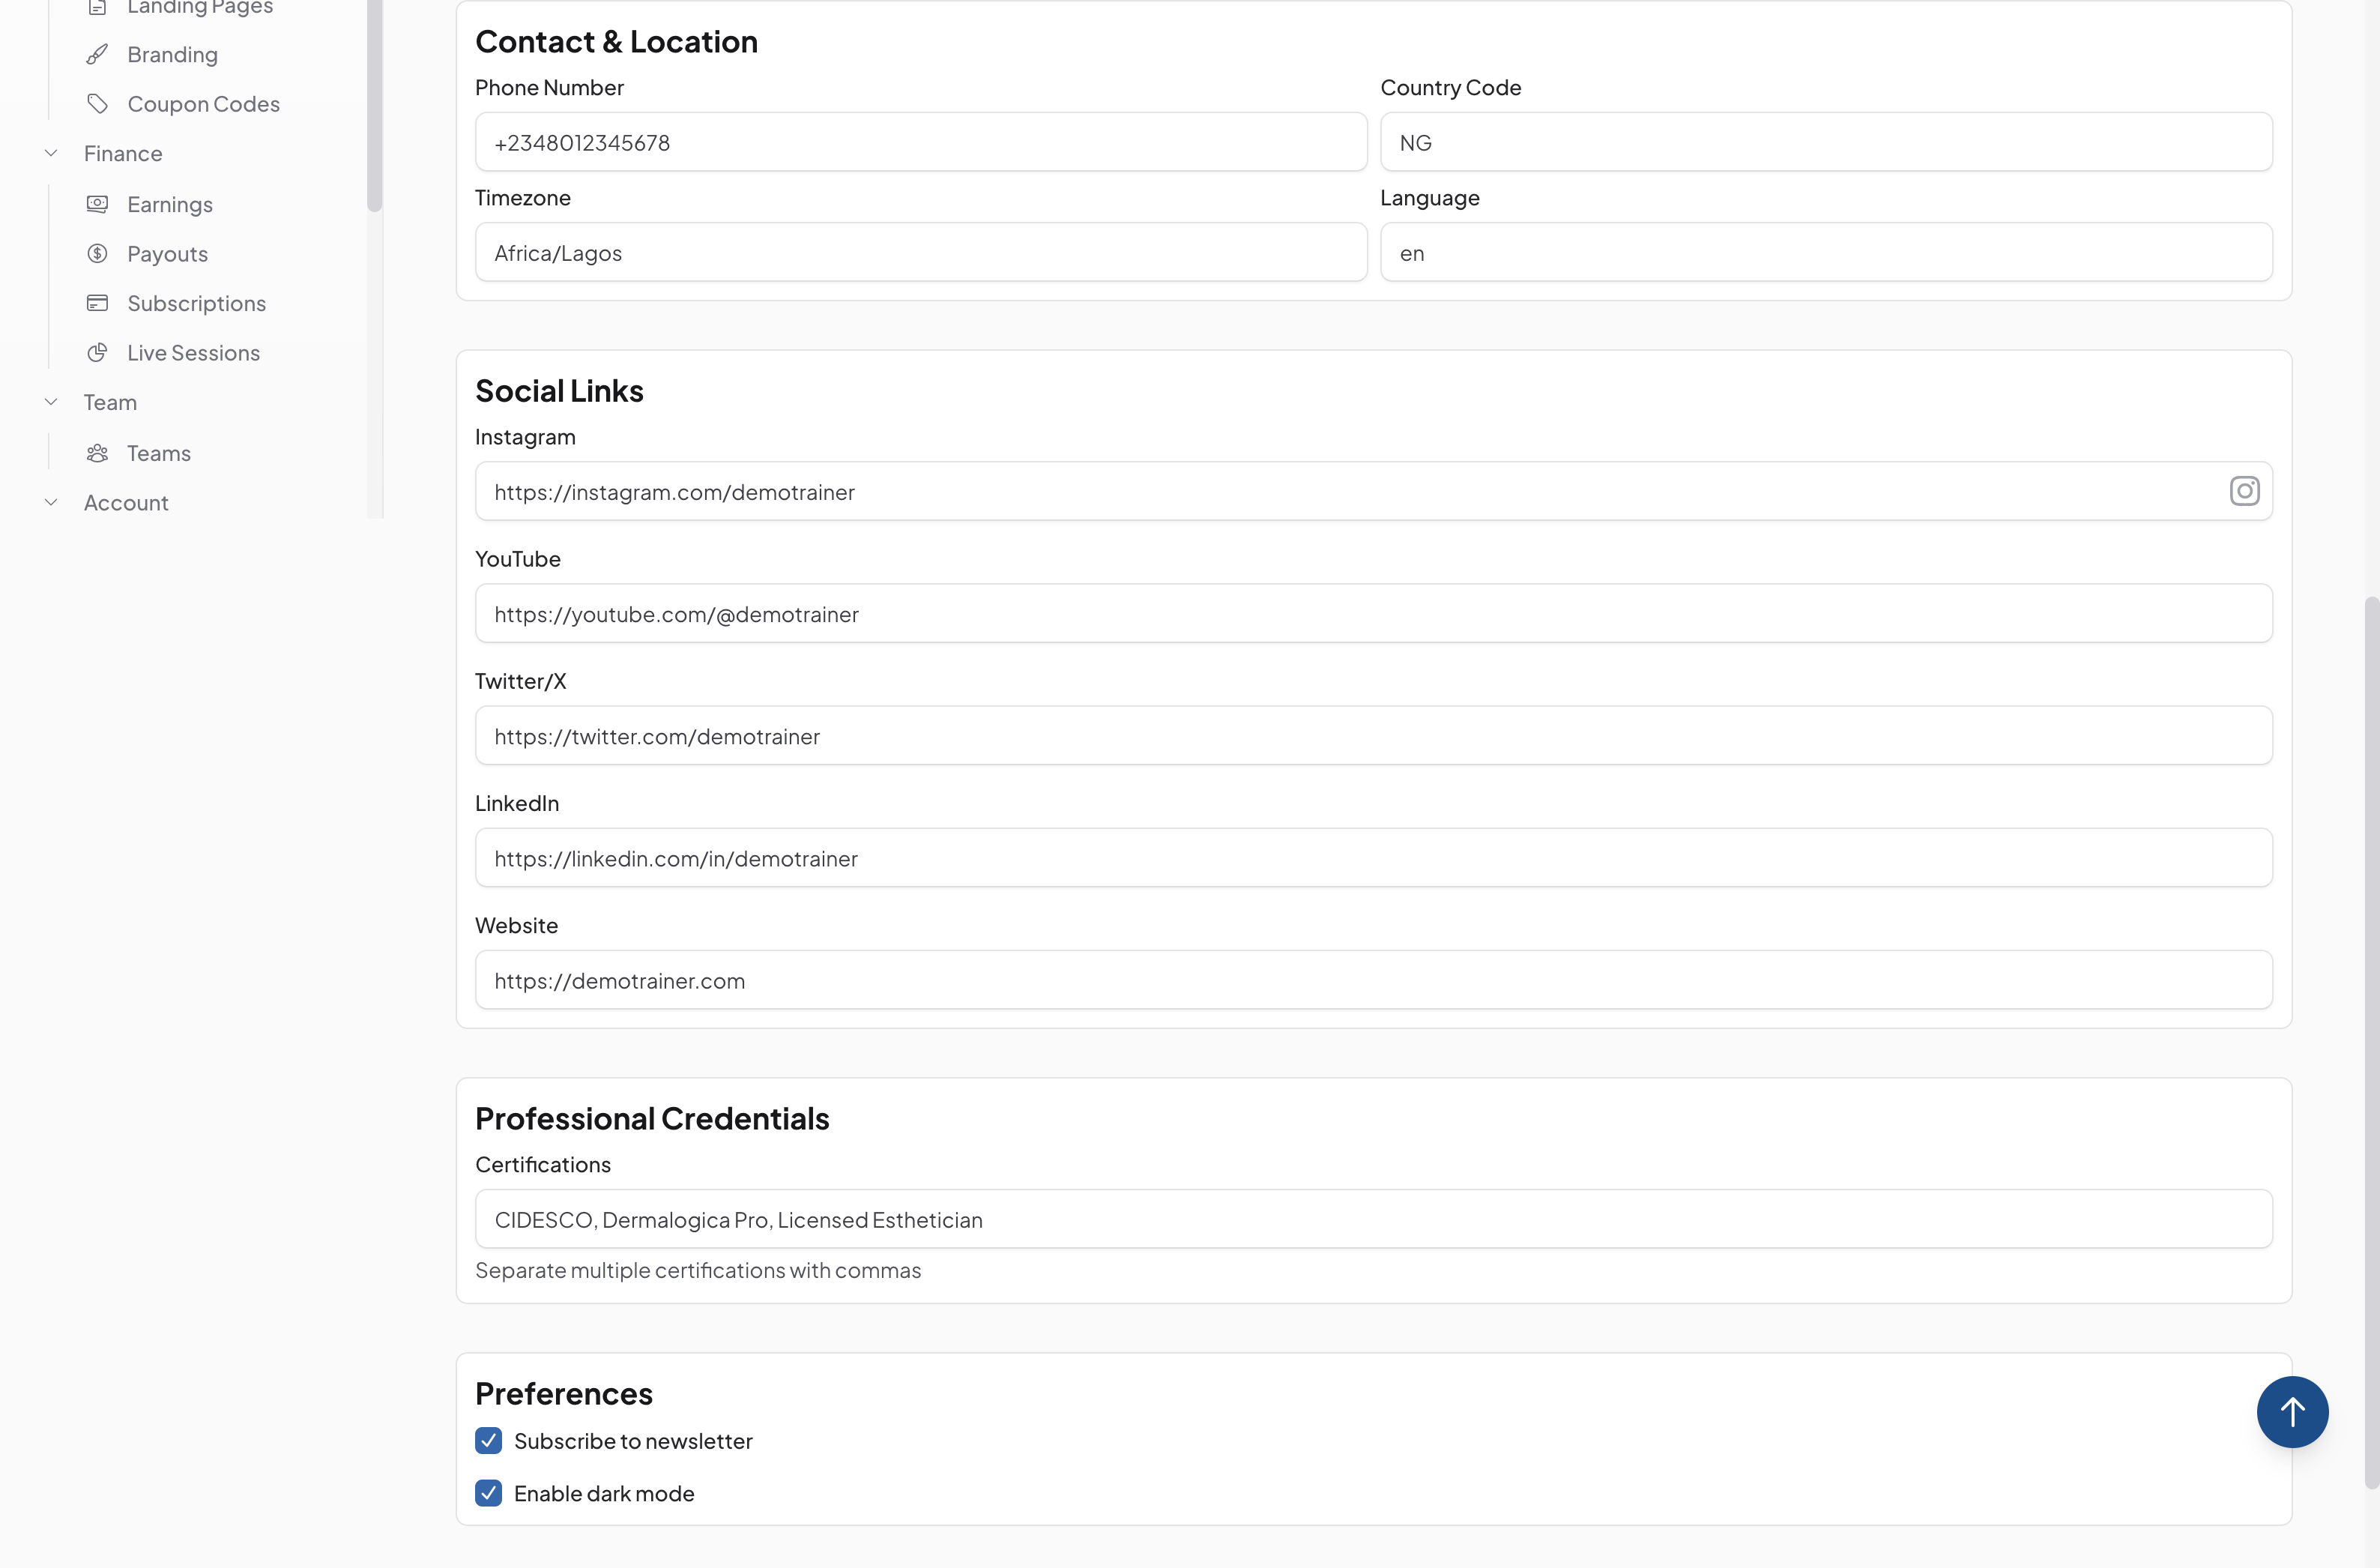
Select your preferred language, date format, and timezone. Enable dark mode if you prefer dark interface. Choose whether to show your profile publicly or keep it private.
-
08
Save your changes
After making any updates, click "Save Changes" or "Update Profile" button at the bottom. You'll see a success message confirming your profile was updated. Changes take effect immediately.
Did this guide help?
If you need a real human, our support team replies in plain English within one working day. Faster on WhatsApp.