
-
01
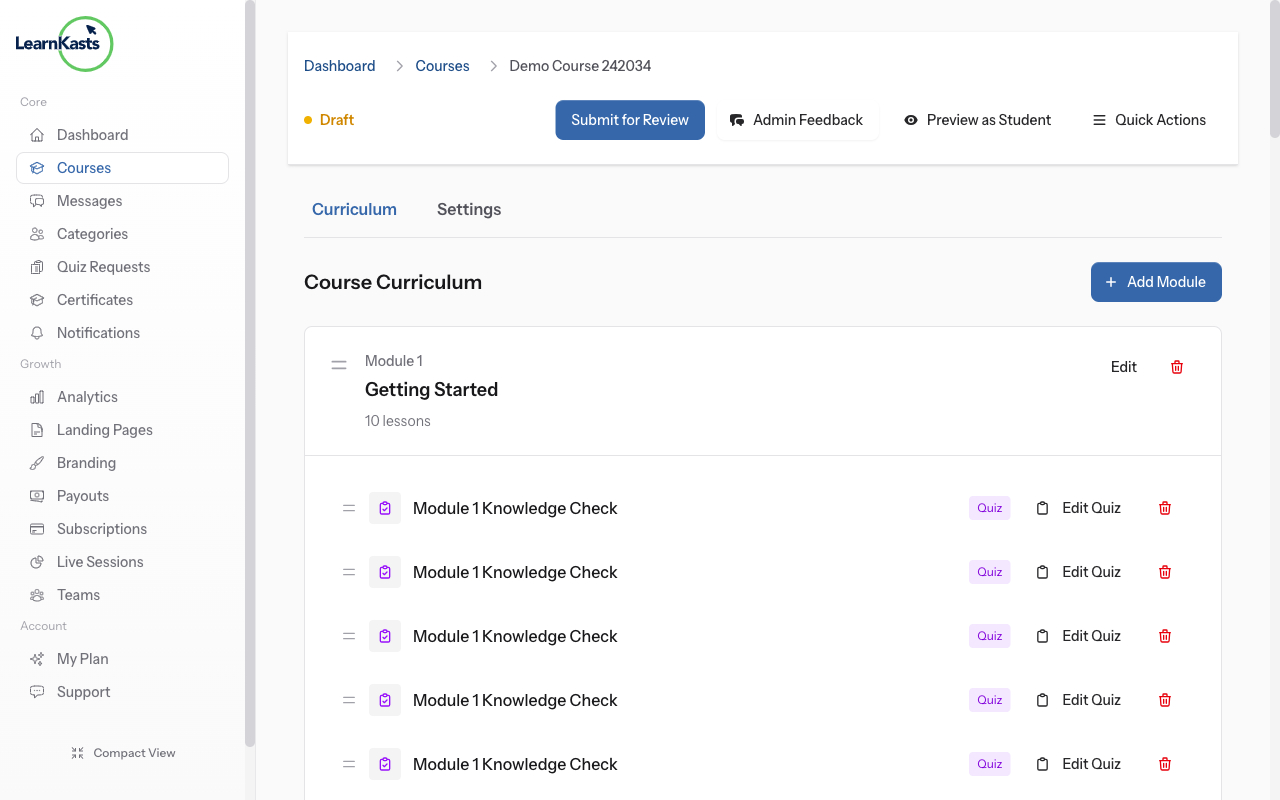
Course edit page with Curriculum tab selected
After creating your course, go to Educator Dashboard → My Courses → Click "Edit" on your course. Click the "Curriculum" tab. This is where you'll organize all your course content into modules and lessons.
-
02
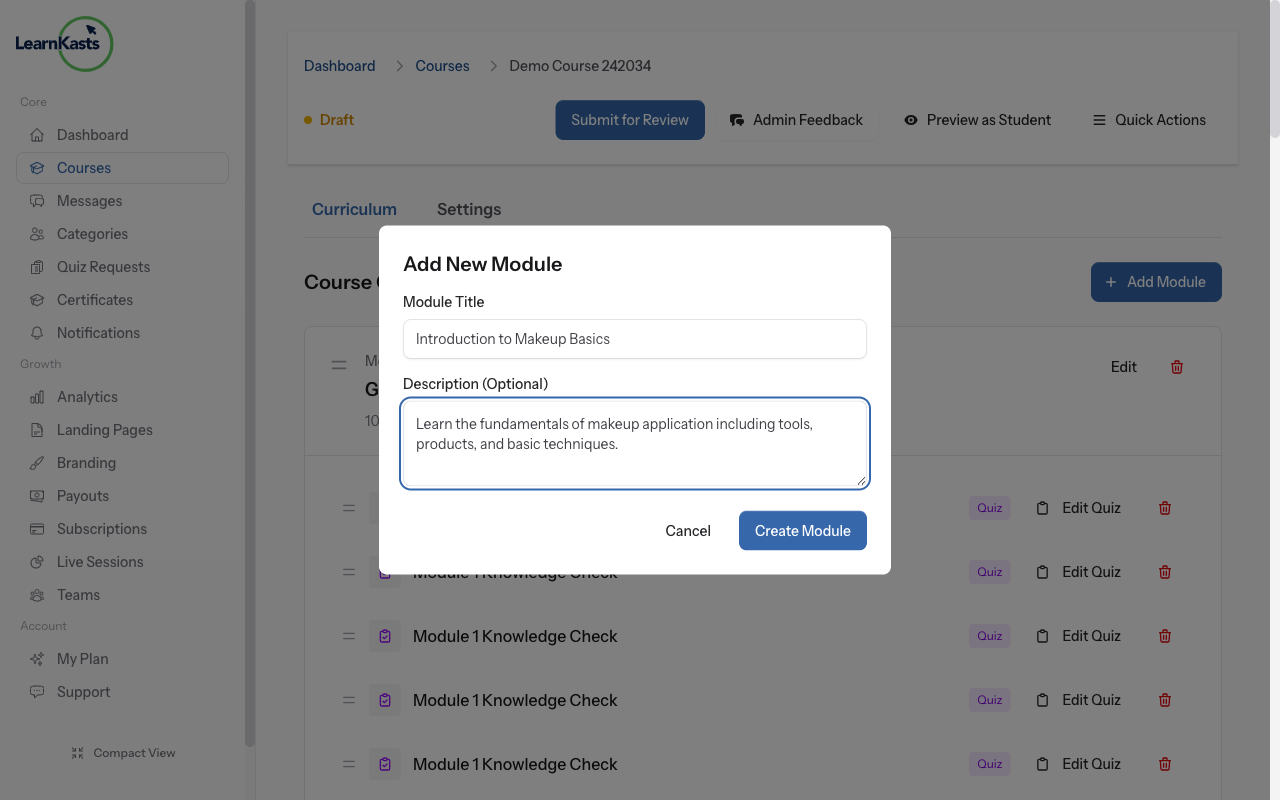
Add Module modal with filled fields
Click "Add Module" button. Enter a module title (e.g., "Introduction to Makeup Basics") and a brief description explaining what this module covers. Click "Create Module". Modules help you organize related lessons together.

-
03
Module with Add Lesson button highlighted
Click "Add Lesson" within your new module. You'll be taken to the lesson creator. Choose lesson type (Video, PDF, Text, Quiz, Assignment, Image, or External Link). Each lesson will be explained in detail in the "Uploading Video Lessons" guide.

-
04
Modules with drag handles visible
Hover over a module until you see the drag handle (≡ icon). Click and hold the drag handle, then move the module up or down. Release to drop it in the new position. The order is automatically saved.
-
05
Lessons being reordered with drag-and-drop
Similarly, you can drag and drop lessons within each module. This lets you control the exact order students will follow through your content. Logical ordering improves learning outcomes.

-
06
Module menu showing Edit and Delete options
Click the three dots (•••) menu on any module to edit its title/description or delete it. Warning: Deleting a module also deletes all lessons inside it! Make sure to move important lessons to another module first.

-
07
Preview button and student view of curriculum
Click the "Preview" button in the top right to see exactly how your course will appear to enrolled students. This helps you spot any organizational issues before publishing.

Did this guide help?
If you need a real human, our support team replies in plain English within one working day. Faster on WhatsApp.