-
01
Navigate to course creation
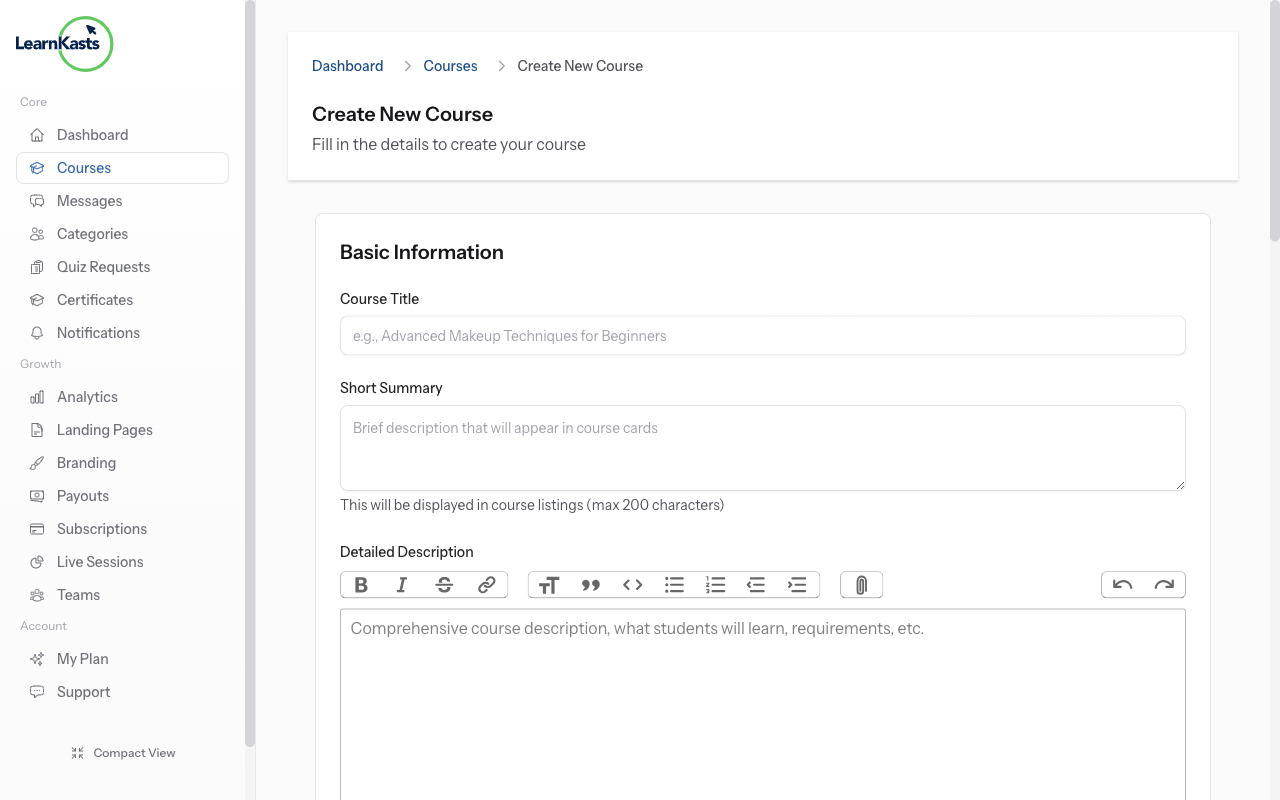
From your Educator Dashboard, click "Courses" in the left sidebar to see your courses list. Click the "Create Course" button in the top right corner. You'll be taken to the course creation form at /trainer/courses/create.
-
02
Enter course title and description
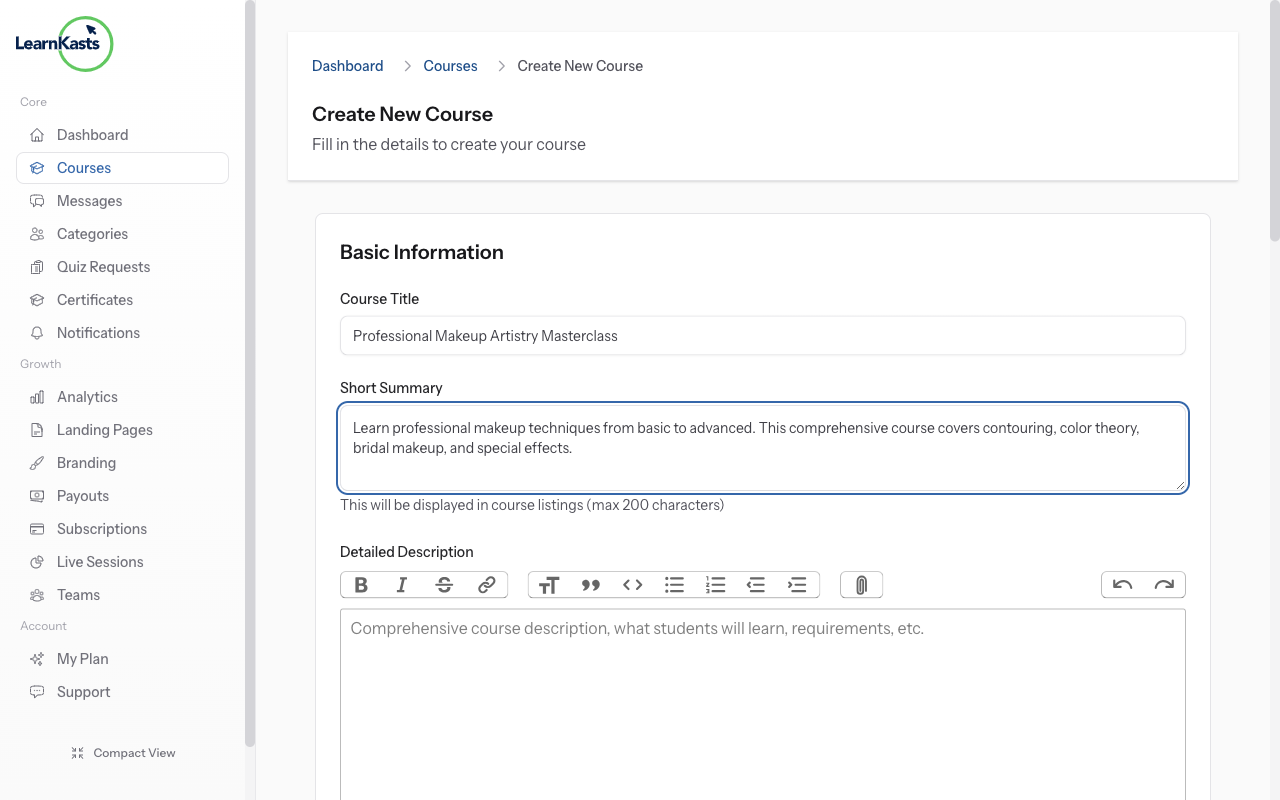
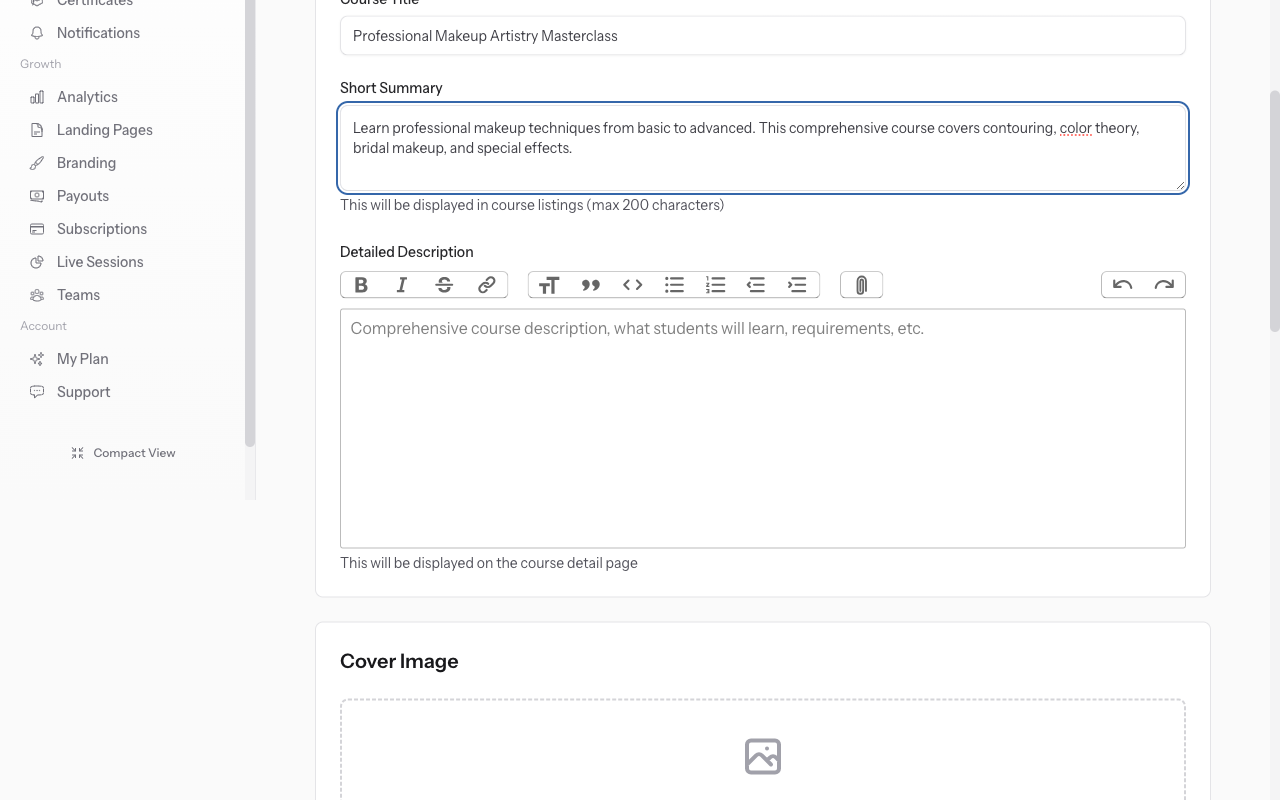
Enter a clear, descriptive course title (e.g., "Professional Makeup Artistry Masterclass"). The URL slug auto-generates from your title but you can customize it. Write a compelling description explaining what students will learn, who the course is for, and what outcomes they can expect. This appears on your course sales page.
-
03
Select your course type
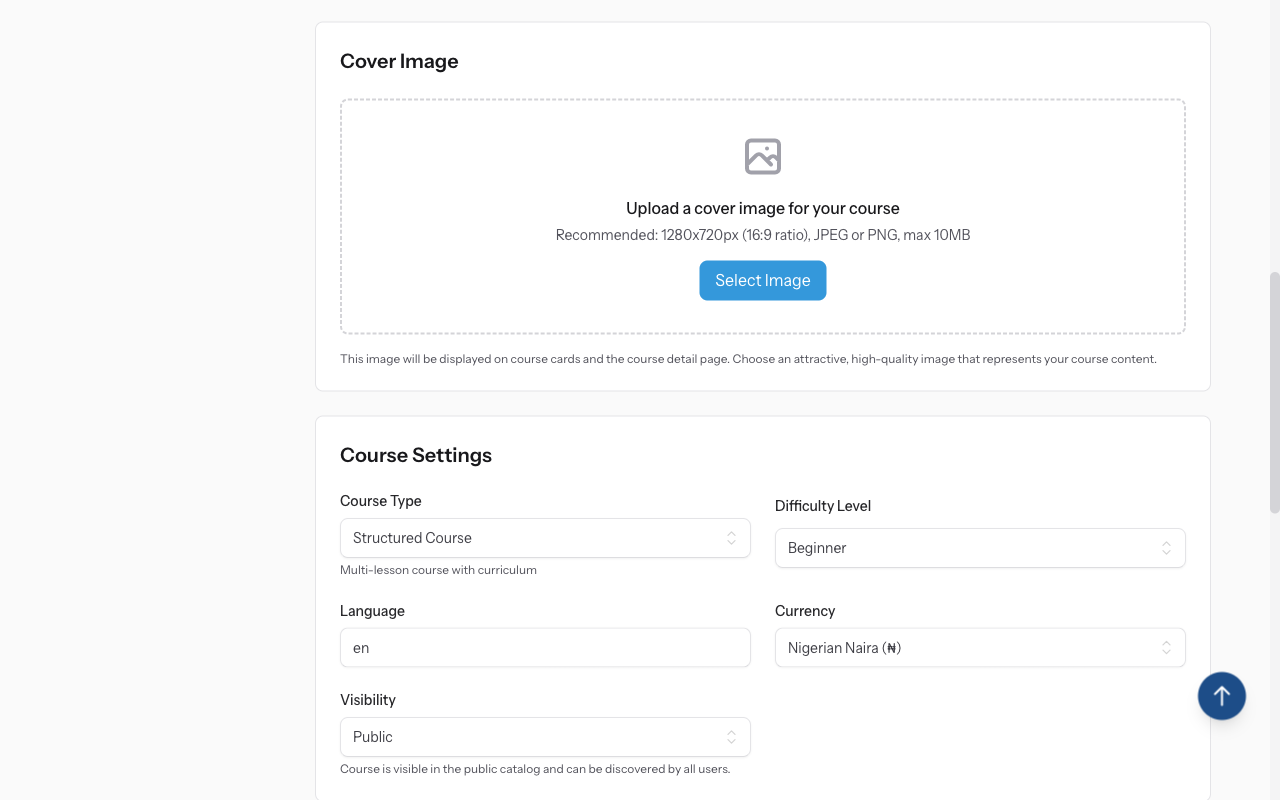
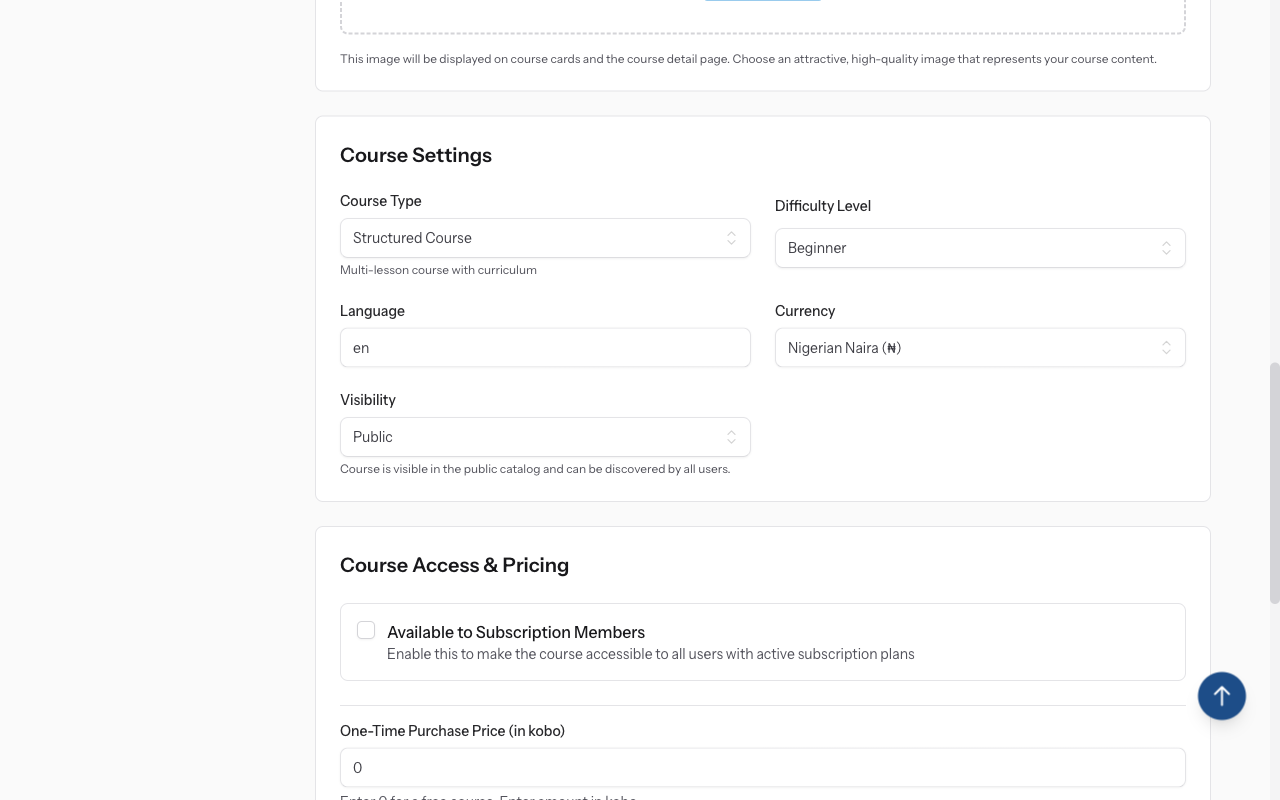
Choose the course format: "Structured Course" for multi-module courses with lessons, "Live Class" for scheduled real-time sessions with cohorts, or "In-Person Training" for physical location classes. Each type unlocks different features - structured courses focus on self-paced learning while live classes enable cohort management.
-
04
Configure pricing
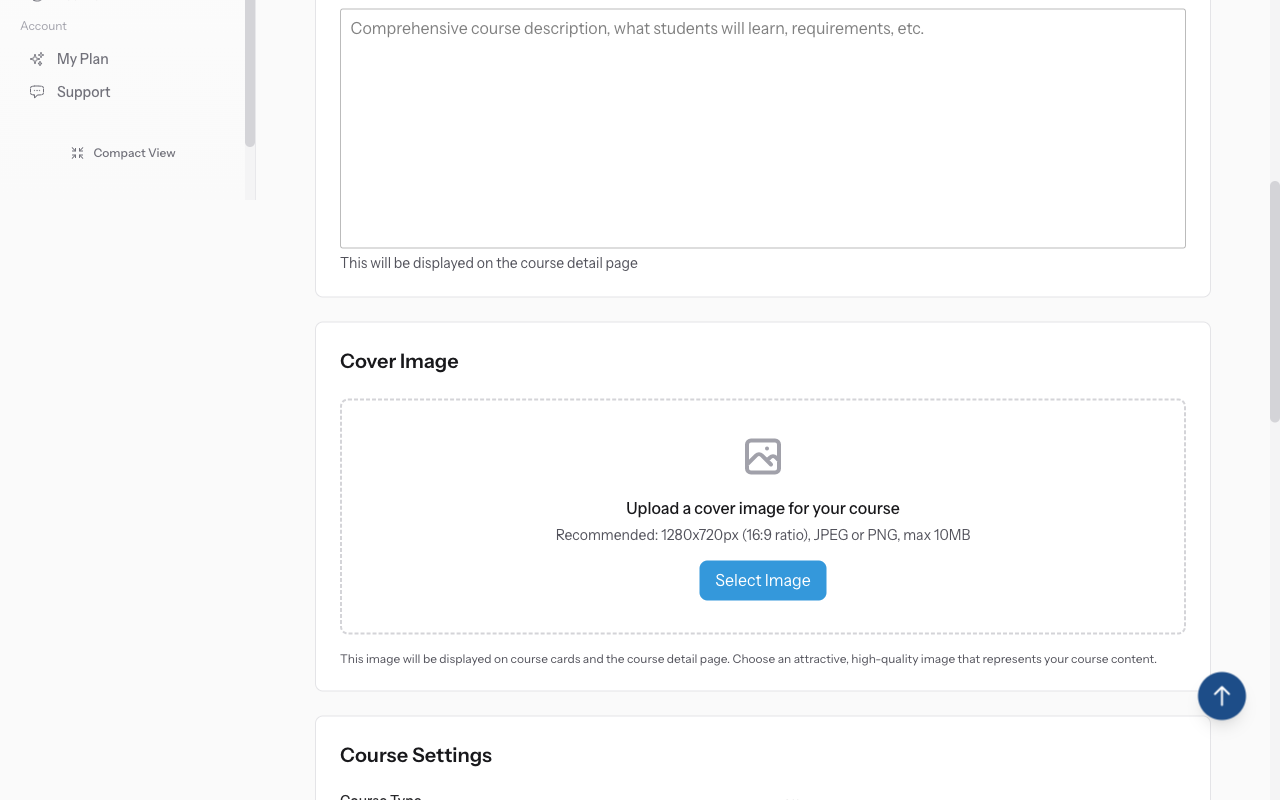
Set your course as Free or Paid. For paid courses, select your currency (NGN, USD, GBP, EUR, etc.) and enter your price. You'll see a preview of how the price appears to students. Learnkasts handles payment processing through Paystack. You can also enable subscription pricing for recurring access.
-
05
Add course details
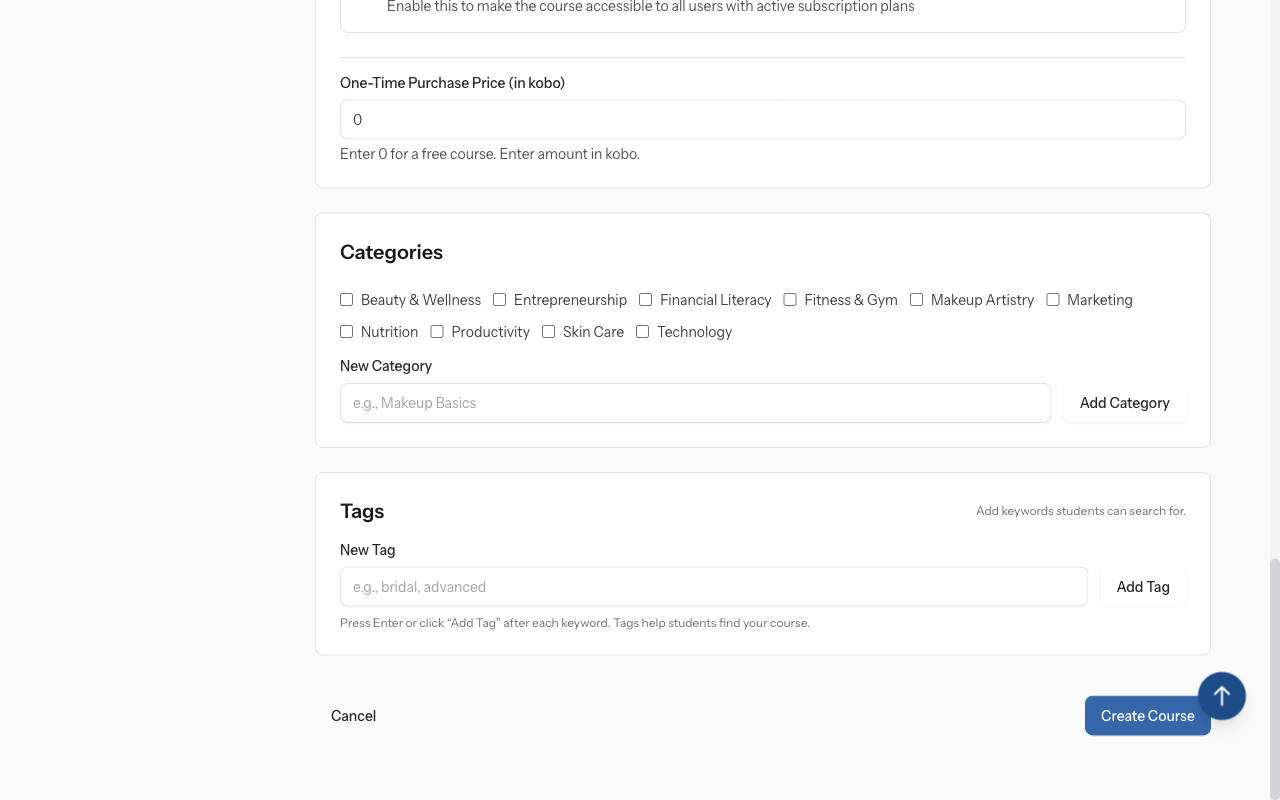
Select the difficulty level: Beginner, Intermediate, Advanced, or Expert. Choose the primary category that best describes your course. Add relevant tags (comma-separated) to help students discover your course through search. Select the language your course is taught in.
-
06
Upload course media
Upload a course thumbnail image (recommended 1280x720px) - this is the main image students see in the catalog. You can optionally add a course trailer video that plays on your course page to give students a preview of your teaching style.
-
07
Save and continue
Click "Create Course" to save your course. It will be saved as a draft by default. You can now add your curriculum (modules and lessons) from the course edit page. When your course is complete, toggle the "Published" switch to make it live for students to enroll.
Did this guide help?
If you need a real human, our support team replies in plain English within one working day. Faster on WhatsApp.