
-
01
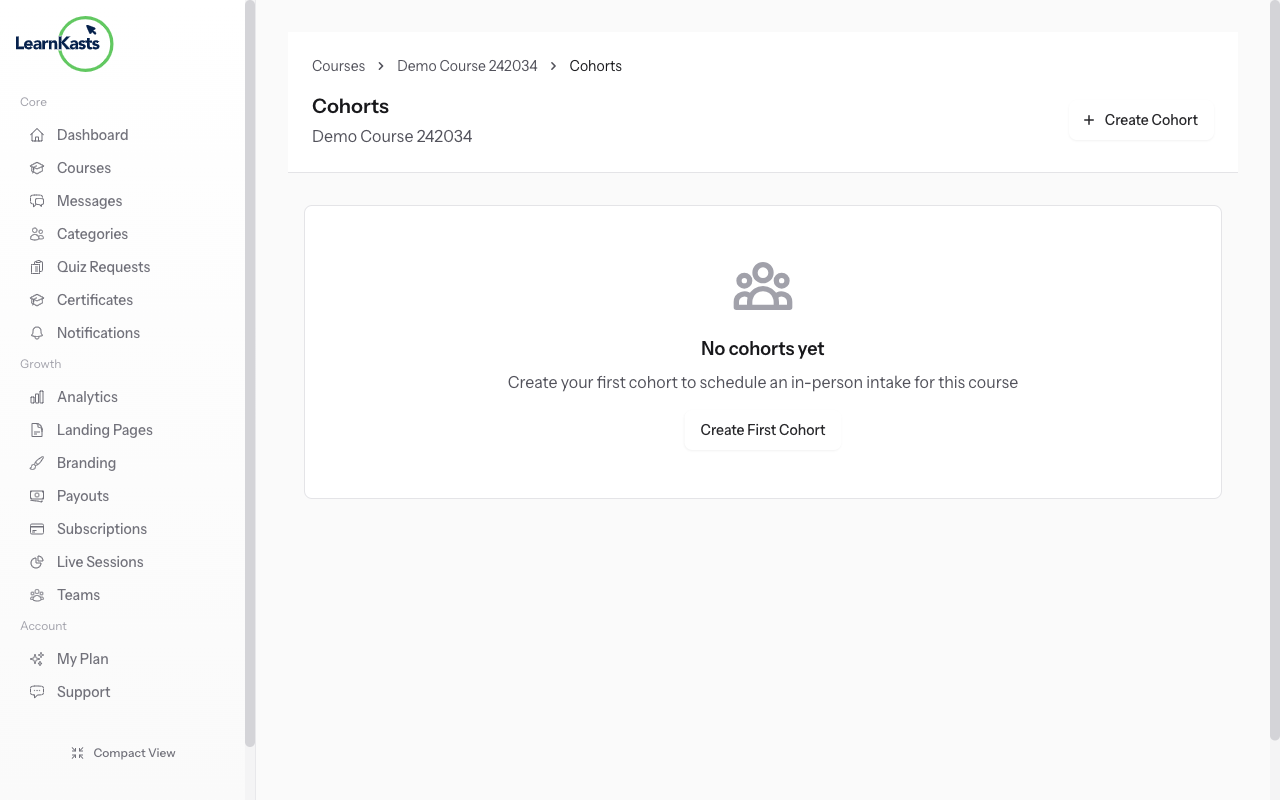
Access cohort management
Go to Educator Dashboard → Courses → Click "Edit" on your course → Select the "Cohorts" tab. This is where you create and manage student cohorts for your live or scheduled courses. Cohorts allow you to group students by start date, location, or schedule.
-
02
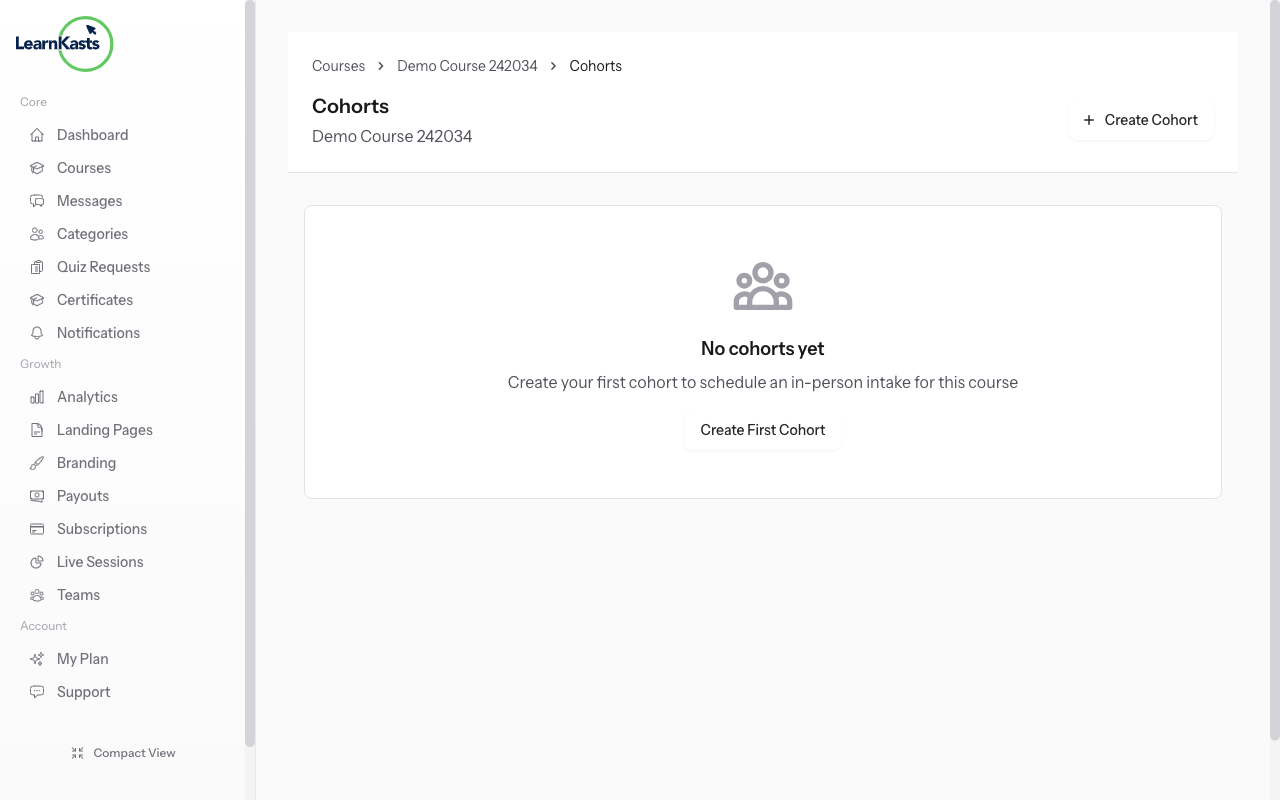
Create a new cohort
Click "Add Cohort" to create a new student group. Enter a cohort name (e.g., "January 2024 Batch"), set the start and end dates, and configure the maximum number of seats. You can also set cohort-specific pricing if needed.
-
03
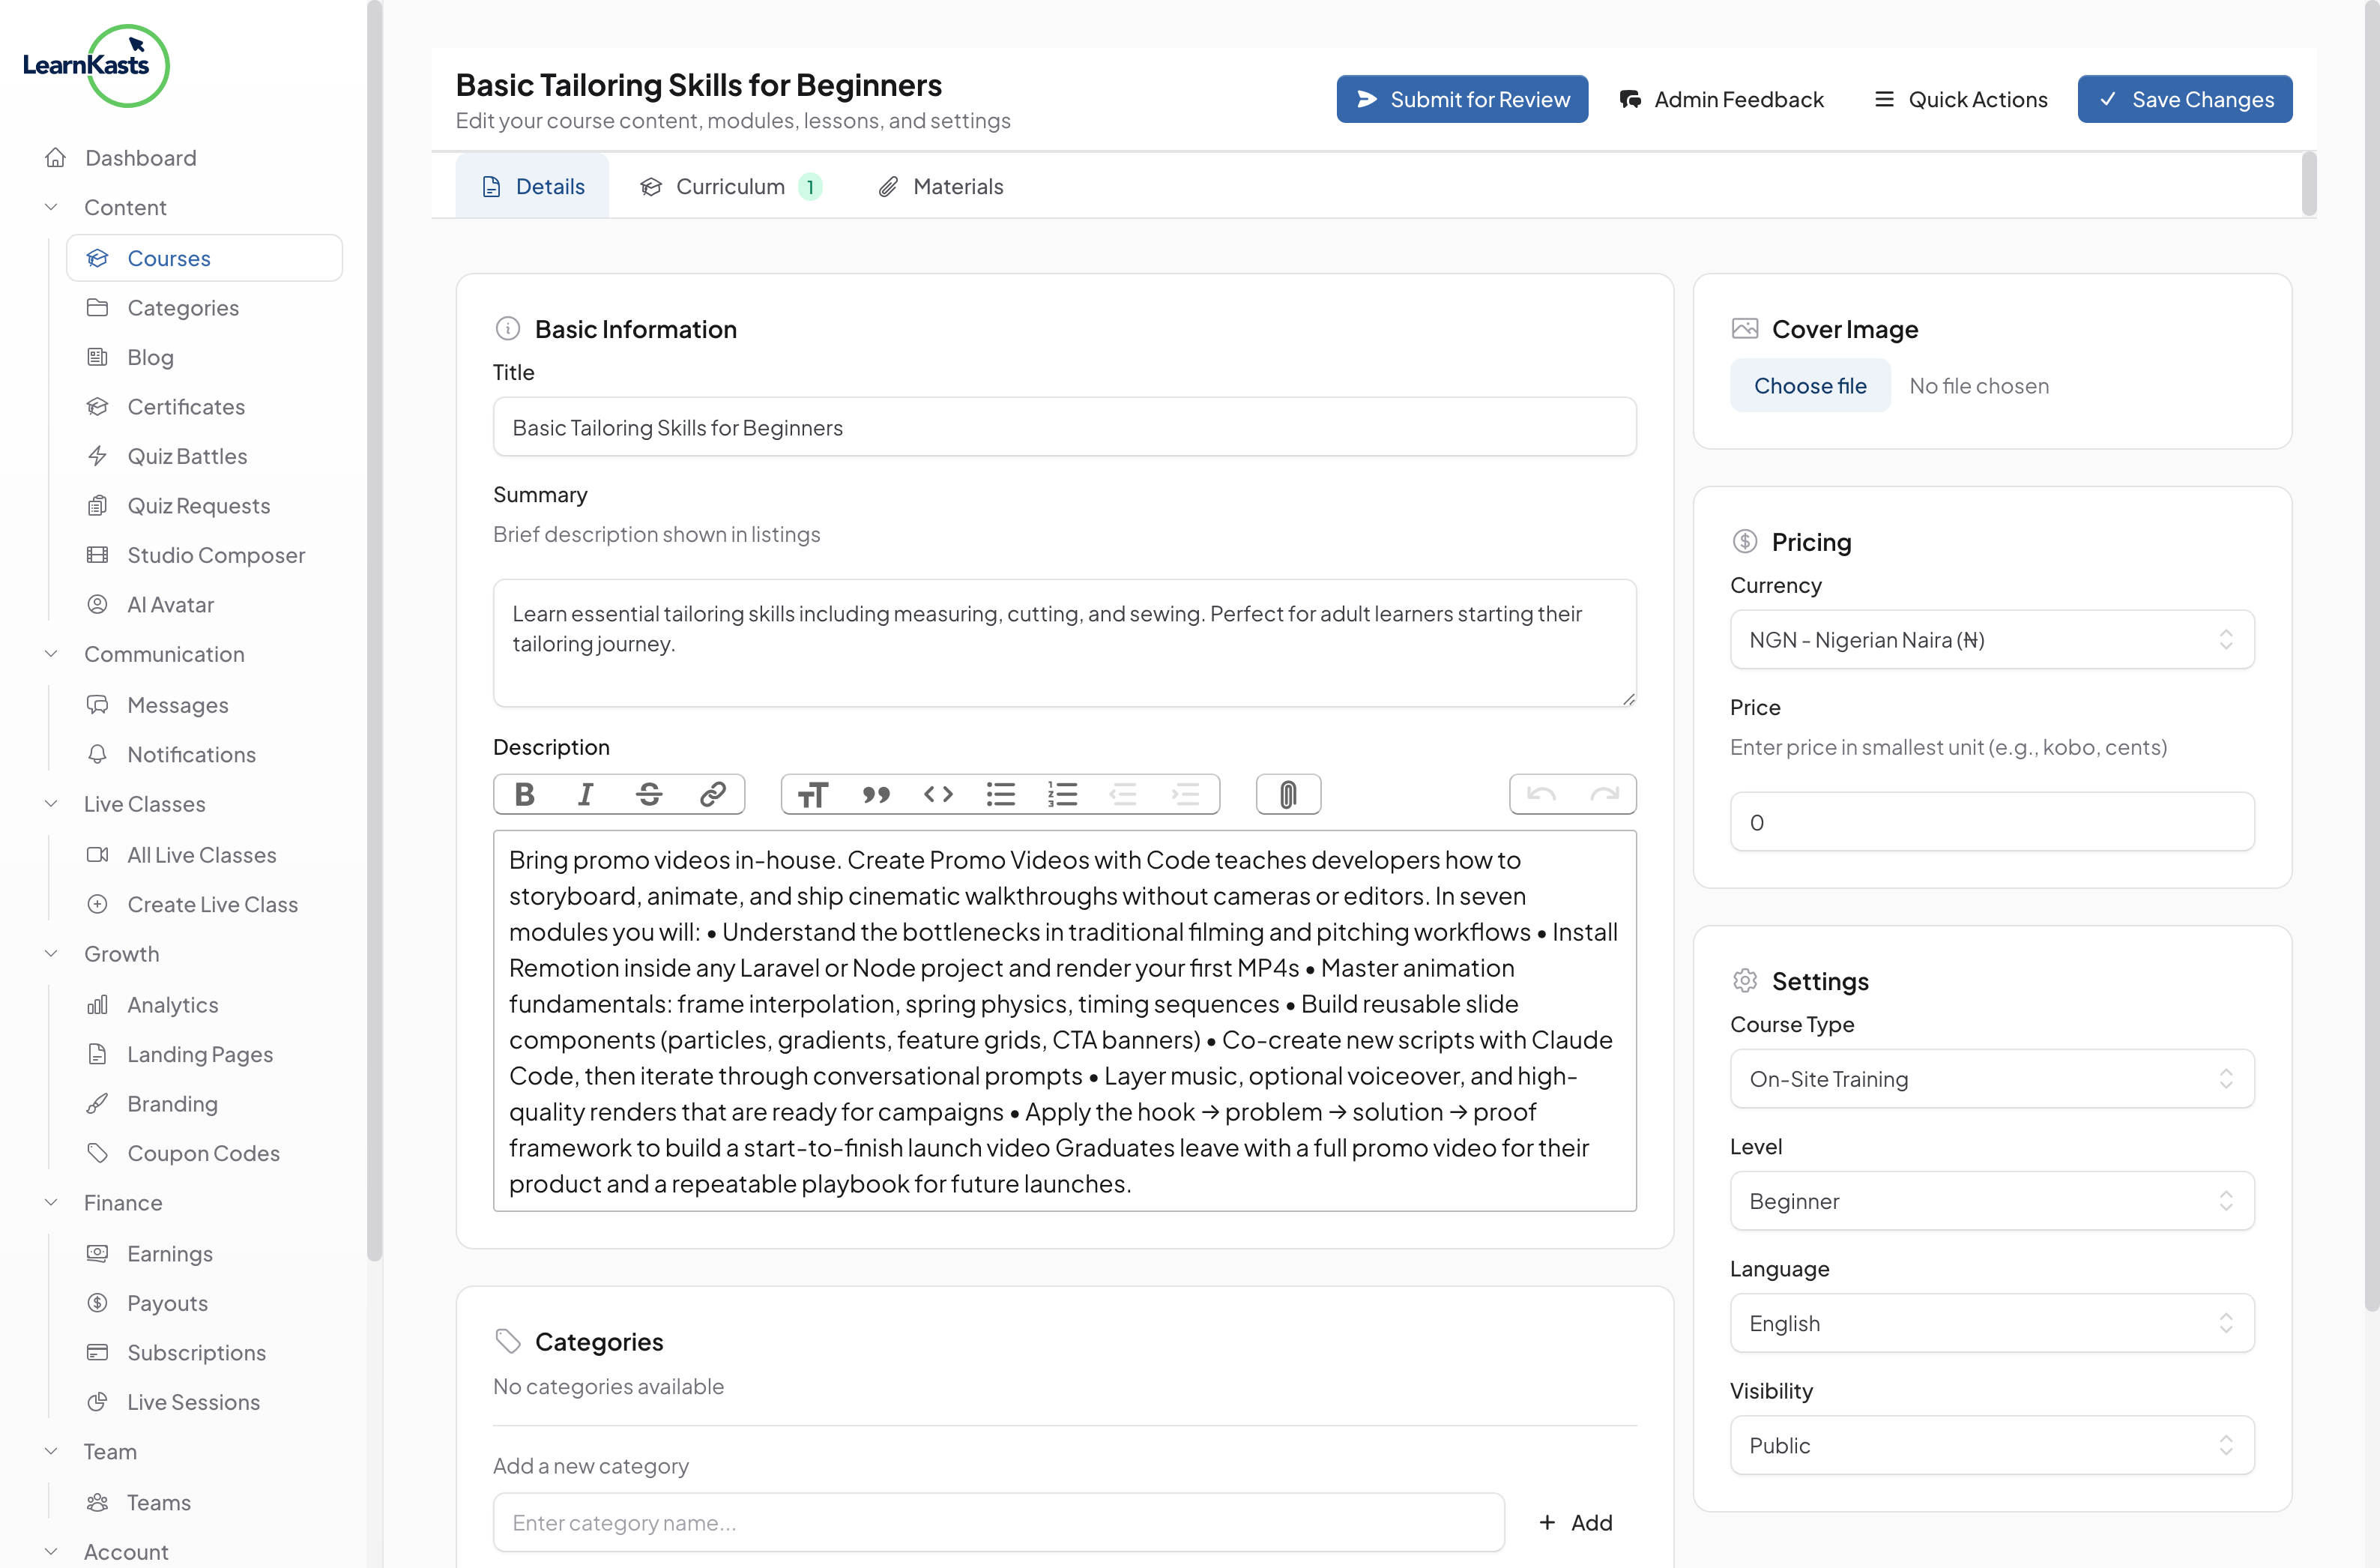
Schedule cohort sessions
Within each cohort, add scheduled sessions by clicking "Add Session". Set the date, time, duration, and meeting link (Zoom, Google Meet, etc.). Students enrolled in the cohort will automatically see these sessions in their dashboard and receive reminders.
-
04
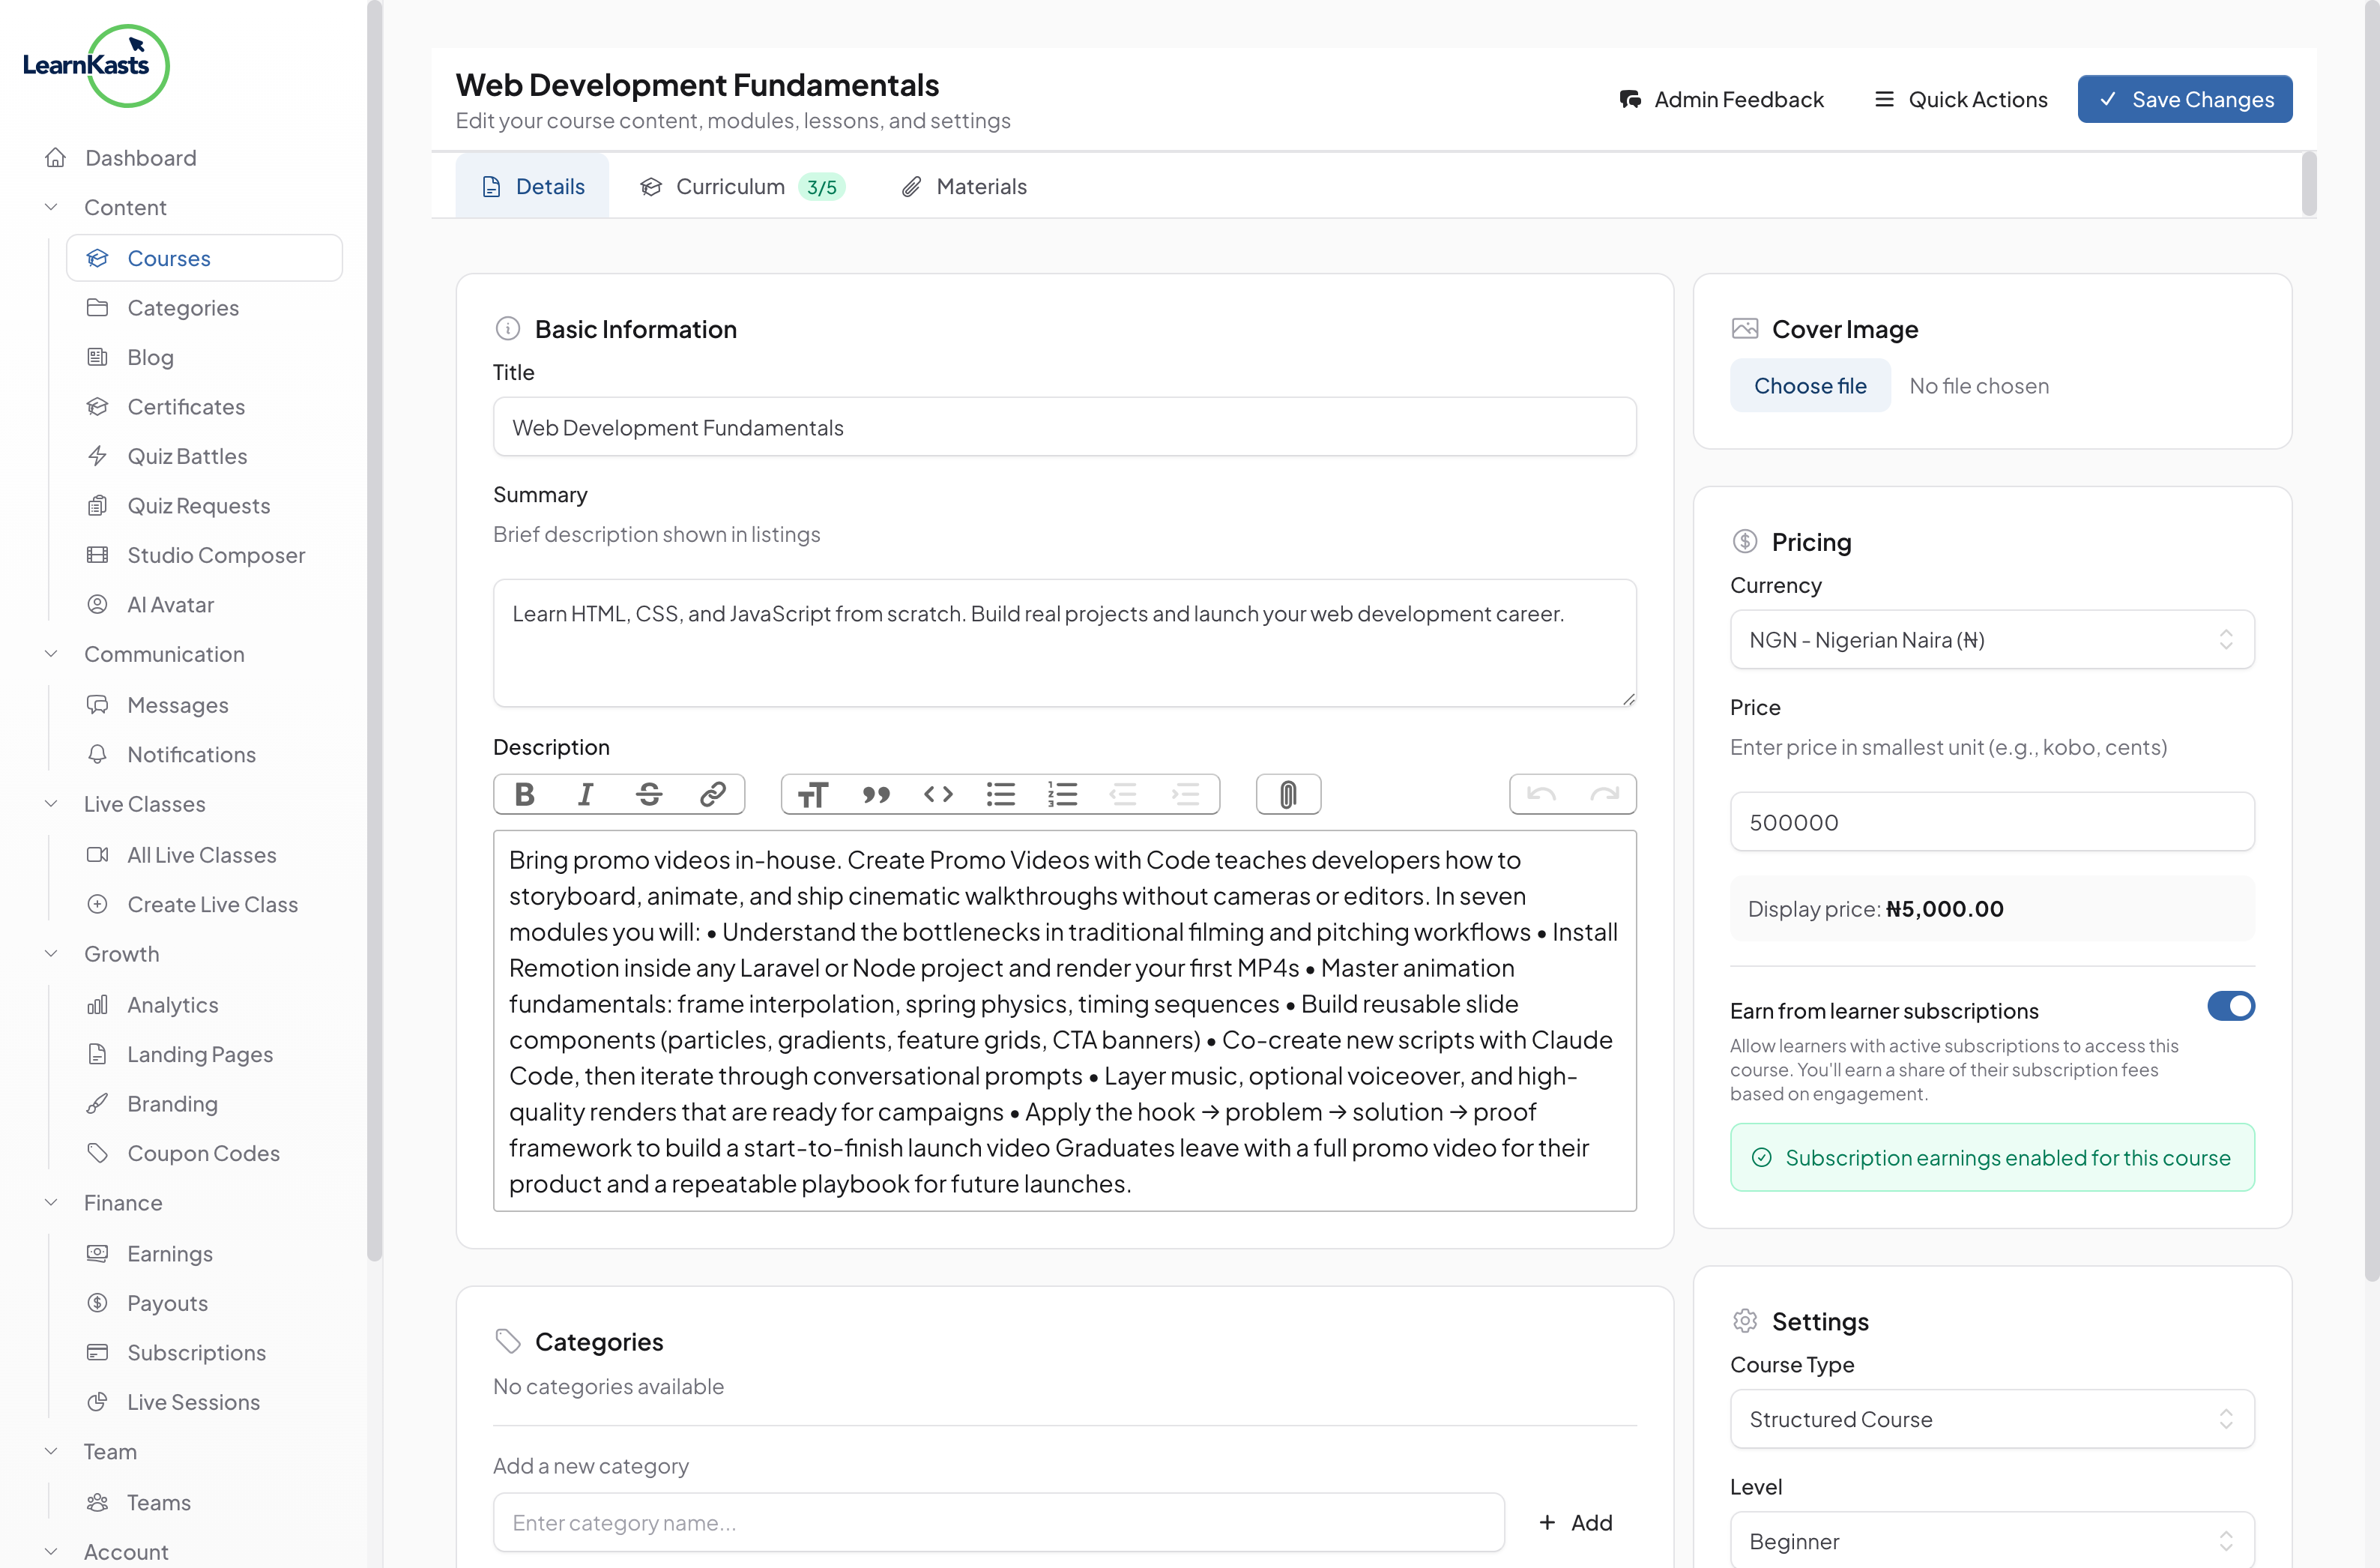
View cohort roster
Click on any cohort to see the full student roster. You can view enrollment status, track attendance for sessions, and manually add or remove students. Export the roster as CSV for your records.
Did this guide help?
If you need a real human, our support team replies in plain English within one working day. Faster on WhatsApp.