
-
01
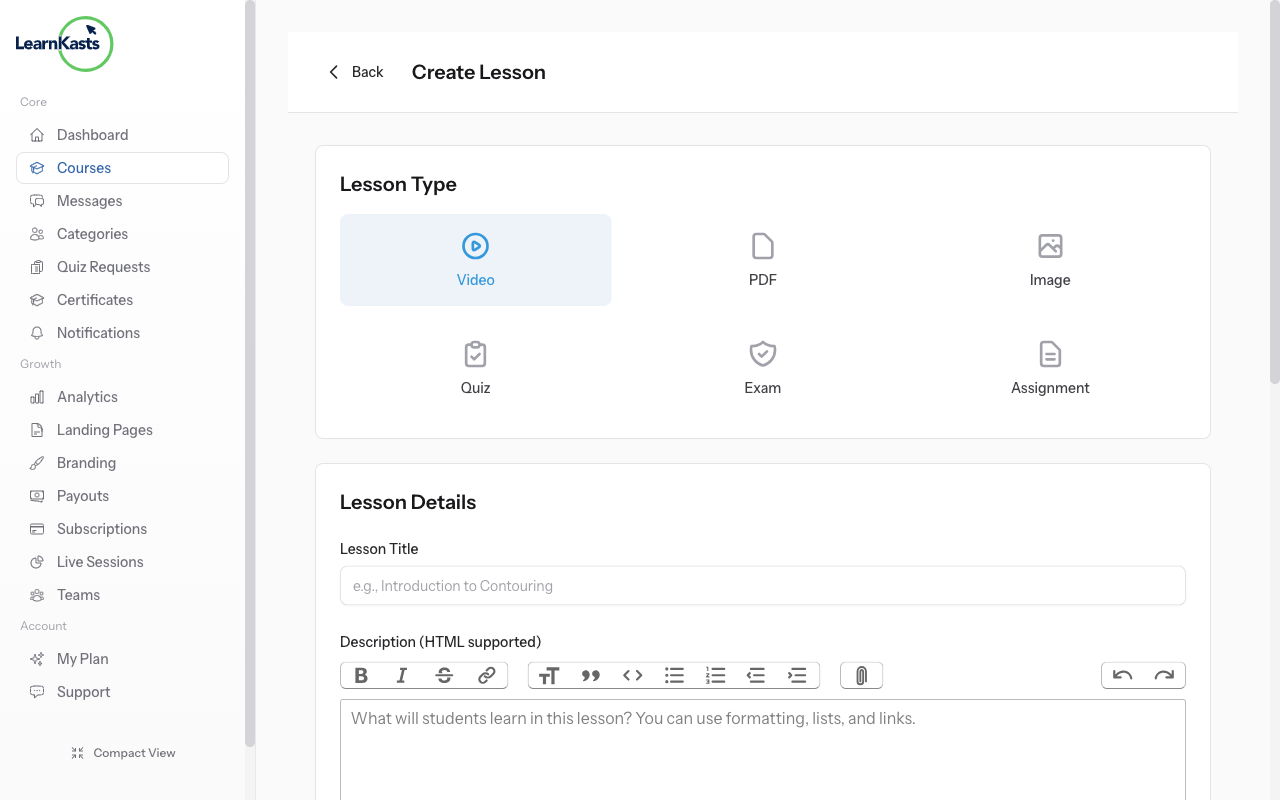
Lesson type selector with Video highlighted
From your course curriculum builder, click "Add Lesson" within a module. Select "Video Lesson" as the lesson type. You'll see the video lesson upload form.
-
02
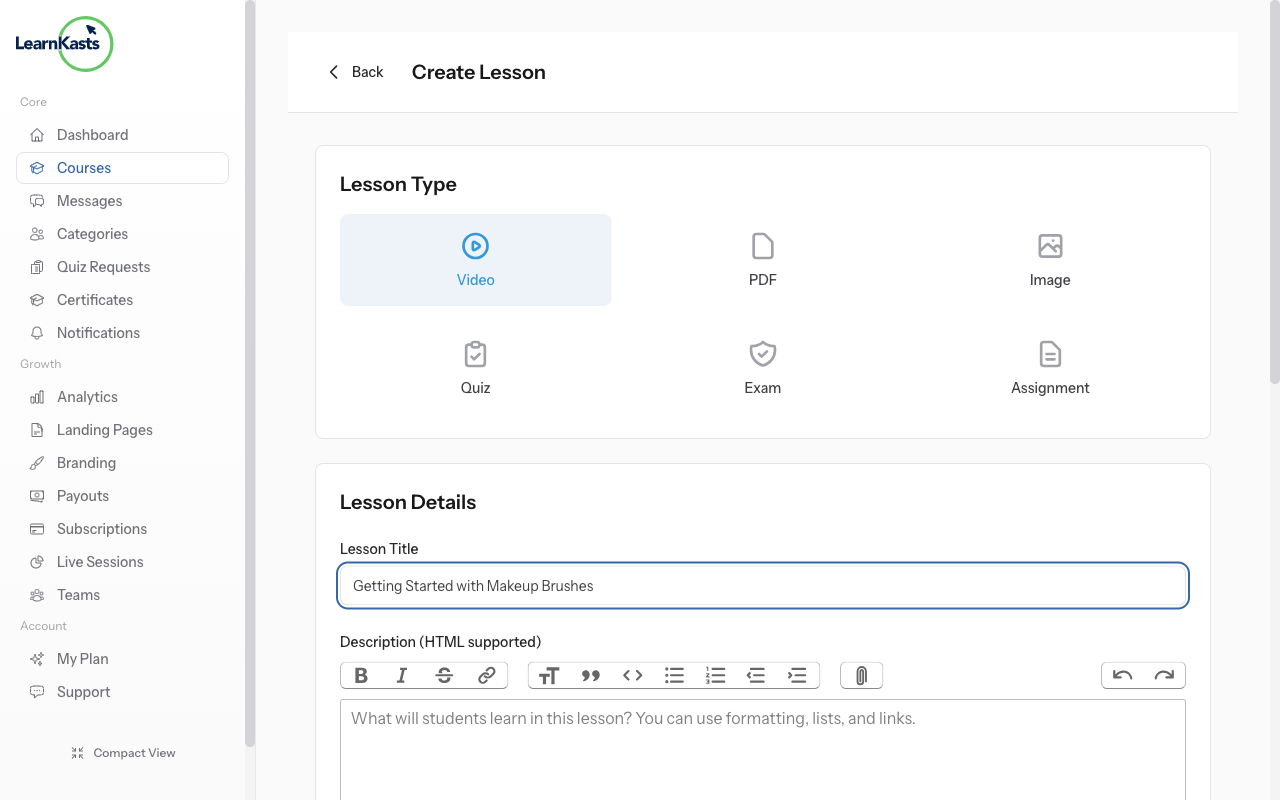
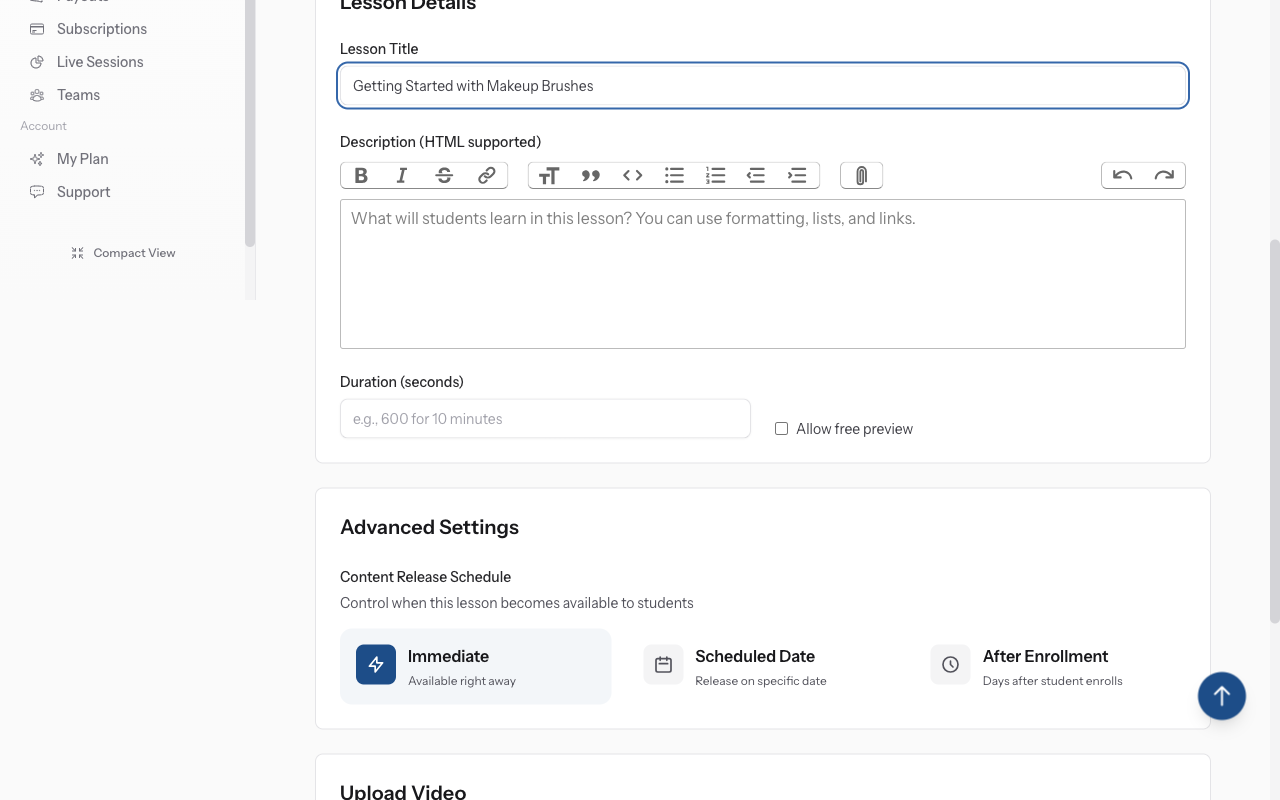
Lesson title and description fields
Give your lesson a clear, descriptive title (e.g., "Foundation Application Techniques"). Add an optional description explaining what students will learn. Set the lesson order number if you want specific positioning.
-
03
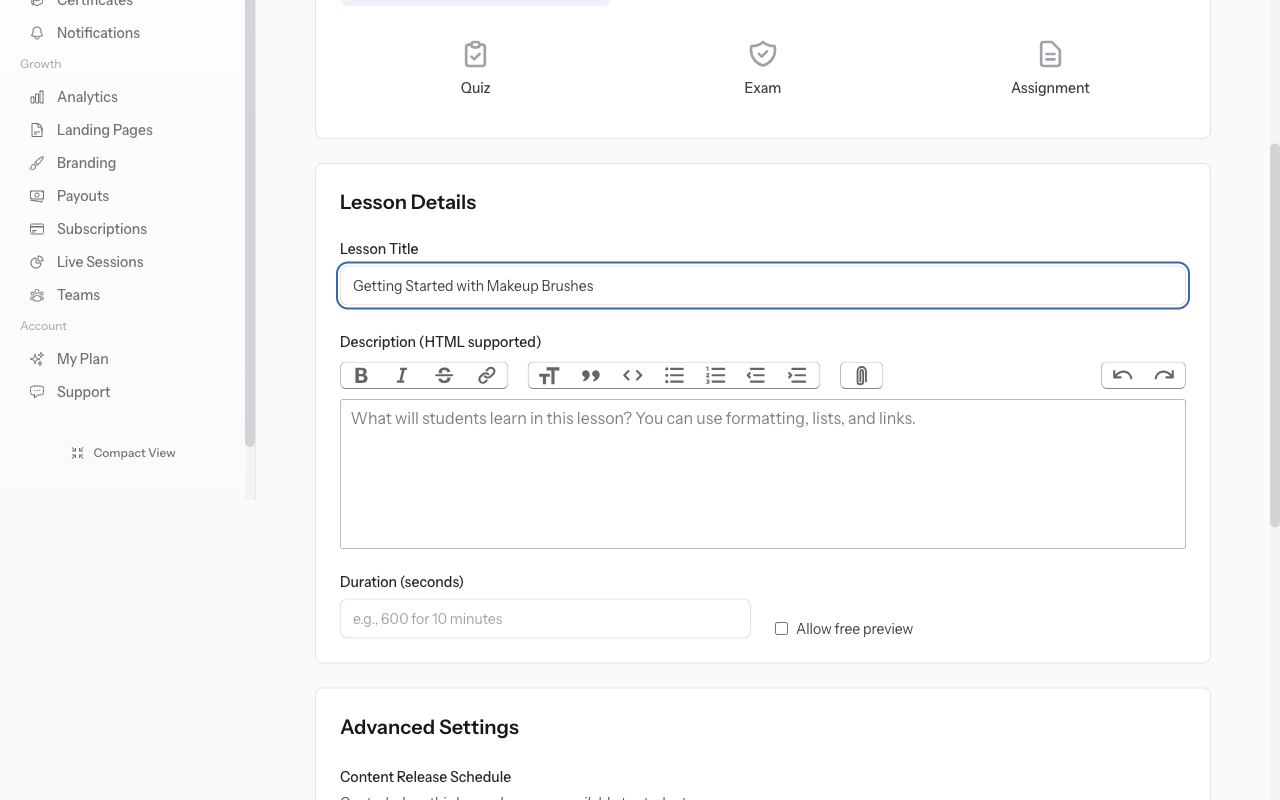
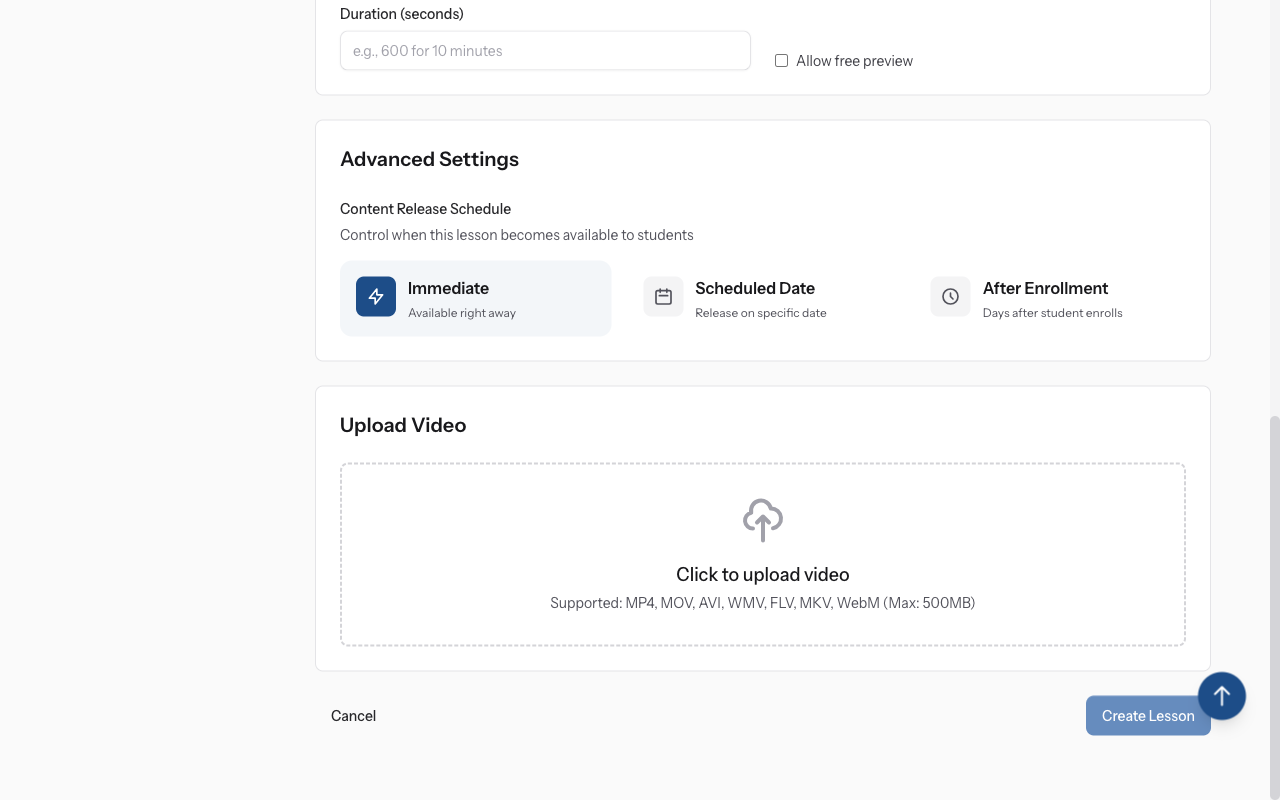
Video file upload area with progress bar
Click "Choose Video File" or drag and drop your video file. Supported formats: MP4, WebM, MOV, AVI. Maximum file size: 3GB per video. You'll see a progress bar during upload.
-
04
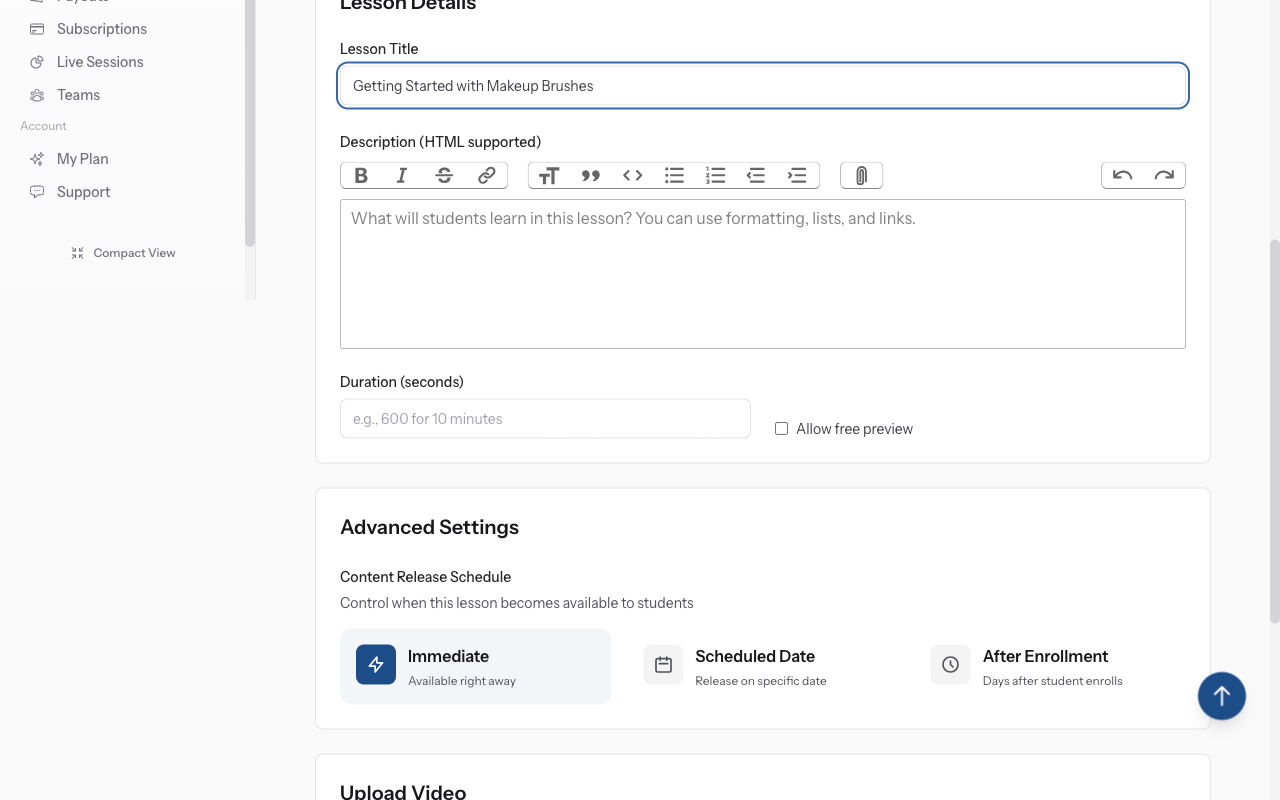
Duration input fields showing minutes and seconds
Enter the video duration in minutes and seconds. This helps students understand the time commitment and appears in the course overview. The system may auto-detect duration for some formats.
-
05
Free Preview toggle switch
Toggle "Free Preview" if you want this lesson accessible to non-enrolled users. This is great for your first lesson or introduction video to showcase your teaching style and course quality to potential students.
-
06
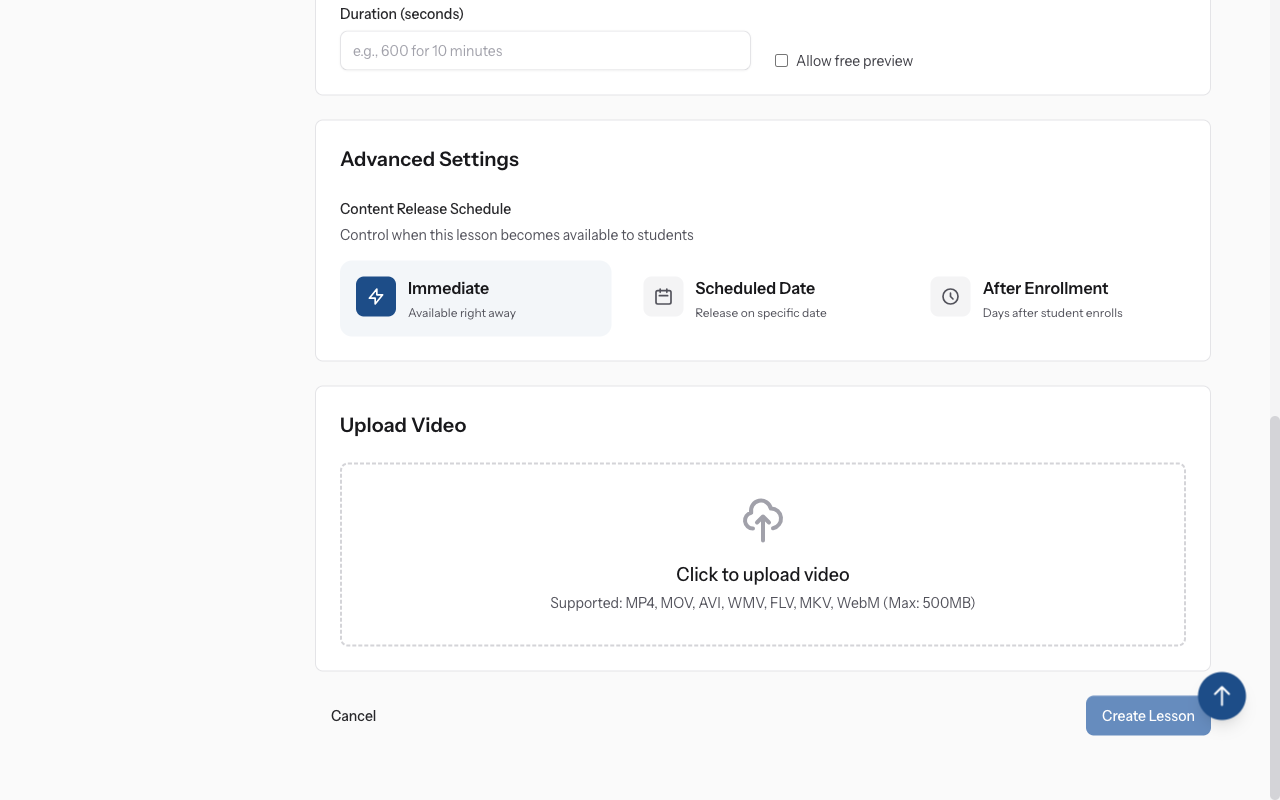
Create Lesson button and upload completion message
Click "Create Lesson" to start the upload. Large videos may take several minutes. Don't close the browser tab during upload. Once complete, your video will be processed and ready for students to watch.
-
07
Video quality checklist
Keep videos focused on one topic (5-15 minutes ideal). Use good lighting and clear audio. Add captions if possible. Compress videos before upload to reduce file size while maintaining quality. Test playback before publishing your course.
Did this guide help?
If you need a real human, our support team replies in plain English within one working day. Faster on WhatsApp.