
-
01
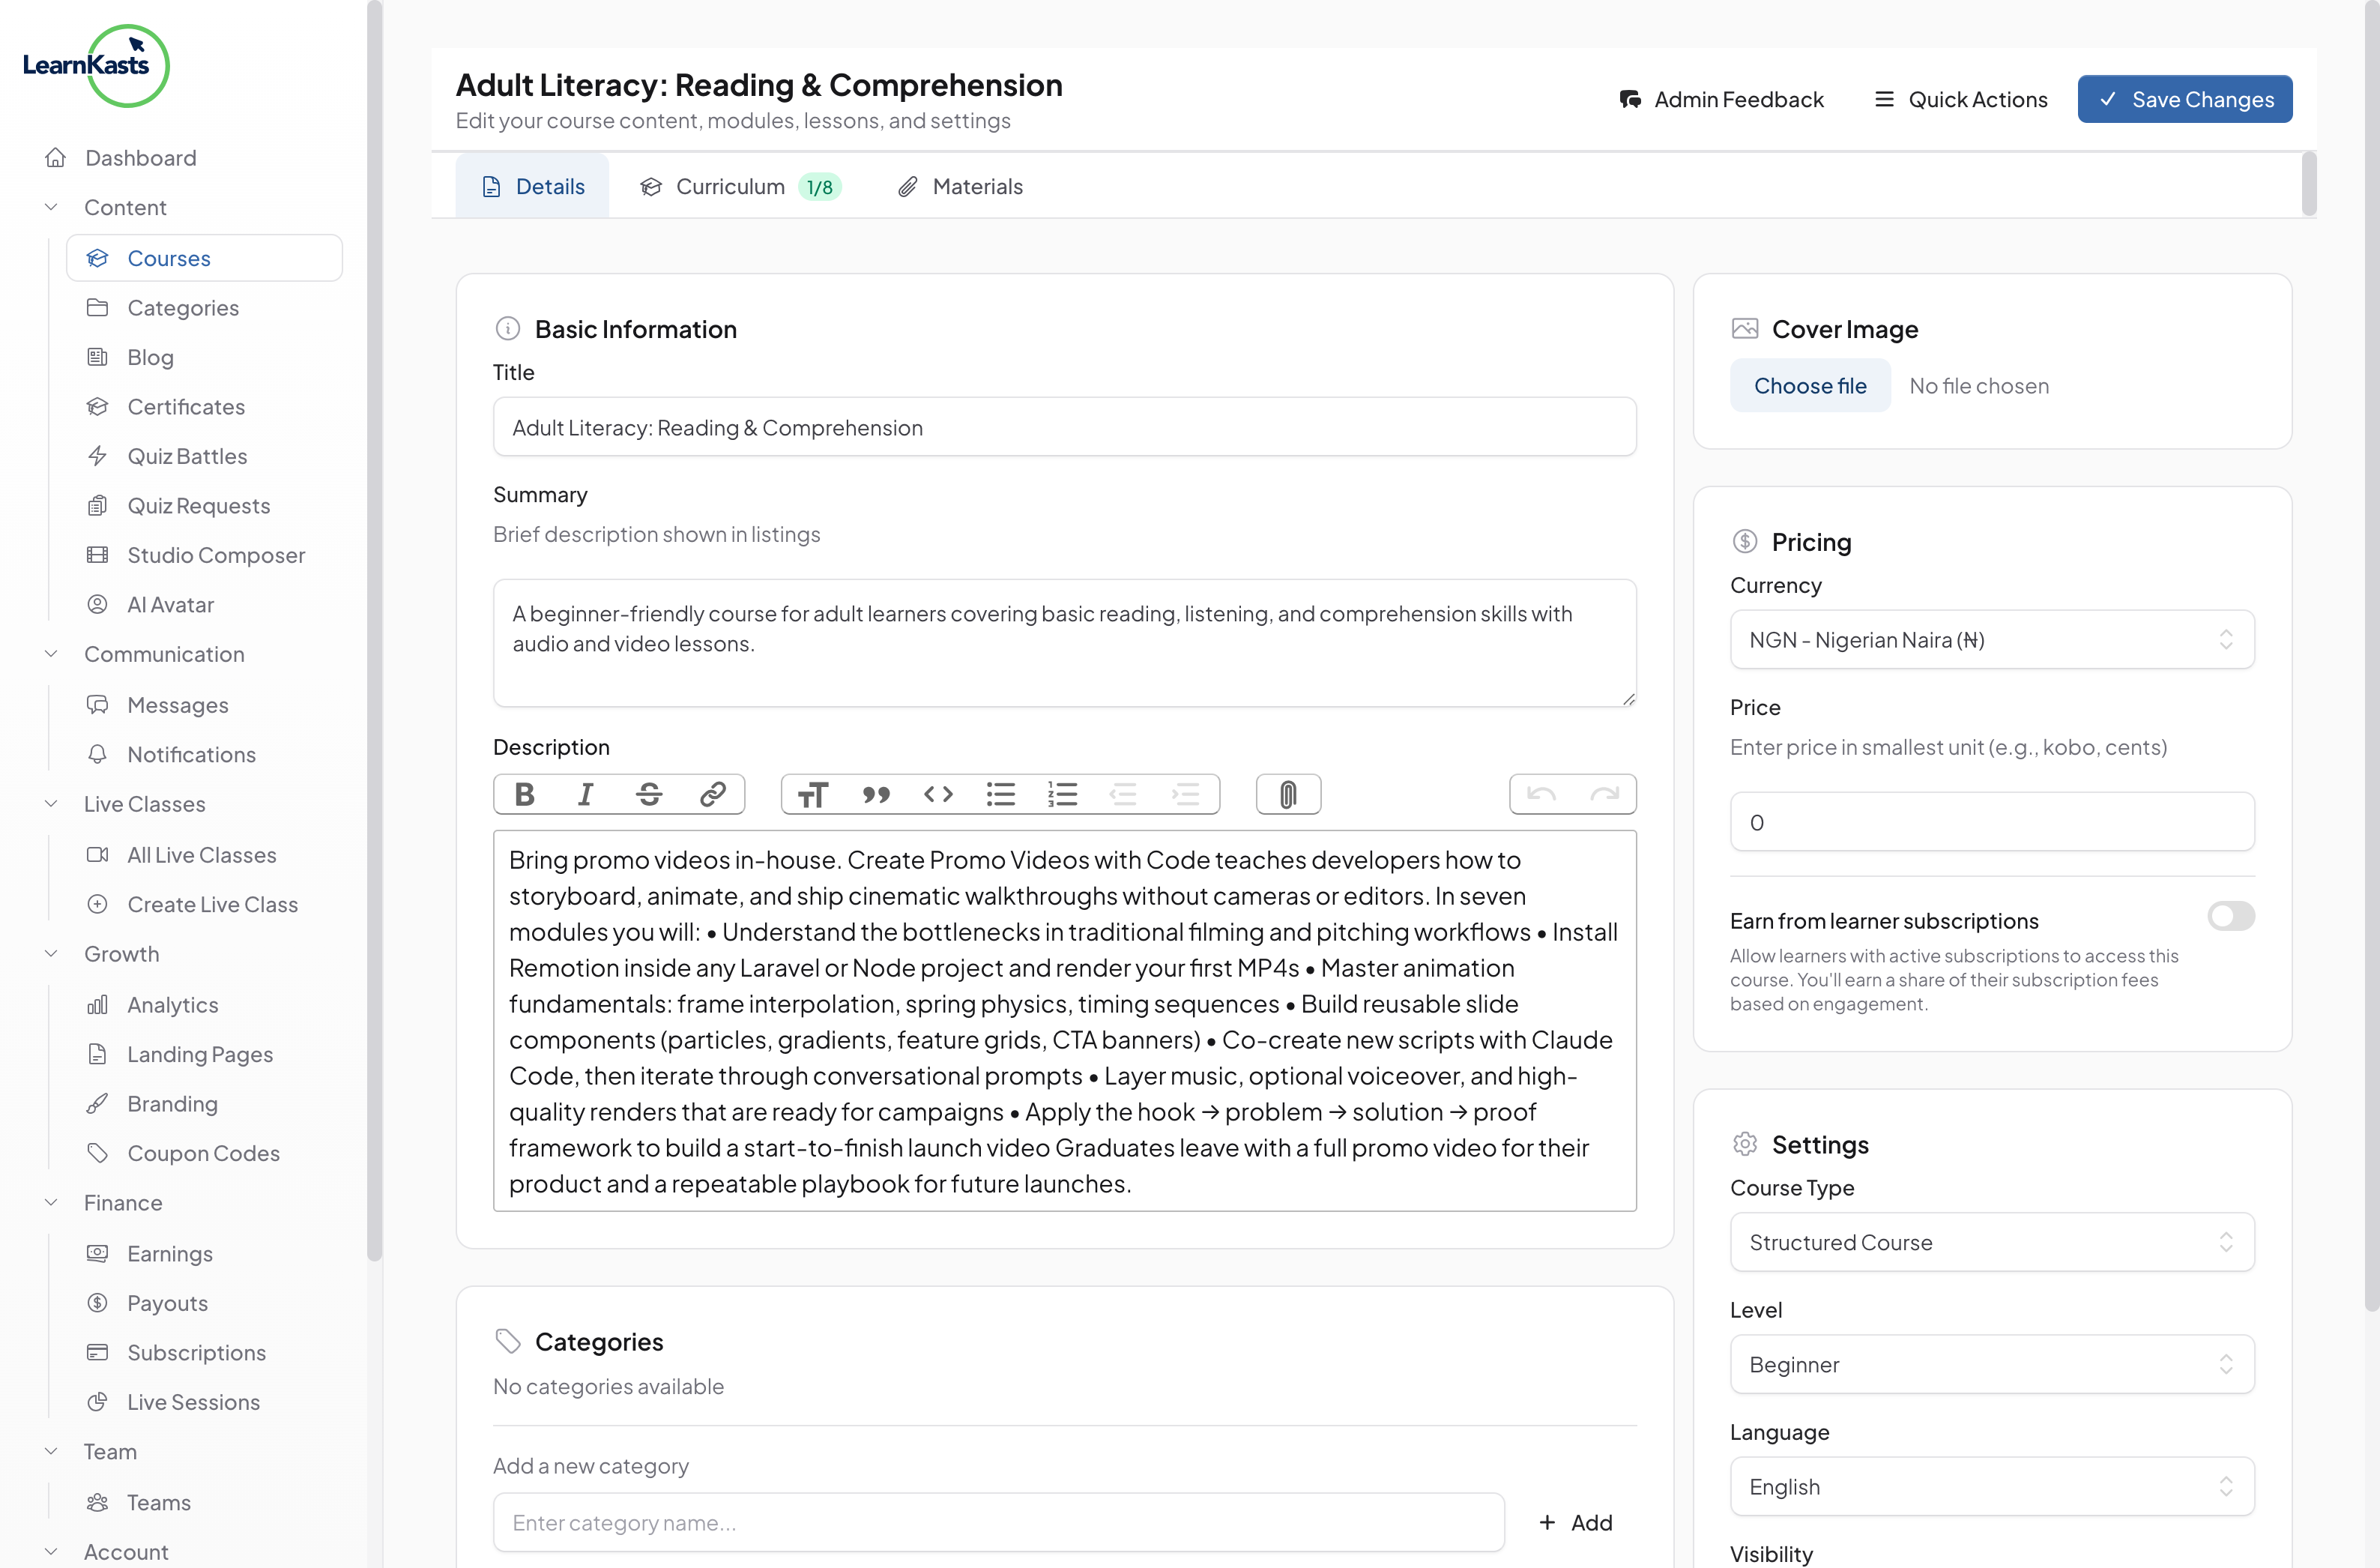
Navigate to cohort roster
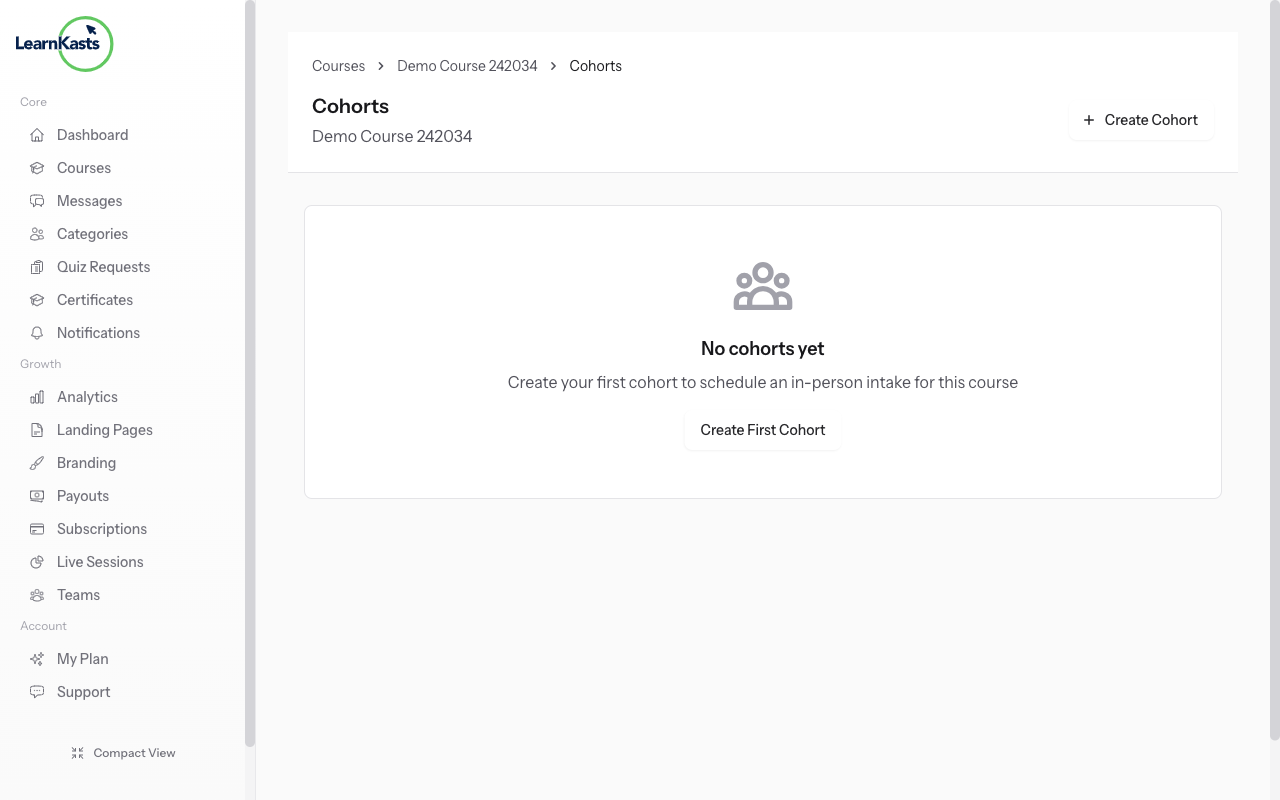
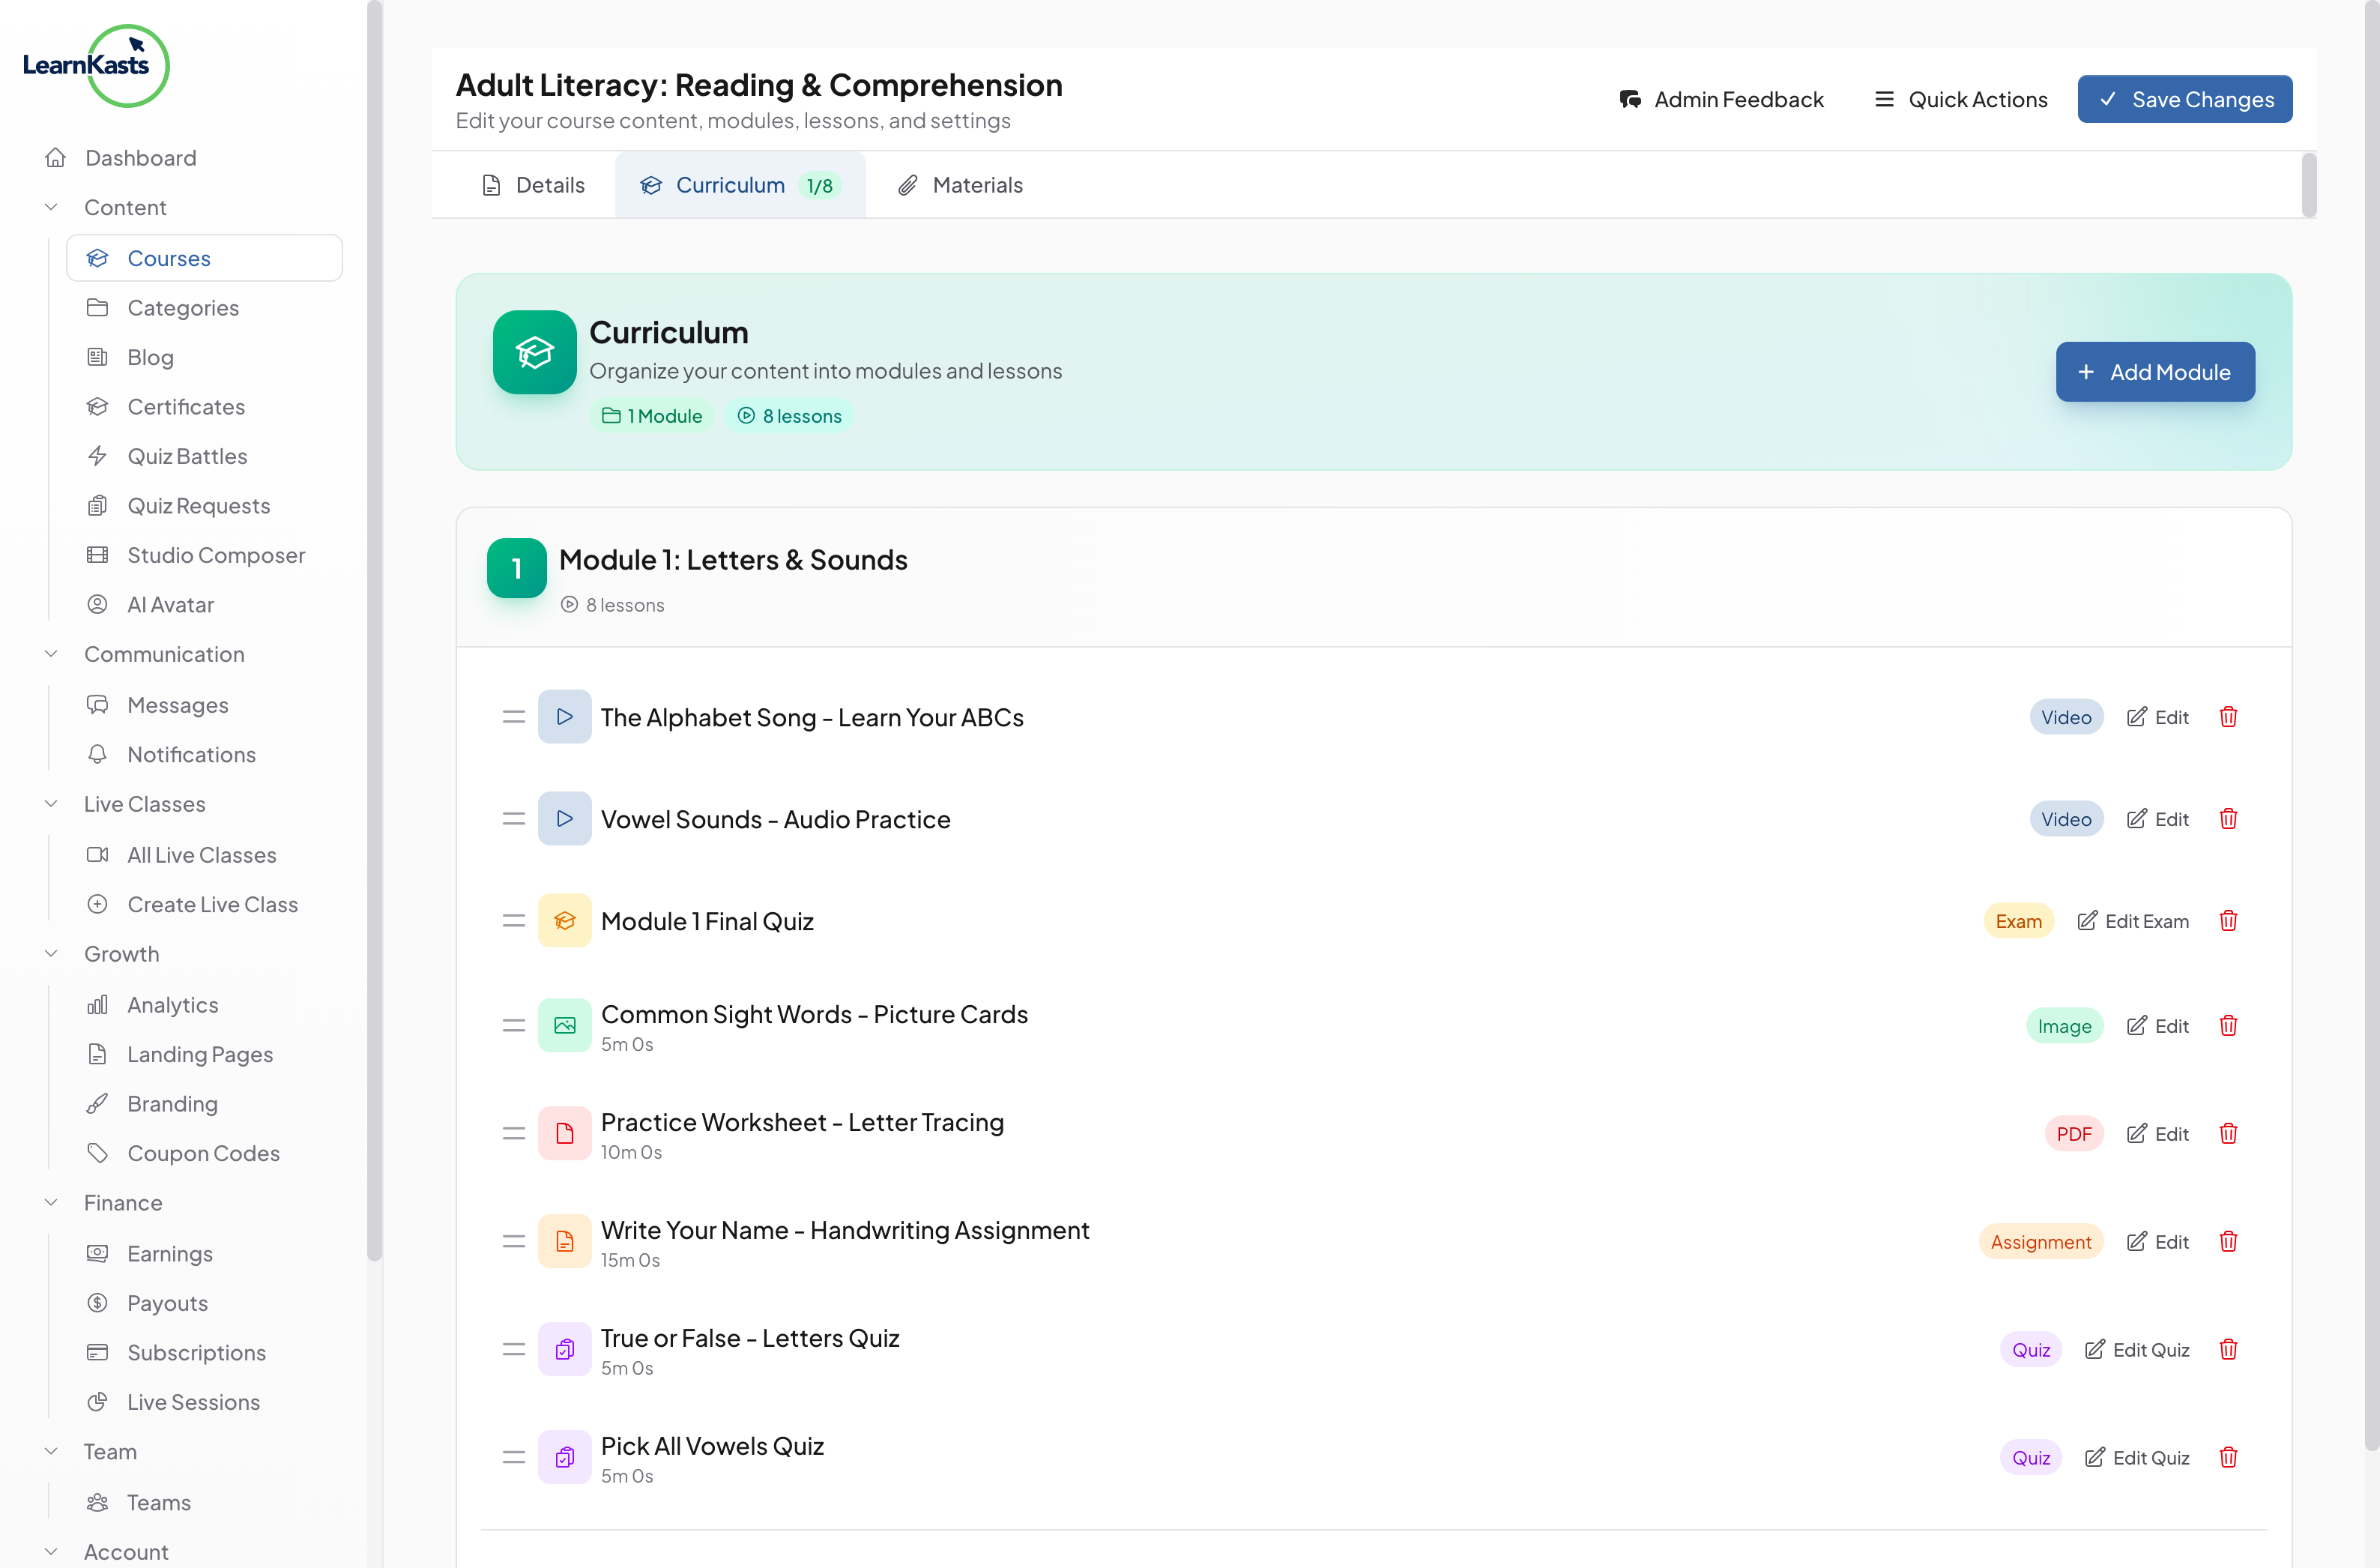
Go to Educator Dashboard → Courses → Select your course → Click "Cohorts" tab → Click on a specific cohort → Click "View Roster" button. This shows all students enrolled in this cohort.
-
02
View enrolled students
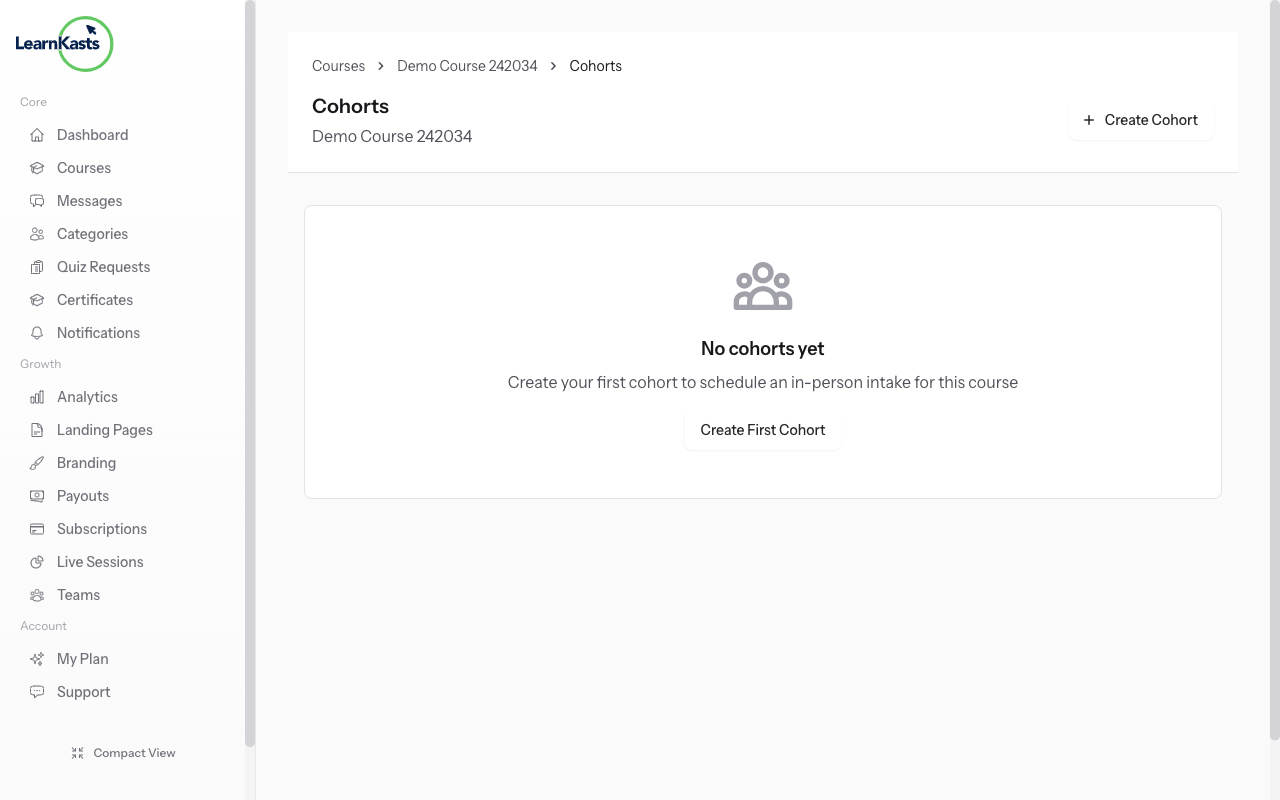
The roster page displays all students with their name, email, enrollment status, enrollment date, and attendance records. Use the search bar to quickly find specific students in large cohorts.
-
03
Remove students from cohort
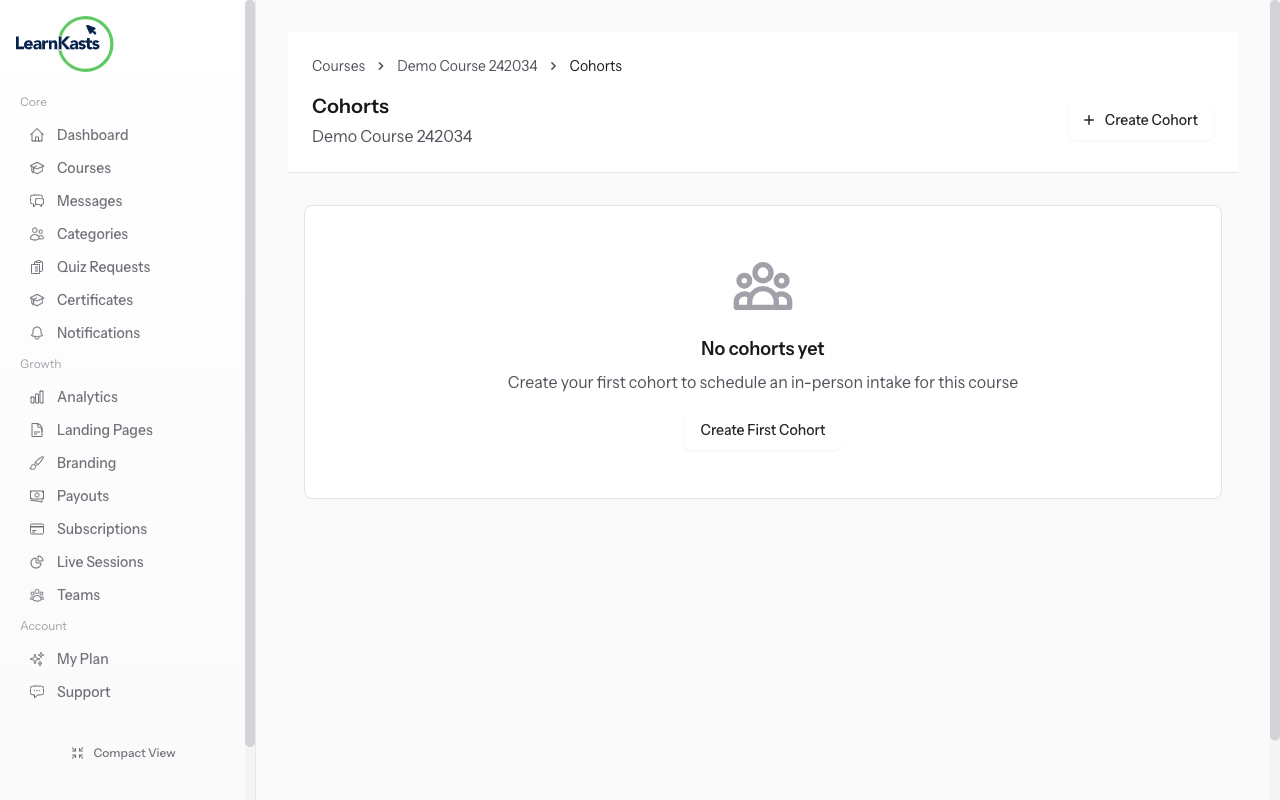
Click "Add Learners" button in the top right. You'll see a modal with checkboxes of all learners who have purchased the course but aren't in this cohort yet. Check the boxes next to learners you want to add. Click "Add Selected Learners".
-
04
Export roster data
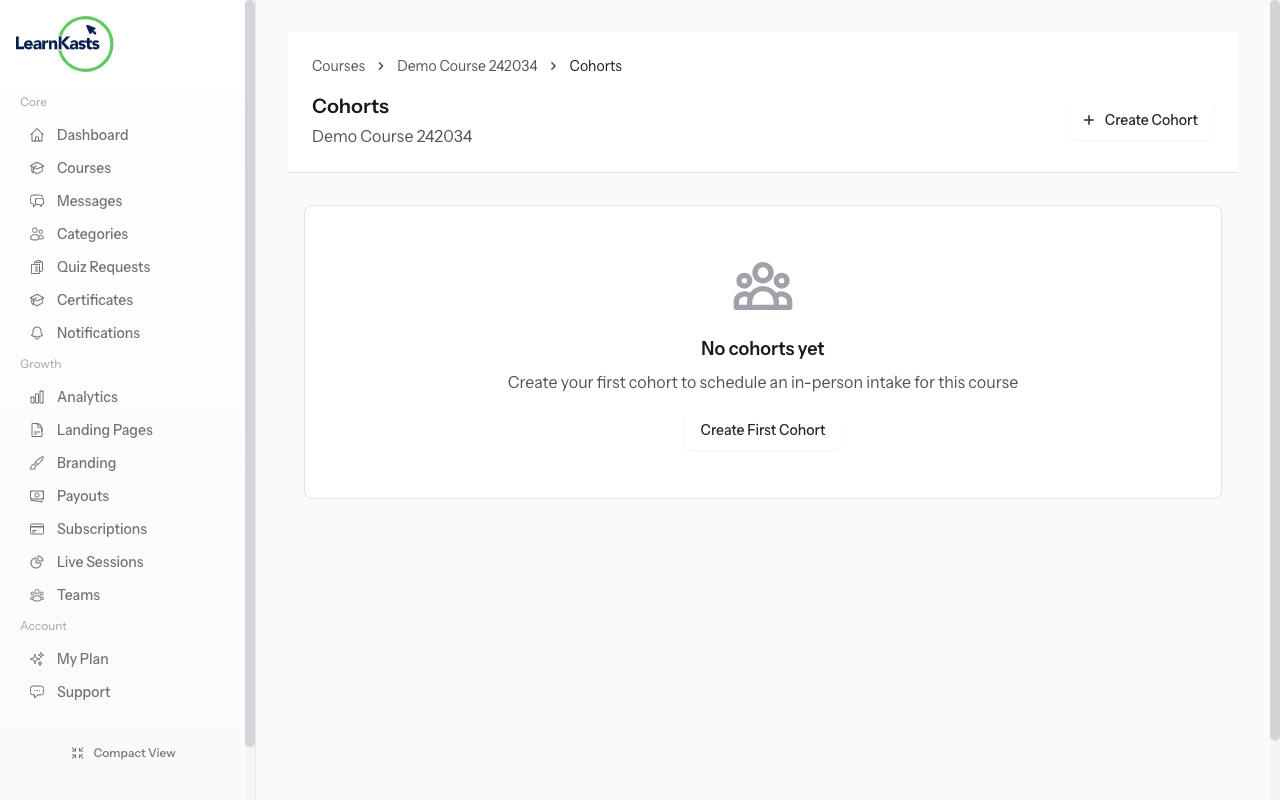
Click the "Remove" button next to any student name. A confirmation dialog appears. Confirm removal. Note: This only removes them from the cohort, not from the course entirely. They can still access course materials.
-
05
Track attendance
For live and in-person sessions, use the attendance column to mark who attended. Click the checkbox or "Mark Present" button. Attendance data appears in your analytics and can be exported.
-
06
Export roster data
Click "Export" button to download roster as CSV file. Includes student names, emails, enrollment dates, and attendance records. Perfect for record-keeping or importing into other tools.
Did this guide help?
If you need a real human, our support team replies in plain English within one working day. Faster on WhatsApp.